


12 min read
Preparing your doc for a new owner
You’ve built an awesome doc that has helped you or your team, but now it must now live on without you. Here are our recommendations for a smooth transition to the new owner.

You'll learn:
- How to prepare a doc for transfer
- How to prevent broken automations and connections
- How to transfer ownership to another Doc Maker

What you'll use:
- Workspace home
- Doc settings
- Share settings
Transfer checklist
Before transferring ownership, make sure you've completed the following:- Identify the docs that need a new owner.
- Create a back-end section for each doc.
- Give tables, buttons, controls, and other objects descriptive names.
- Find a new Doc Maker to take ownership of any automations, Packs, and Cross-doc connections.
- Transfer your doc via the home screen or from within the doc itself.
- Share this guide with the new doc owner.
1. Identify docs
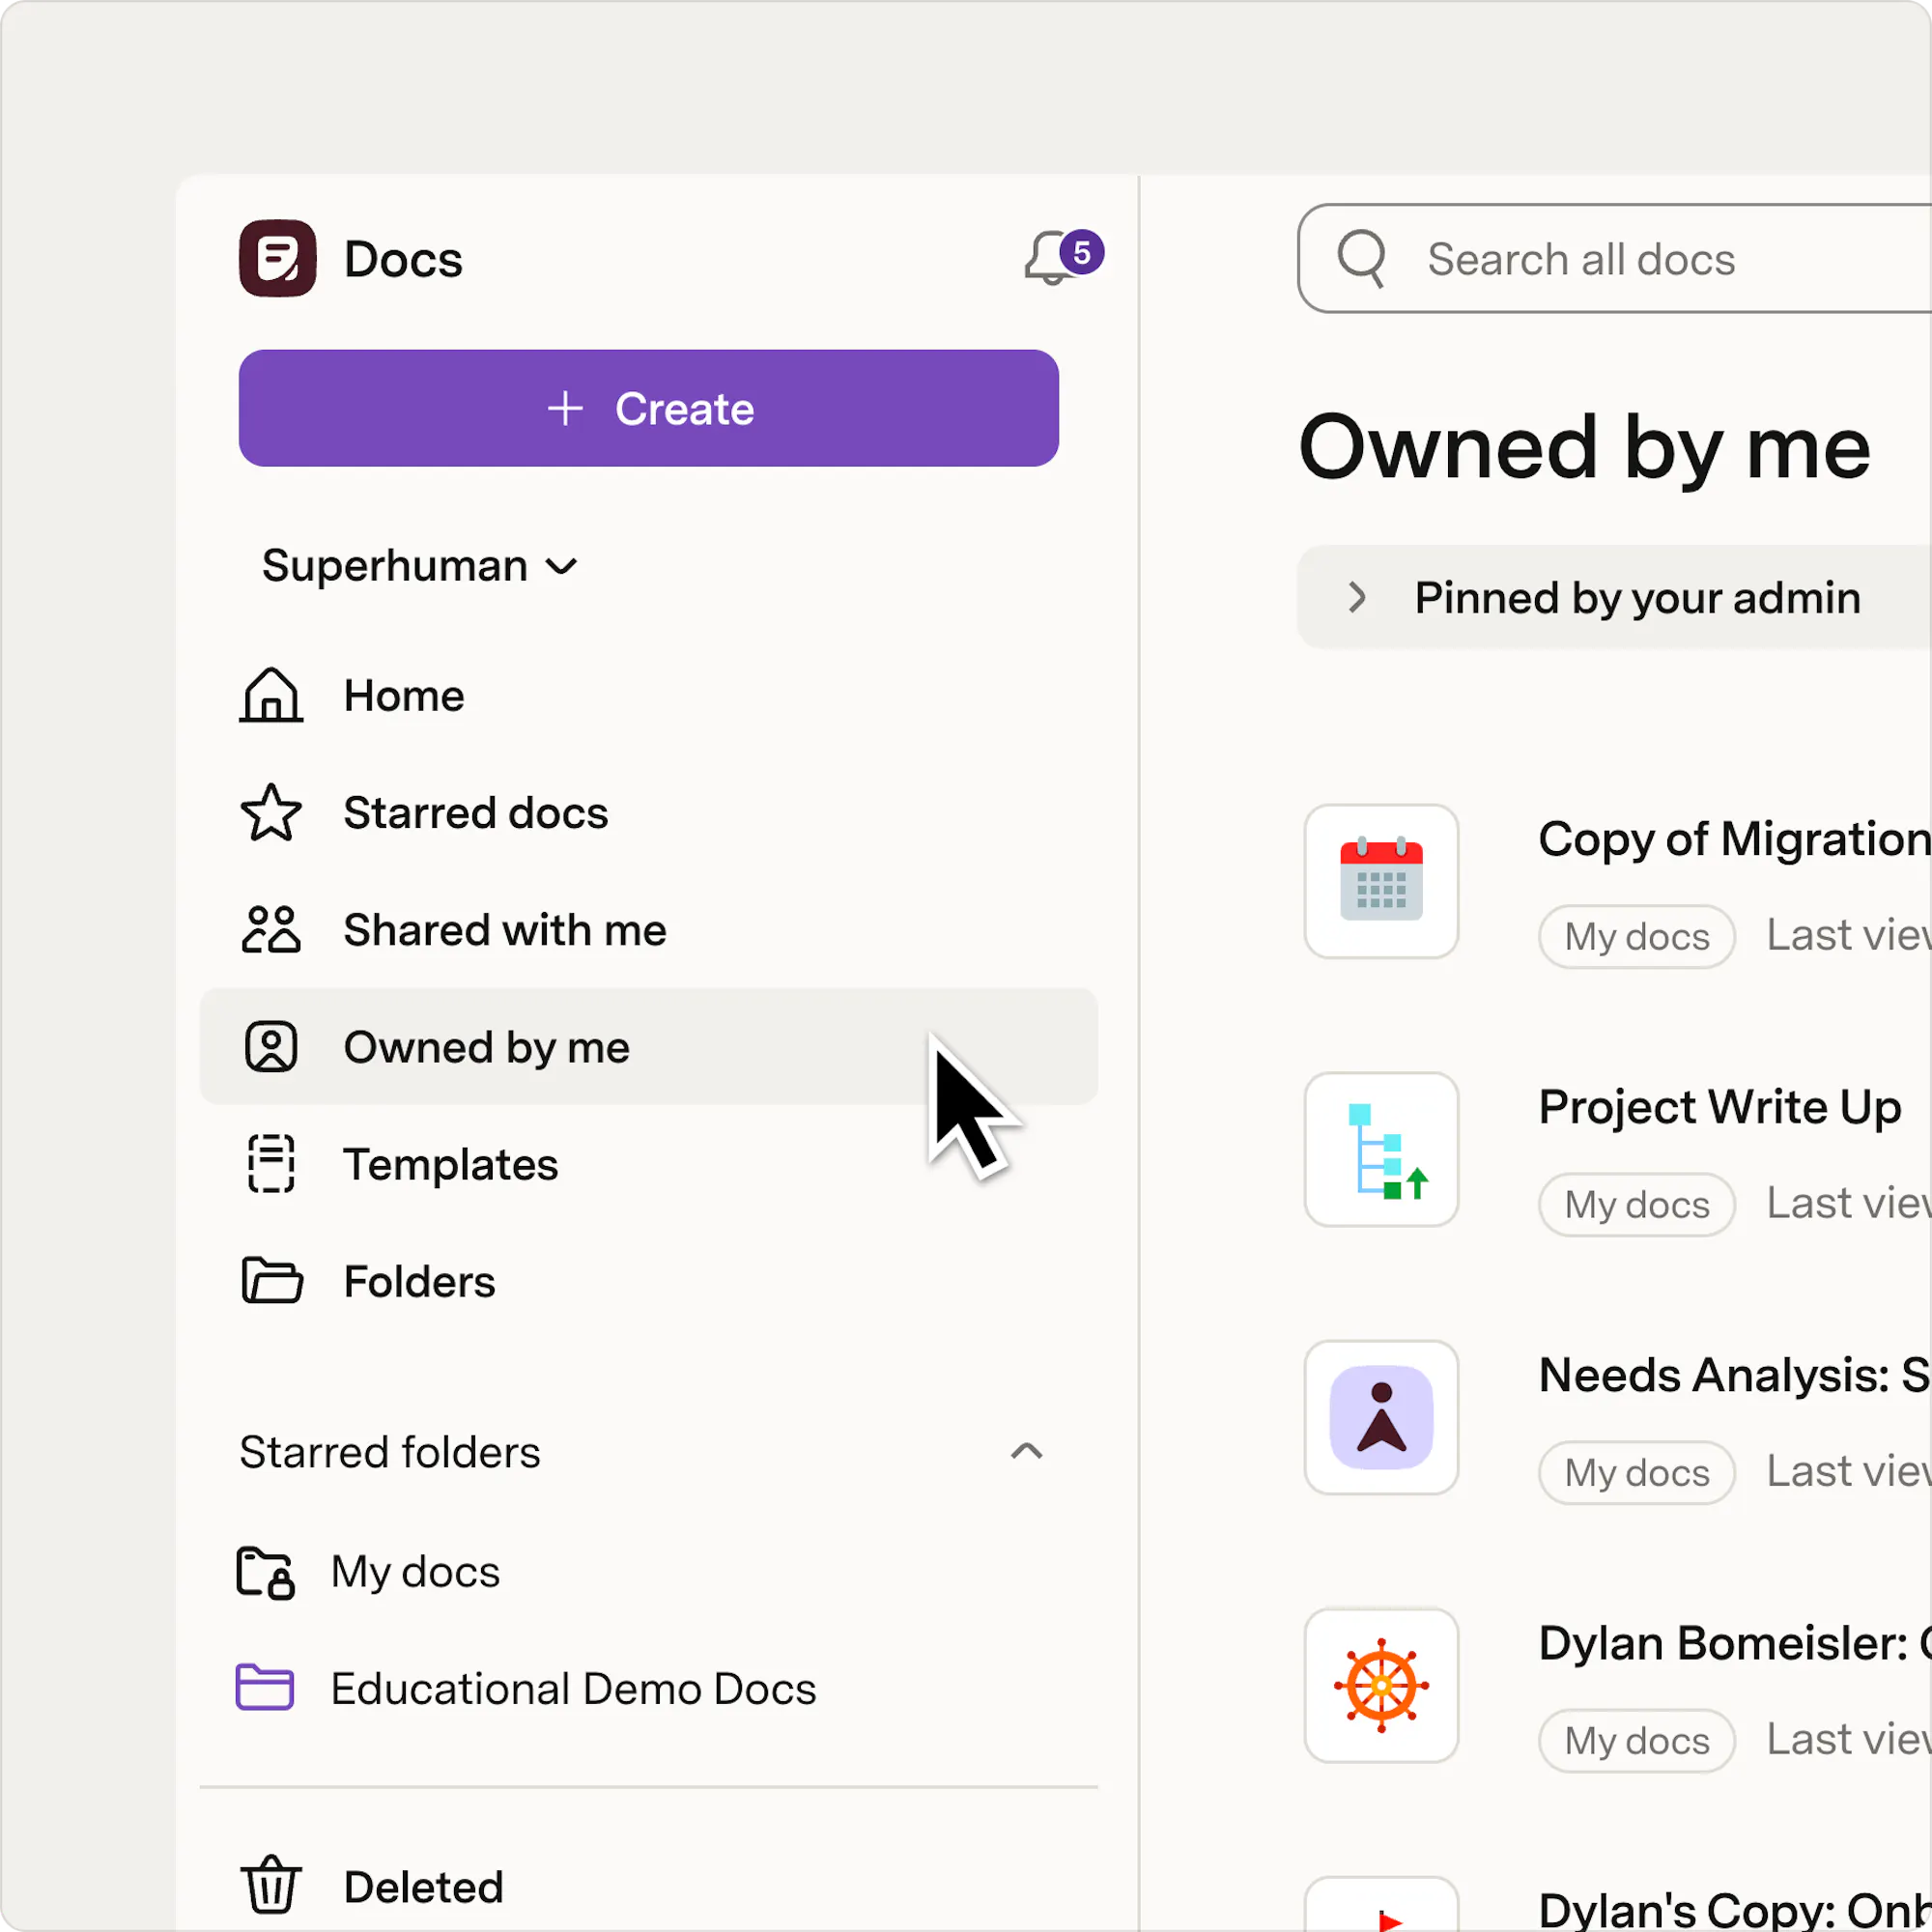
Before transferring ownership, identify which of your docs are still actively used by your team. From your workspace home, open the Owned by me tab to view every doc you own. Review the list and determine which docs should continue to be maintained after you're no longer a Doc Maker. In general, you should transfer ownership of any doc that:
- Supports an active team workflow
- Contains important documentation or reference materials
- Includes automations, Connectors, or Cross-doc connections
- Is regularly updated or viewed by other people
2. Prepare your doc
A little cleanup now will make it much easier for the next owner to understand and maintain the doc.Organize your back end
Create a dedicated back-end section if you haven't already. The back end is a section of your doc that houses your “base” tables - tables with (generally) no filtering, sorting, grouping, or formatting. You can manipulate these tables in other areas in your doc using views that show users exactly the information they want to see, in the way that makes the most sense. The back end will help the new doc owner more easily understand what data is available within the doc, and whether that information is coming from an external source (for example another doc, or a Pack), or lives only within the doc itself. Learn more about back-end setups.Name your objects
When you are in the flow of building a doc, it’s easy to forget to name tables, buttons, and controls. Giving tables, buttons, controls, and views descriptive names makes the doc easier to understand, troubleshoot, and maintain. Want to see your naming conventions for everything all in one place? Check out the doc map.3. Update automations
Some features rely on your account to continue working after ownership changes.Automations
When you build an automation, you have the option to take actions as the Automation Bot (default) or take actions as yourself. Automations that run as yourself will stop working once your account is no longer available. Whenever possible:- Change the automation to run as Automation Bot, or
- Have another Doc Maker recreate the automation so it runs under their account.
4. Adjust Pack settings
When you leave, any Packs that have been connected to the doc via your login credentials will no longer work. This means data won’t sync in or out of the doc.Settings
First, within Pack settings, check to see what shared accounts are set up for each Pack. If you have the only shared account, you’ll want to get another Doc Maker - who has the same (or better) access to the tool - and add their credentials as a shared account. Learn more.Pack buttons
Any buttons that trigger doc actions will need to be updated to be set as “user’s private account”, or set to a shared account that isn’t yours. When possible, we recommend selecting “user’s private account” - as it means any data pushed to the tool will be logged as the user who pushed the button, rather than whoever owns the shared account. Learn more.Cross-docs
Similar to Packs, Cross-doc connections that are set up via your login credentials will no longer work.Cross-doc settings
First, within Cross-doc settings, take note of the access level, then disconnect your account and, if available, have the next doc owner set up their own API connection matching your settings.Cross-doc buttons
Any buttons that trigger doc actions will need to be updated to be set as “user’s private account”, or set to a shared account that isn’t yours. When possible, we recommend selecting “user’s private account” - as it means any data pushed to the doc will be logged as the user who pushed the button, rather than whoever owns the shared Cross-doc connection. Learn more.5. Transfer your doc
There are two ways to transfer your doc to a new owner:
- within the workspace home
- within the doc itself.
Within the doc
Click “Share” in the top right of the doc. From here, you can update the access of the new doc owner to “owner”. Learn more.Within the workspace home
From the workspace home screen, click the three dots to the left of an owned doc, and click “Share settings”. From here, you can update the access of the new doc owner to “owner”.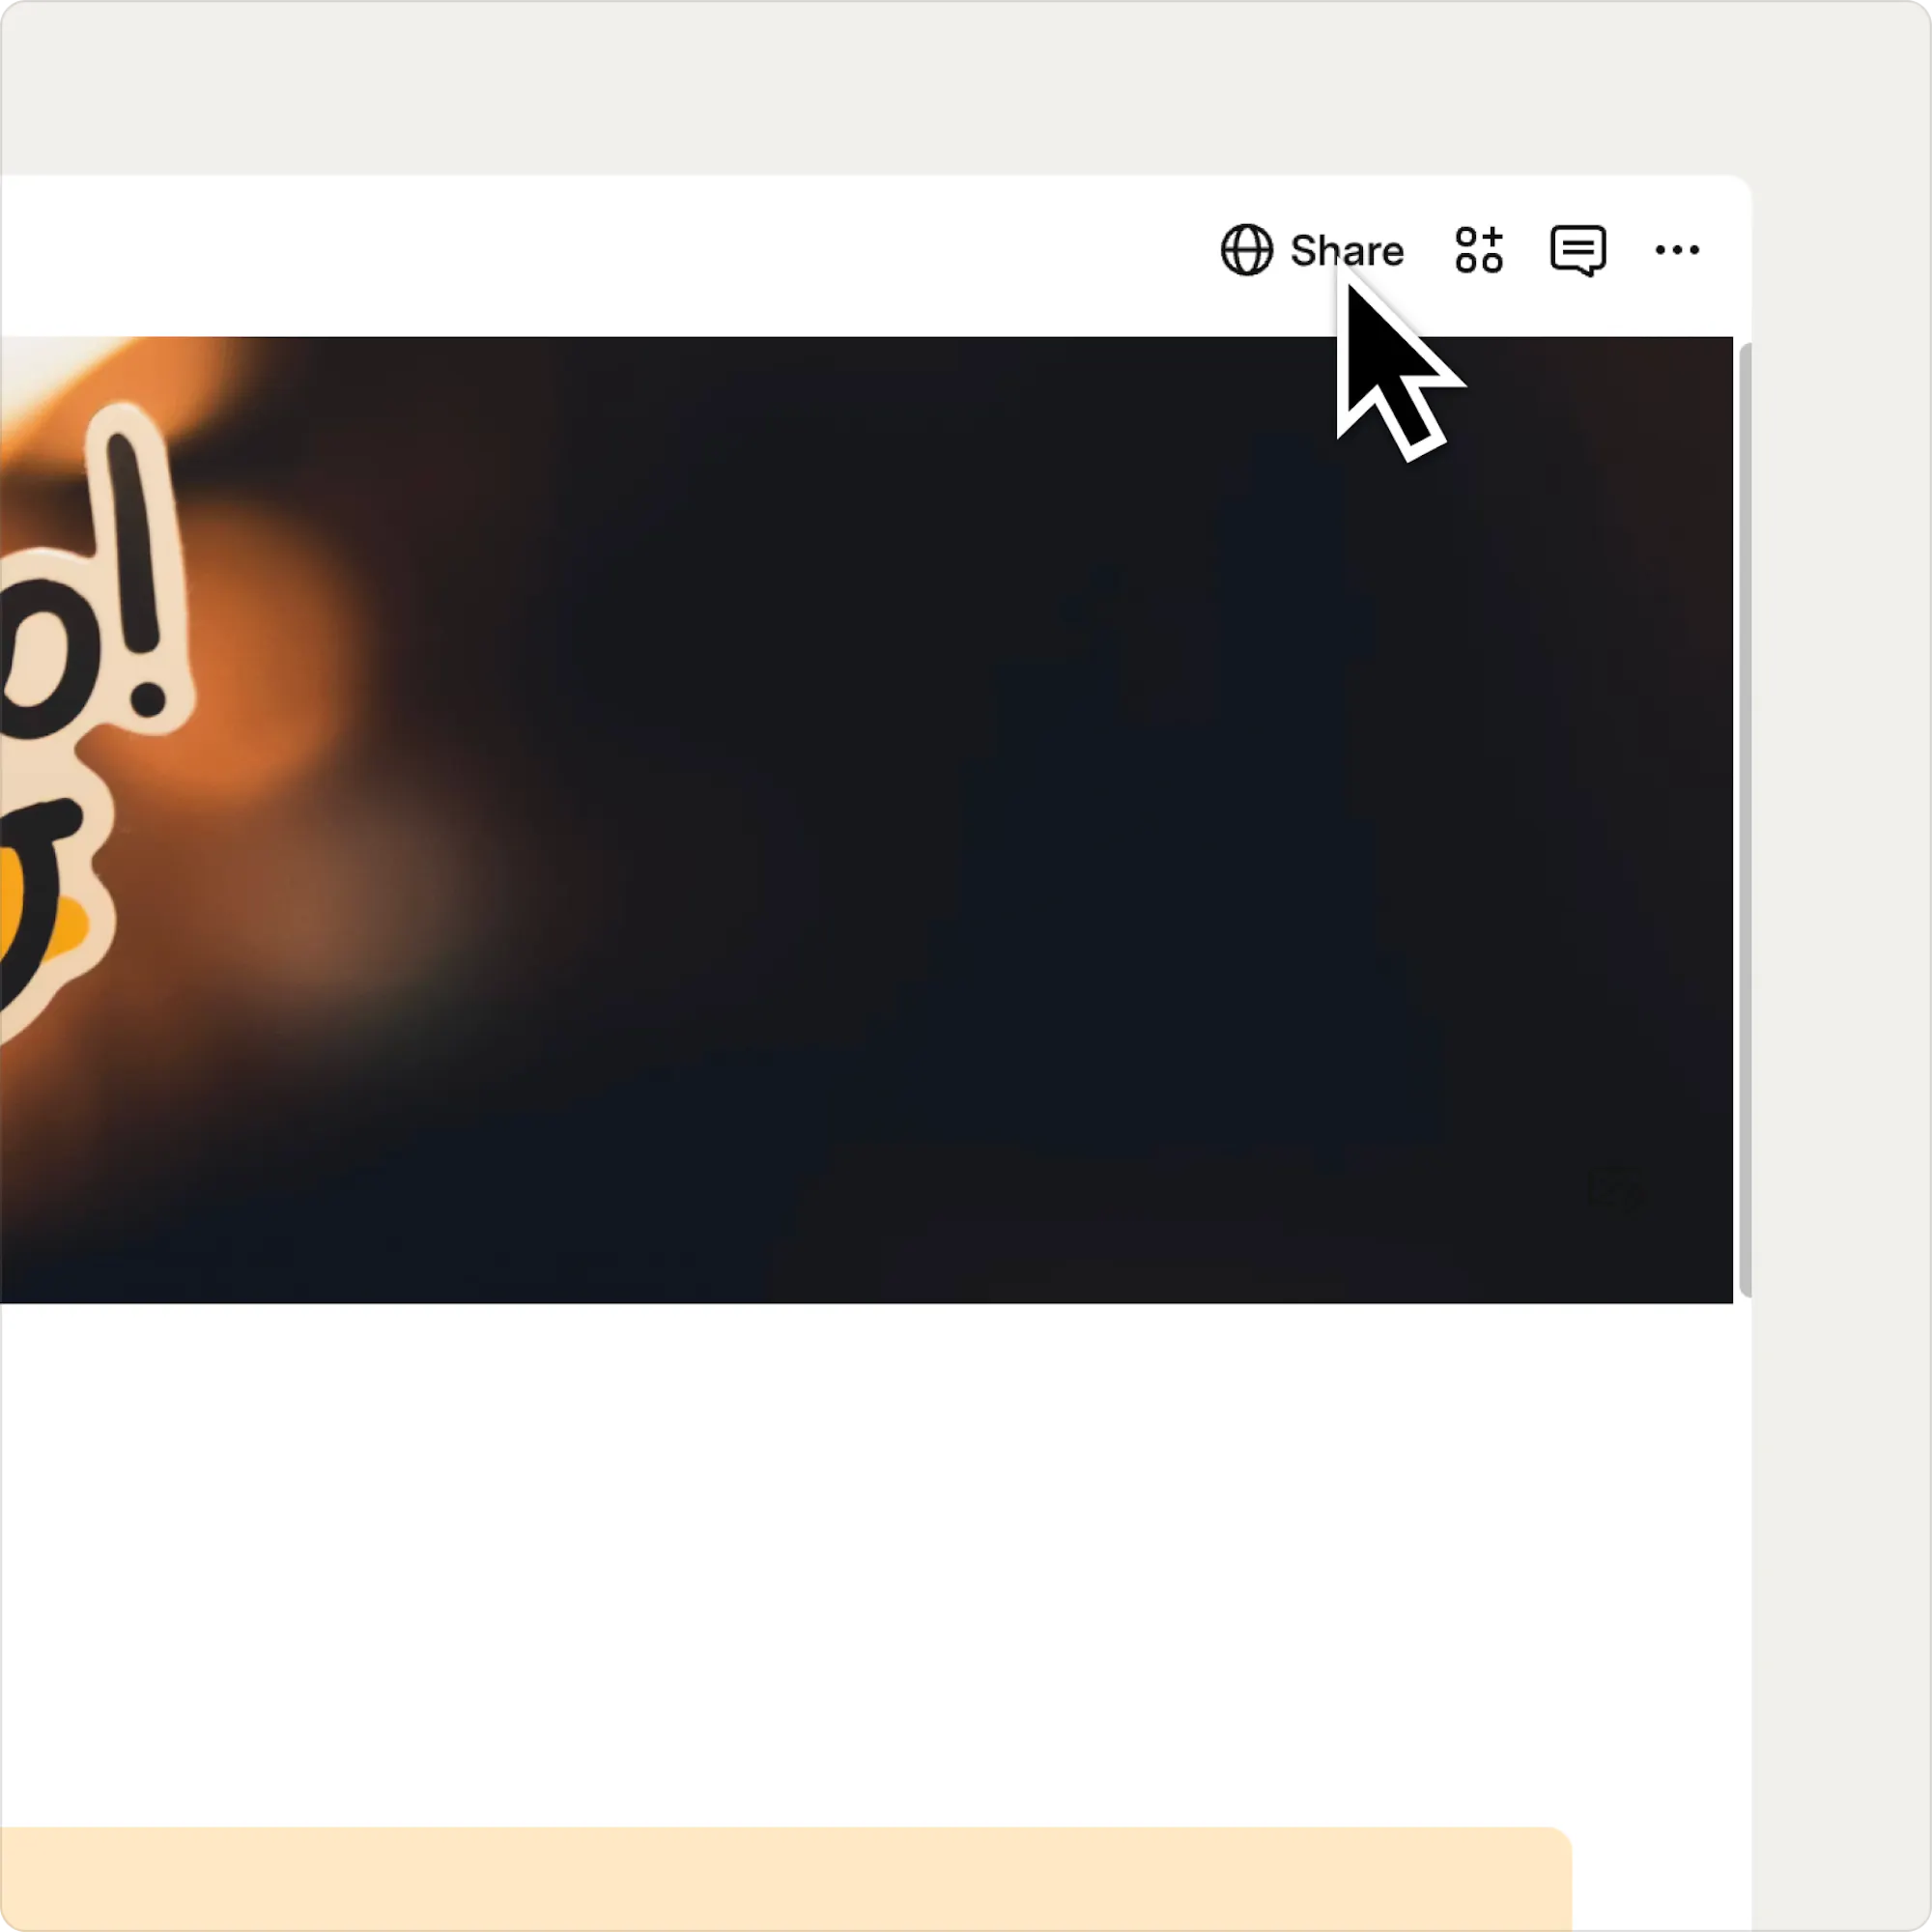
Now what?
You've handed off the doc, now make sure the new owner is set up to succeed:- Guide for new doc owners — share this with whoever is taking over so they can get up to speed quickly.
- Admin's guide to managing doc transfers — for admins managing the transfer process on behalf of your organization.
Was this helpful?
YesNo