




15 min read
Making docs that scale with your team
Build docs that grow as your team grows.
Blueprint for a scalable doc
Your Superhuman Doc is the home for all your team’s needs. Think of this guide as a blueprint that will teach you how to build a doc that scales, so that it always feels like home, no matter how much your team or data grows.
What you'll learn:
- How to build a scalable doc that grows with your team
- An overview of how data looks and works in a doc

What you'll use:
- Callouts
- Tables
- Views
Getting started
Now that you know what you’ll learn in this guide, let’s grab our tools and get into it. Create a new doc by clicking the new doc button from your Superhuman Docs workspace home.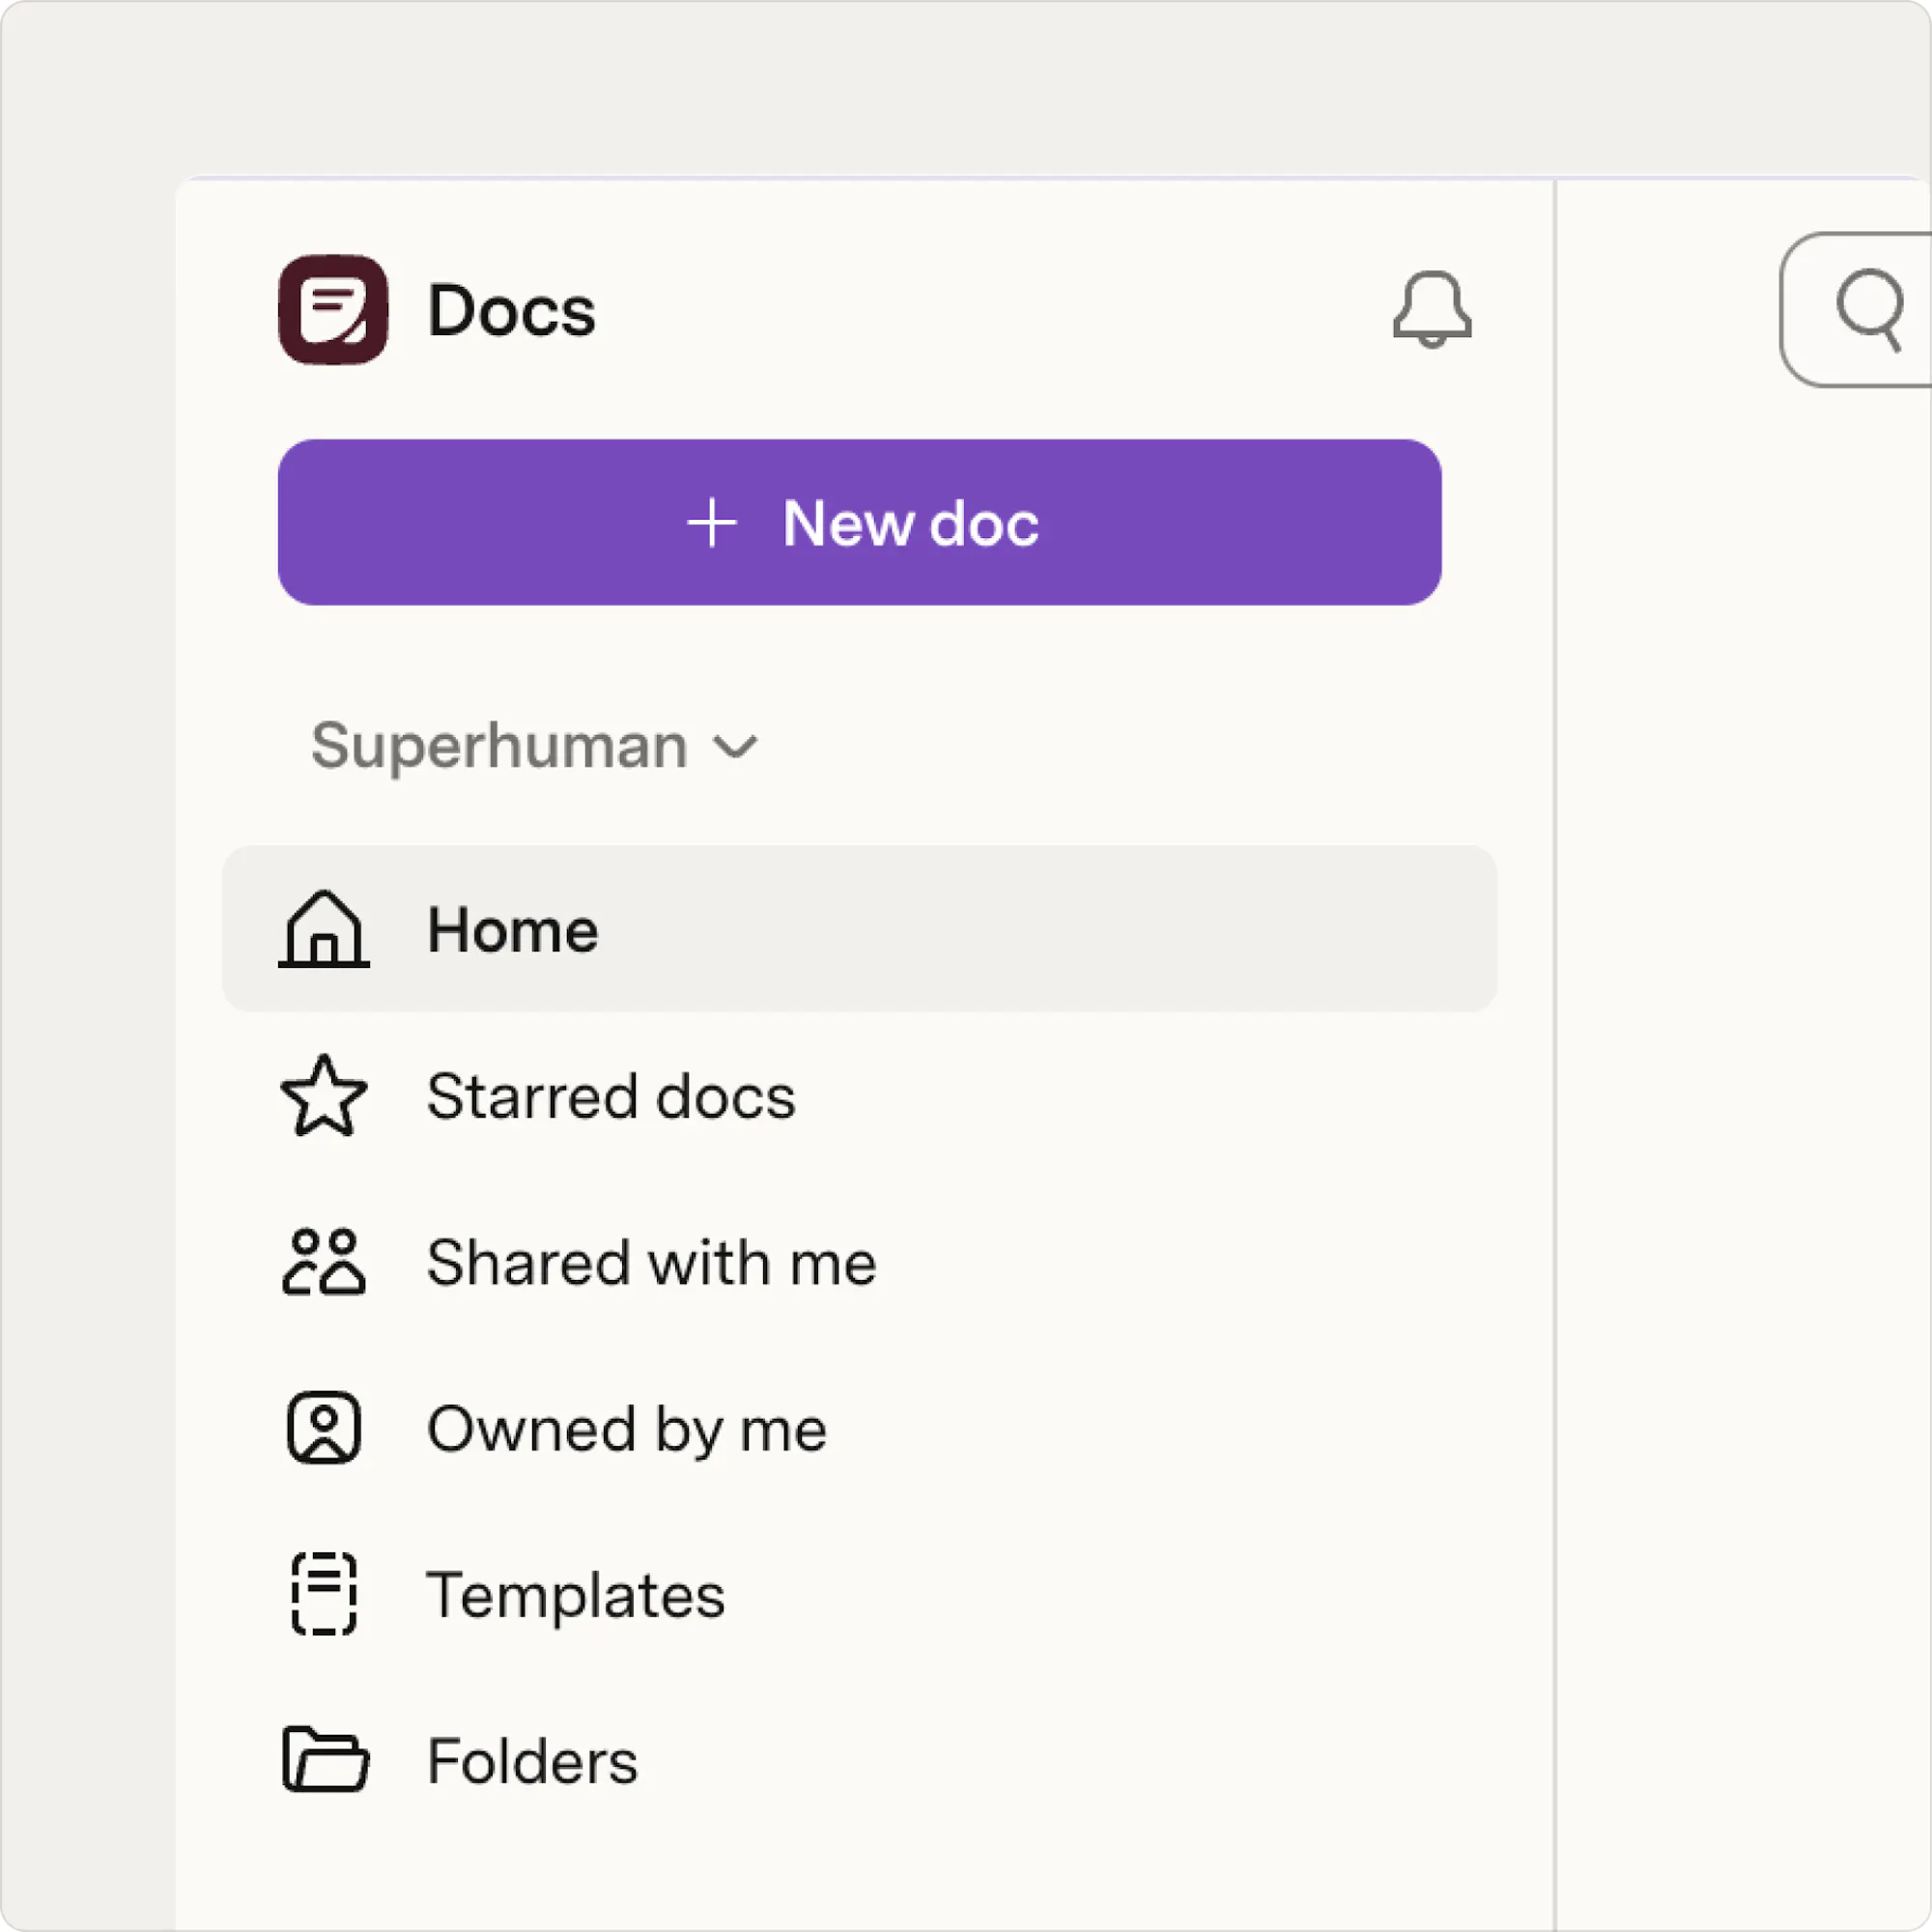
1. Structuring your doc
There are many different ways to structure a doc depending on your use case and audience. No matter the style of your build, you need a good foundation. Here are some tips.Start by answering these questions:
- Who is the audience you are building for (your team, cross functional, or leadership)? You’ll use this to make sure that you have a view for everyone.
- What key information are you trying to share? You’ll use this to make sure your tables have all the right columns of data.
- How will your audience use this doc? This will guide your doc structure.
Depending on your use case, your doc might be:
- A project tracker to organize work and monitor progress.
- A team hub that centralizes resources, documentation, and key updates.
- A planning or decision document that helps capture ideas and drive decisions.
Start with tables for all your data
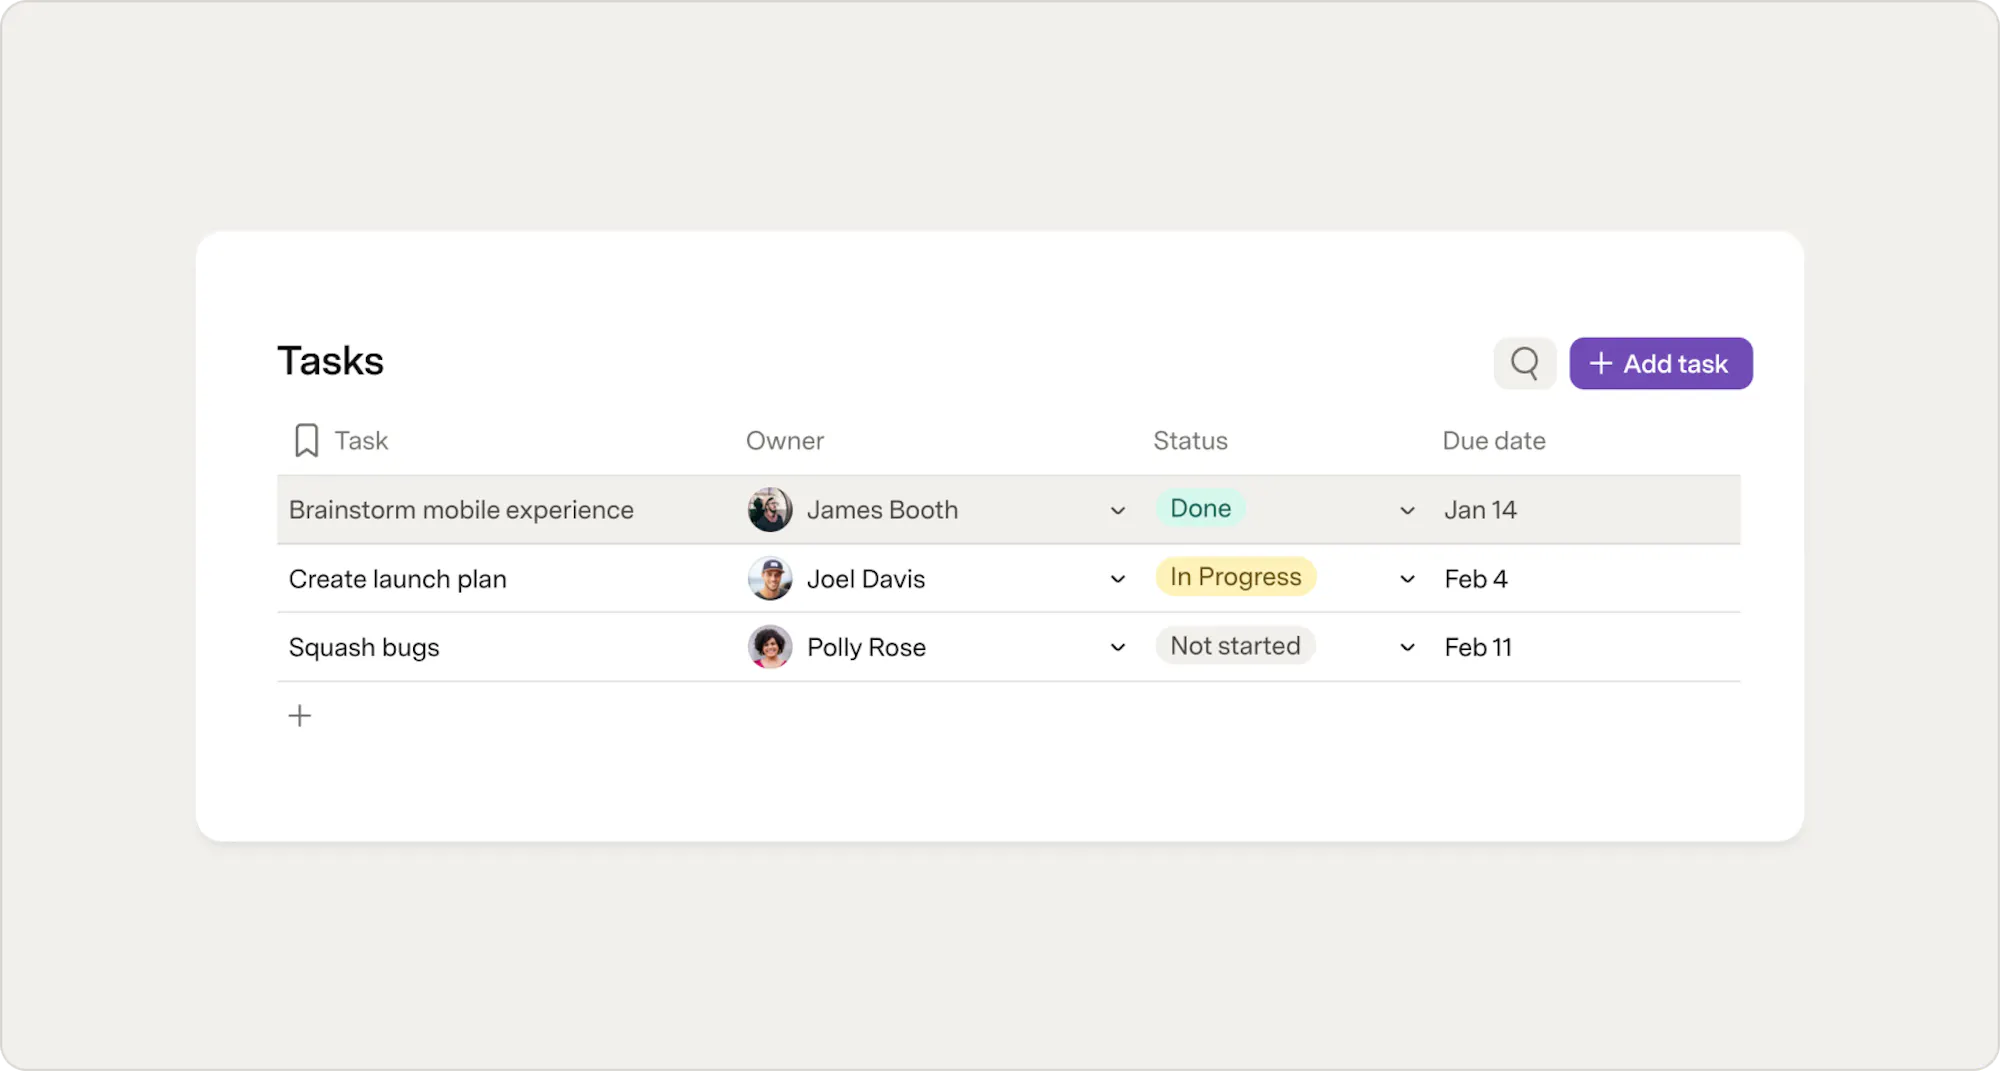
Tables are the structure of your docs. They are the scaffolding, the frame holding everything up. The easiest way to create a table is by typing "/table" anywhere on a page. For this guide, we are going to assume you have your table basics down, so we are going to use the tasks template. If you need a refresher check out this article on table basics. For now, type "/tasks", anywhere on your page, select the Tasks tracker template, and watch the magic happen. Learn more about templates here.
Set up the back-end
Now that you have your tasks table ready to use, let’s rename our page to make it clear this is the back-end. You can name it whatever you want, but here are some ideas:- Back-end page: A straightforward option.
- DO NOT EDIT: Clear and aggressive for those of us tired of accidental edits.
- Behind the scenes: Adds a little whimsy to your doc.
Now to the front-end
Views live primarily in the front-end (where your team works on a day-to-day basis) and are essential to the scalability of your doc in many ways:- All your data is interconnected, so you don’t have to spend time updating it all over the place.
- This interconnected data also means one table with multiple views performs better than a bunch of separate tables.
- Create a new page by clicking the new page option on the sidebar on the left of your screen.
- This will be your team’s main page, so name it something that lets people know what this doc is all about.
- Drag your page to the top of your page list (above your back-end page).
- Type "/table" and select Table, then Connect existing data, and Tasks. You’ve created a view.
- Add a few rows to the View of Tasks and make yourself the Owner.
- Set some due dates.
If you return to your back-end page, you will see the new rows (and all the other changes you made) there as well. If you make any adjustments to either table, both will reflect the changes. Change an owner or due date on your back-end table and it will match your view on the home page. Lastly, really increase the scalability, let’s add a filter bar to your table on your team’s page.
- Head back to your team’s main page.
- Click on the filter menu at the top of your View of Tasks table.
- In the side menu that opens on the right of your screen, select Enable filter bar.
- Use the filter bar to filter out all tasks that are due before today.

Docs tip
The filter bar is user specific, so any filter applies only to you. You don’t have to worry about messing up the view for anyone else!
2. Create the views your team needs
Views allow each of your teammates to ‘see’ data in the way they prefer. You can create connected views based on any column of data in your table. You can create a view for a specific person, a team (if you have a team column), or anything else. Like you explored in the previous section, updating data in one view updates it in all views making it easy for your team to stay in sync.- Create a new page and title it My tasks.
- Add a view of the tasks table (”/table” -> Connect existing data -> Tasks). Name this table “My view of tasks.”
- Click on the filter option to the top right of your new view.
- In the side menu that opens to the right of the screen:
- Click + Add filter.
- Choose Owner.
- Select current user.
You can also hide certain columns in one view if you don’t want them. Maybe for the view of current user's tasks it is no longer important to see the Owner. This can help create streamlined views of data to make your doc easy to consume. In a view, right click the top of a column and then click hide. That data is still in your doc, just hidden from that specific view. Maybe you love everything about a table, but you only want to see information relevant to you. That’s when the filter bar (covered in the previous step) is really useful. Plus it can help your doc stay performant, too!
3. Bringing it all together
If your team feels at home, they are more likely to use your doc. Let's edit how users can add tasks to make the flow more intuitive.- Right click the Add task button to the top right of the table.
- Toggle on Open row for editing.
Now that you have your doc construction nearing completion, you want a warm welcome for each page. So, give clear direction on the steps a user should take to interact and be successful. Written instructions (you can make them collapsible) on each page after your welcome page will ensure everyone is aware how the doc works.
- Add a welcome message by simply typing in the canvas.
- Format your text. You can add headings (by typing "/H1"), highlight your text different colors, or add emojis to get your audience's attention.
- If you’ve already typed something you can click the hamburger menu next to the text and change it to a callout, or you can start with a callout by typing "/callout" anywhere on your page.
You can also welcome your team and explain your doc with an embedded video. This is a favorite of the Superhuman Docs team.
- Film your video and upload it to the streaming platform of your choice.
- Type "/embed" and choose embed.
- Paste in the link to your video.
Now what?
Using the skills from this guide, there is no limit to what you can do. Here are a few good next steps to keep building:- New table or new view? — go deeper on when to create a connected view instead of building something new
- How to identify and address docs with high table counts — learn how to spot and fix docs that have grown too complex
- Creating a tagging system — build a filtering and tagging system to keep your views organized as your doc grows
Was this helpful?
YesNo