




11 min read
Getting started with the Salesforce Pack
How to bring Salesforce data into Superhuman Docs for collaboration, knowledge sharing, and accessibility.

What you’ll learn:
- How to share Salesforce data with teammates without additional Salesforce licenses
- How to connect Salesforce data with other company data using Packs

What you’ll use:
- Salesforce Pack
- Tables
What this looks like in practice
Instead of sending screenshots or granting extra access, you can share live Salesforce data directly in your doc. For example, you might:- Share a live pipeline report with your leadership team.
- Build a deal dashboard for marketing or product.
- Give support teams visibility into customer history.
Add the Salesforce Pack to your doc
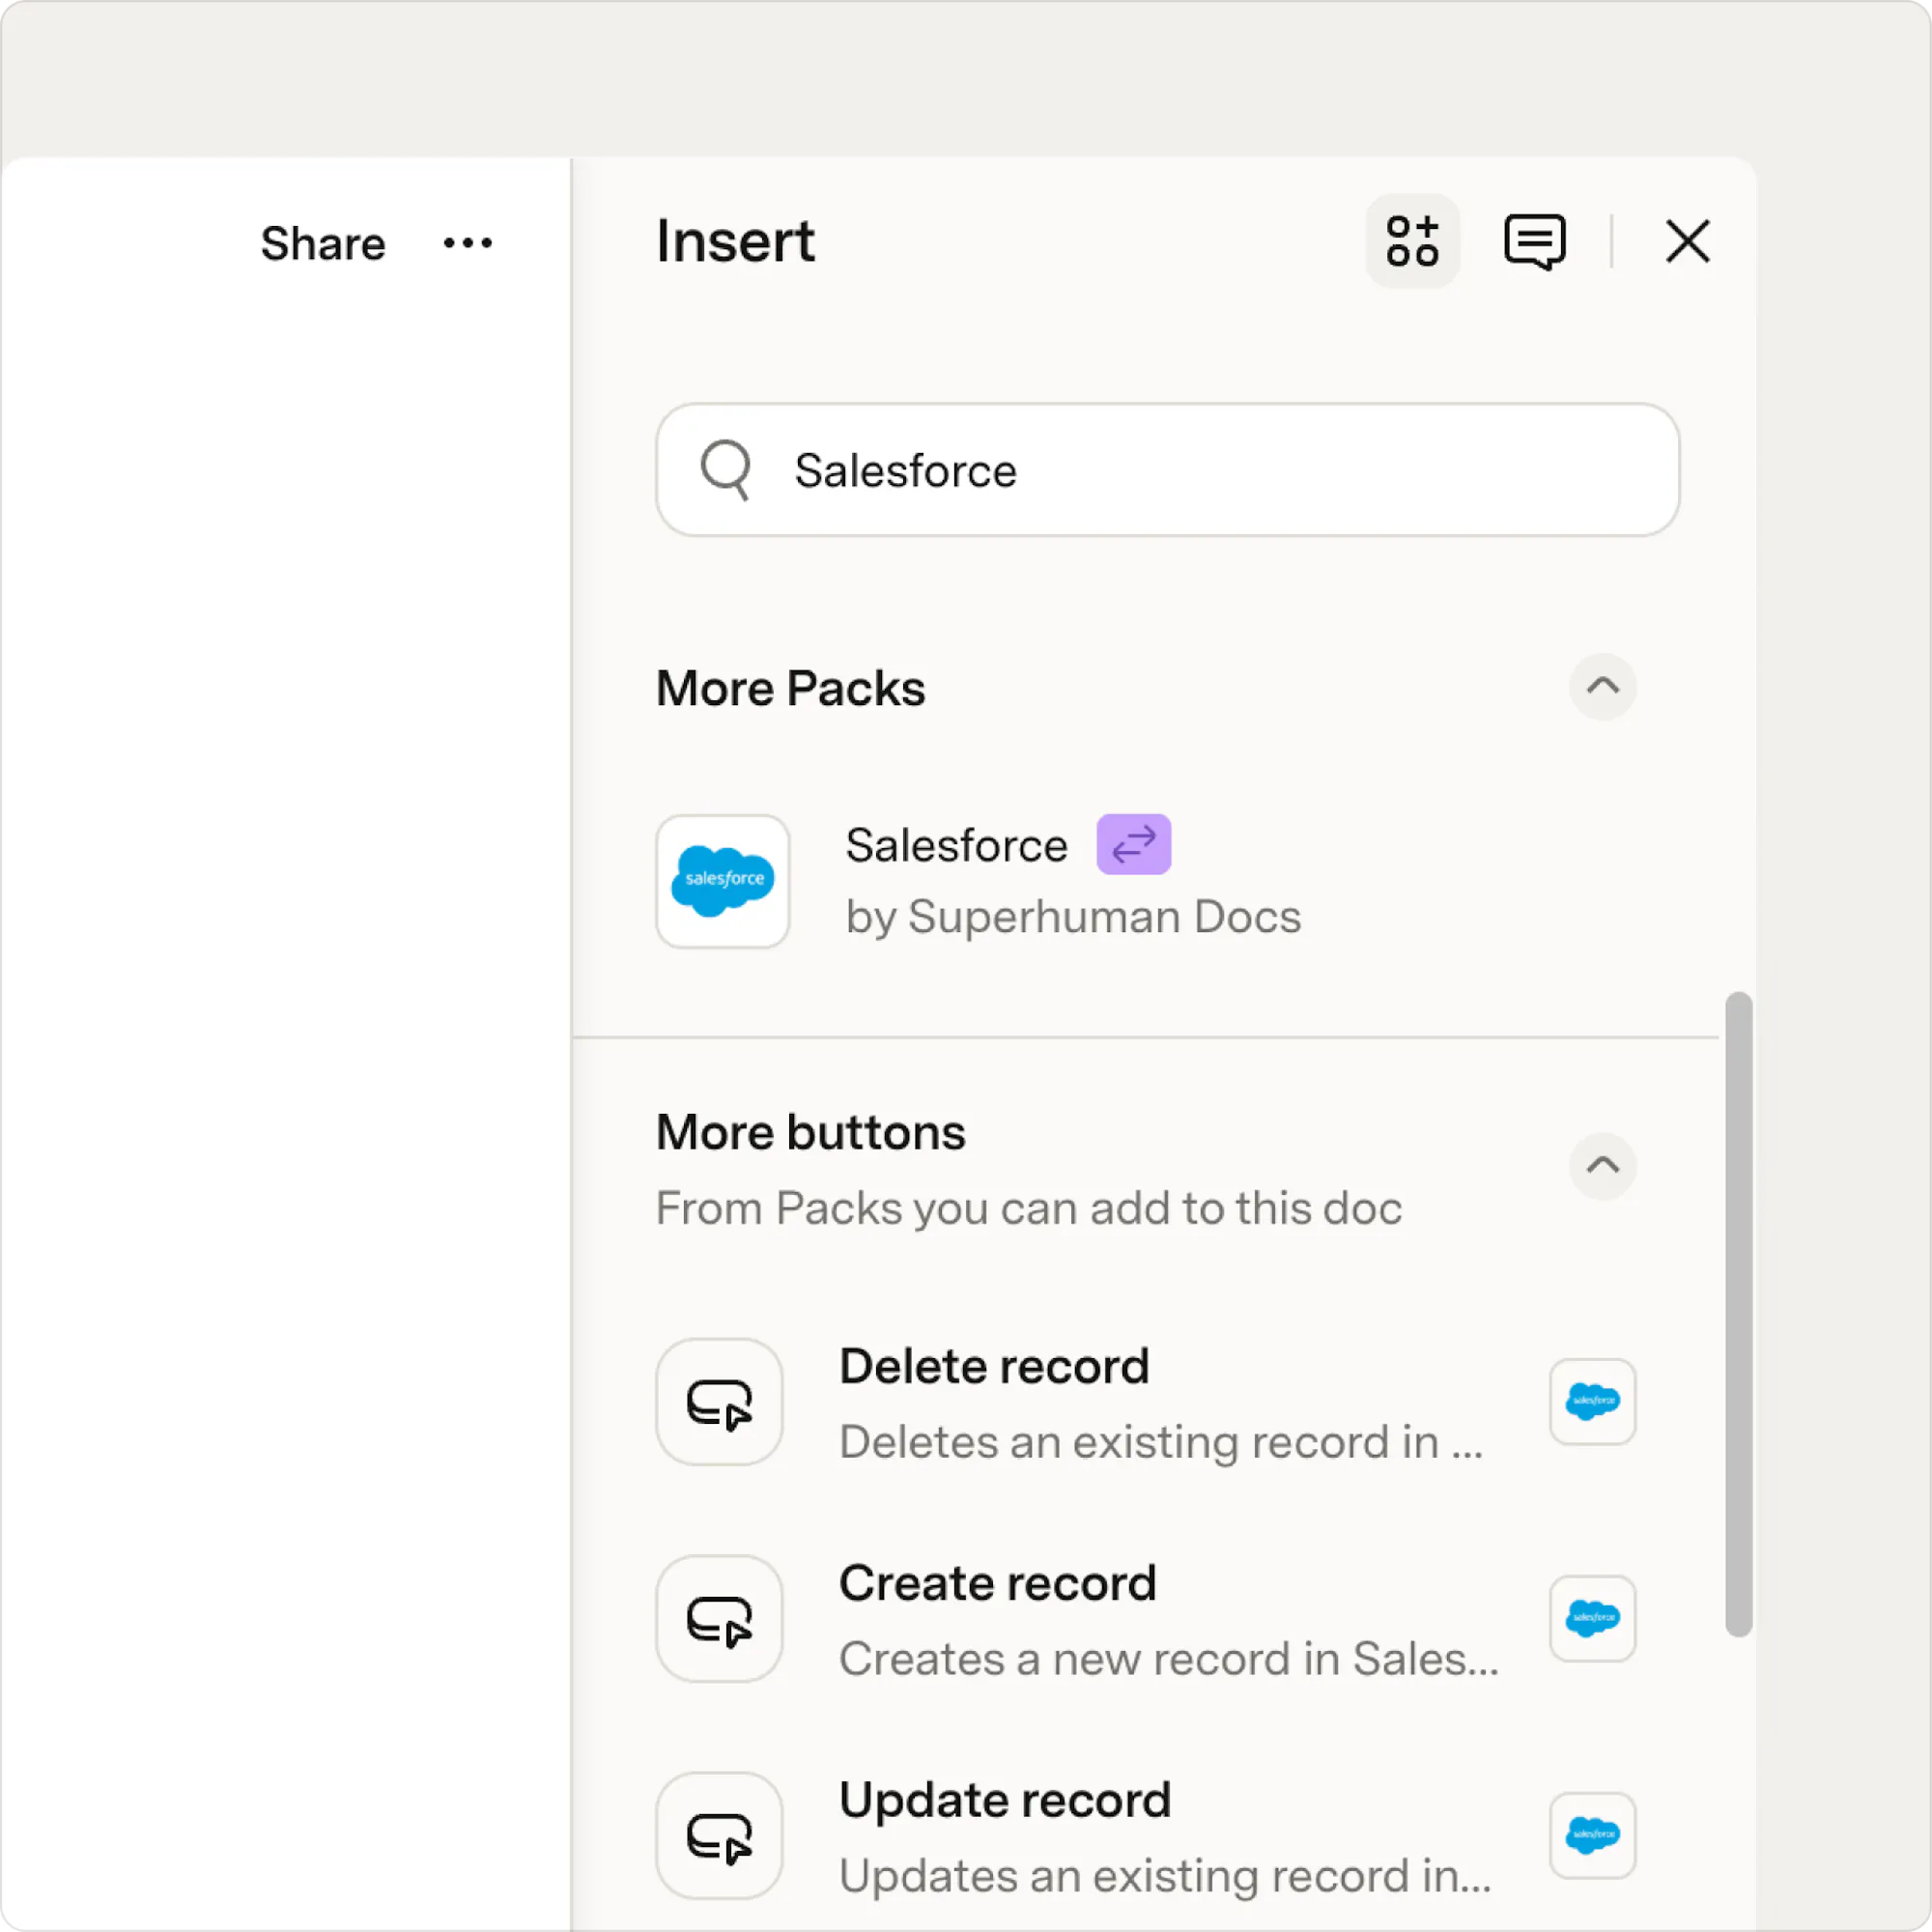
Start by adding the Salesforce Pack to the doc where you'll work with your Salesforce data. If you already have a doc in mind, you can add it there. Otherwise, start with a new doc.- Click the Insert button in the top-right corner of your doc.
- Search for Salesforce.
- Under More Packs, select Salesforce by Superhuman.
- Click Select configuration.
- In the Salesforce panel, click the Settings option along the top.
- Click Connect to Salesforce.
- Select Sign in with Salesforce and complete the login flow.
- When prompted, click Allow to grant access.
- Click Complete setup.

Having trouble connecting?
If you run into issues connecting, your Salesforce admin may need to approve access for your organization. Learn more.
Sync a Salesforce report
Reports are one of the key ways to bring data into Superhuman Docs. When you sync a report, it shows up as a table that stays up to date with Salesforce.Before you start
Your Salesforce report must include a unique ID (like Account ID or Opportunity ID) for each record. Without it, the sync won’t work.Add and configure the sync
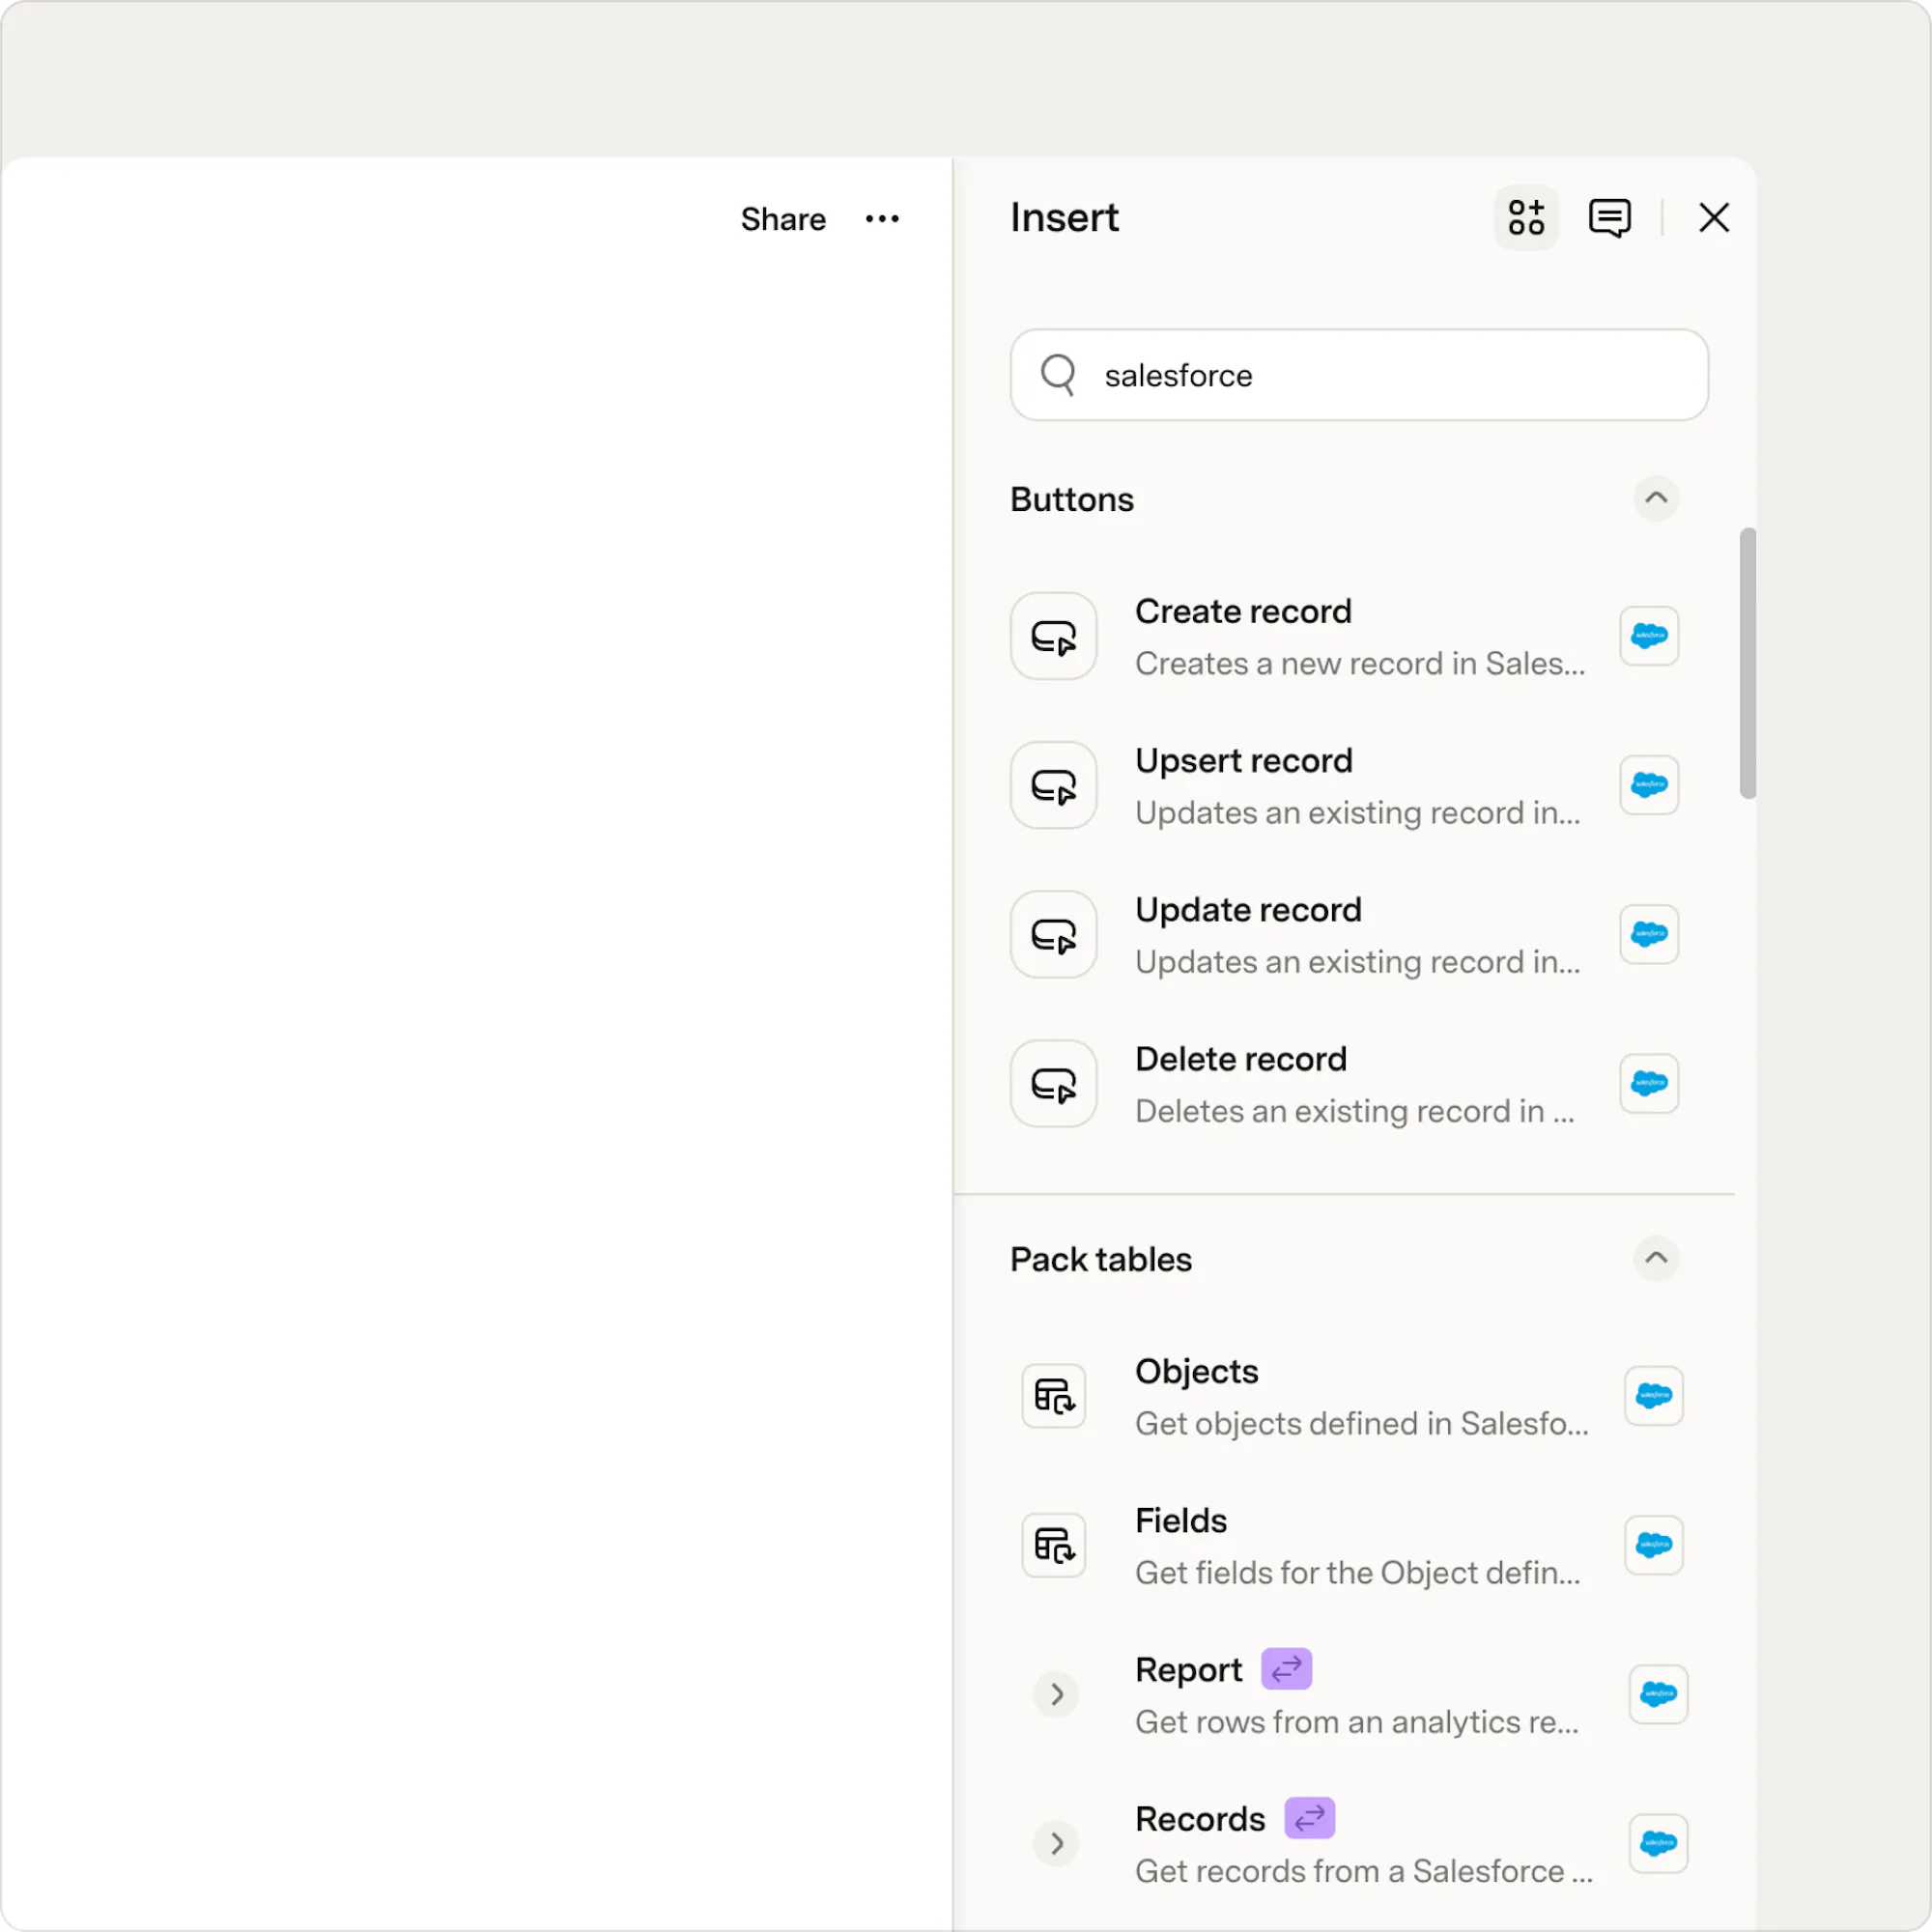
- From the Salesforce panel, under Building blocks, drag the Report onto the page.
- Select a refresh rate. You can keep it manual or set it to update hourly or daily.
- Decide whether to enable two-way sync. This allows edits in your doc to update Salesforce. Leave this off for now unless you specifically need it.
- Choose the account to use for the sync.
- Open the Advanced tab and set a table limit.
- Click Sync now.
Review your Pack settings
Before sharing your doc, take a moment to review how your Salesforce data is accessed.- Click the Insert button in the top-right corner of your doc.
- Open the Pack tab.
- Under Installed Packs, select Salesforce.
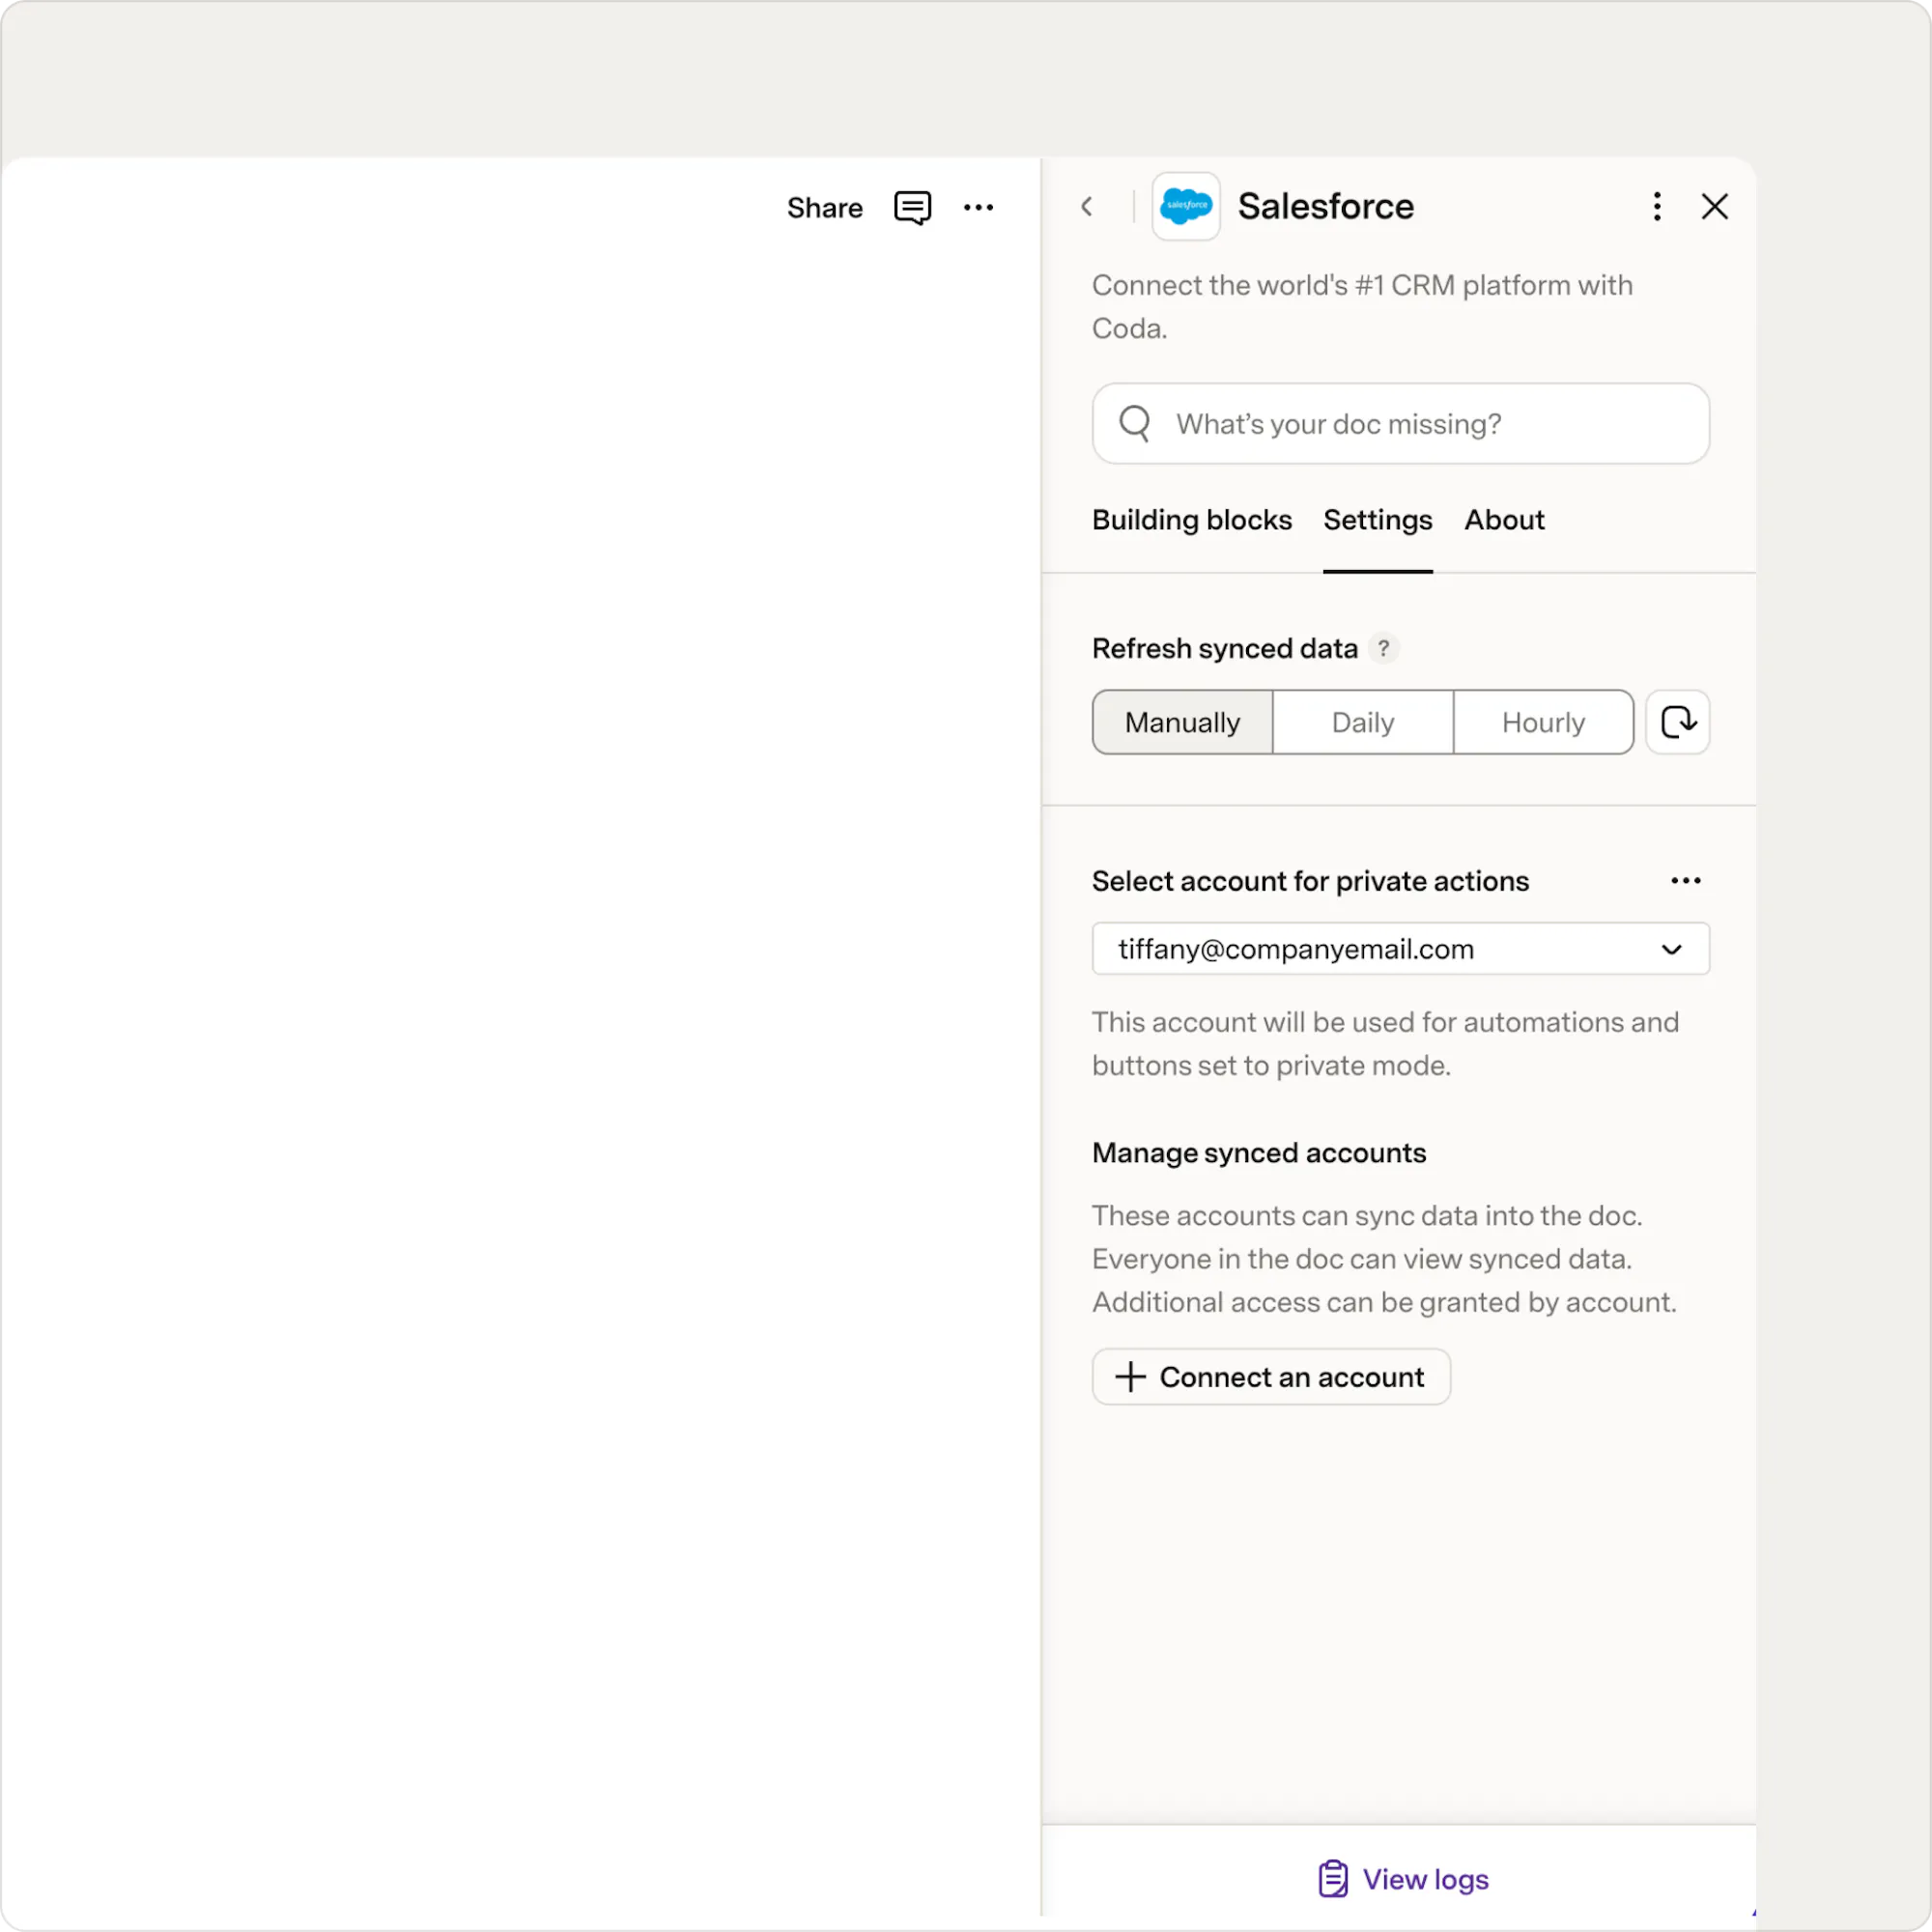
- Open the Settings tab.
Understand your settings
These settings control what your collaborators can see and do with your Salesforce data.Refresh synced data
Choose how often your data updates.- Manually gives you full control.
- Daily or Hourly keeps data fresh automatically.
Select Account for private actions
Only you can take action using this account. It is used for automations or buttons set to private mode. This is best for sensitive updates, like editing records.Manage synced accounts
These accounts are used to bring Salesforce data into your doc. For each account, you can control what editors are allowed to do:- Sync in data using this account.
- Take action with this account.
Recommended setup
Start with a synced account that allows viewing data only, without enabling actions. This gives your team visibility into Salesforce data without risking unintended changes.
Now what?
Your Salesforce data is now live in your doc and ready to use. Instead of pulling reports or sharing screenshots, you have live data your team can use. Here are a few ways to get started:- Build a dashboard to track pipeline, key accounts, or deal status.
- Share filtered views with stakeholders who don't have Salesforce access.
- Add columns to enrich your Salesforce data with context that lives in your doc, like owner notes, next steps, internal status.
Keep exploring
Was this helpful?
YesNo