


10 min read
Row archiving to slim down your doc
Keep your important data safe without using up too much space in your docs.

What you'll learn:
- How doc size contributes to performance
- How to use row archiving to reduce doc size

What you'll use:
- Tables
- Buttons
- Compose column
- Formulas
The strategy
When archiving, your goal should be to save relevant information in the most space conscious way possible. While it’s true that certain types of columns take up more space than others in your doc, at the end of the day, more columns will always take up more space than less columns will. Having many detailed columns is super handy during a project for keeping things organized and making it easy to filter information. However, they tend to become less necessary once the project is wrapped up. Usually, a project summary and a few key data points are all that's needed for future reference. For example, if you have a project table with 100 columns of various data points, once the project is finished, you may only require:- Project name
- Project summary
- Completion date
- Customer sentiment rating
- Project owner
1. Create an archive table
As we go through this guide, we’ll refer to a source table (for you, this could be a table that holds projects, tasks, or whatever you’d like to start archiving) and an archive table. Create a table to hold your archived rows from your source table.2. Add filter columns
Decide which columns from your source table that you’d still like to be able to filter on in the future, and add those columns to this table. For example, you may want to be able to filter on:- Project Name
- Project Owner
- Completion Date
3. Create a row summary
In your archive table, create a column that will hold all the remaining column details available in your source table. In your source table, create a compose column. This is where we will compile all the details that won’t have their own designated column in your archive table. To get started, you can use bullet points to add the remaining details to your source table, but you’re welcome to format this column however you’d like!
4. Configure archive marker
In your source table, create a checkbox or toggle column. We’ll use this column to designate which rows you’d like to archive. You can keep this a manual process, or you can add a formula to this column to automatically mark this as “true” based on certain criteria like:- If status is “done”
- If due date is over 30 days old
5. Create an archive button
Add a formula
In your source table, add a button column, and open up the button settings. We’re going to create a button that takes two actions:- Add a row to your archive table with the details of a specific row, mapping them to the designated columns you decided to keep, and compiling all other details into your summary column.
- Delete the source row from the source table.
- RunActions() - allows you to run more than one action in a specified order. This will allow us to add our row to the Archive table, and then delete the row from the source table after it’s been archived.
- AddRow() - adds a row to a table
- DeleteRows() - deletes a specified row


AddRow() Formula Breakdown
The structure of this formula looks like this: AddRow(Table, Column, Column Value)
- Table: the table to modify
- Column: the column to populate
- Column value: the value to set in the designated column
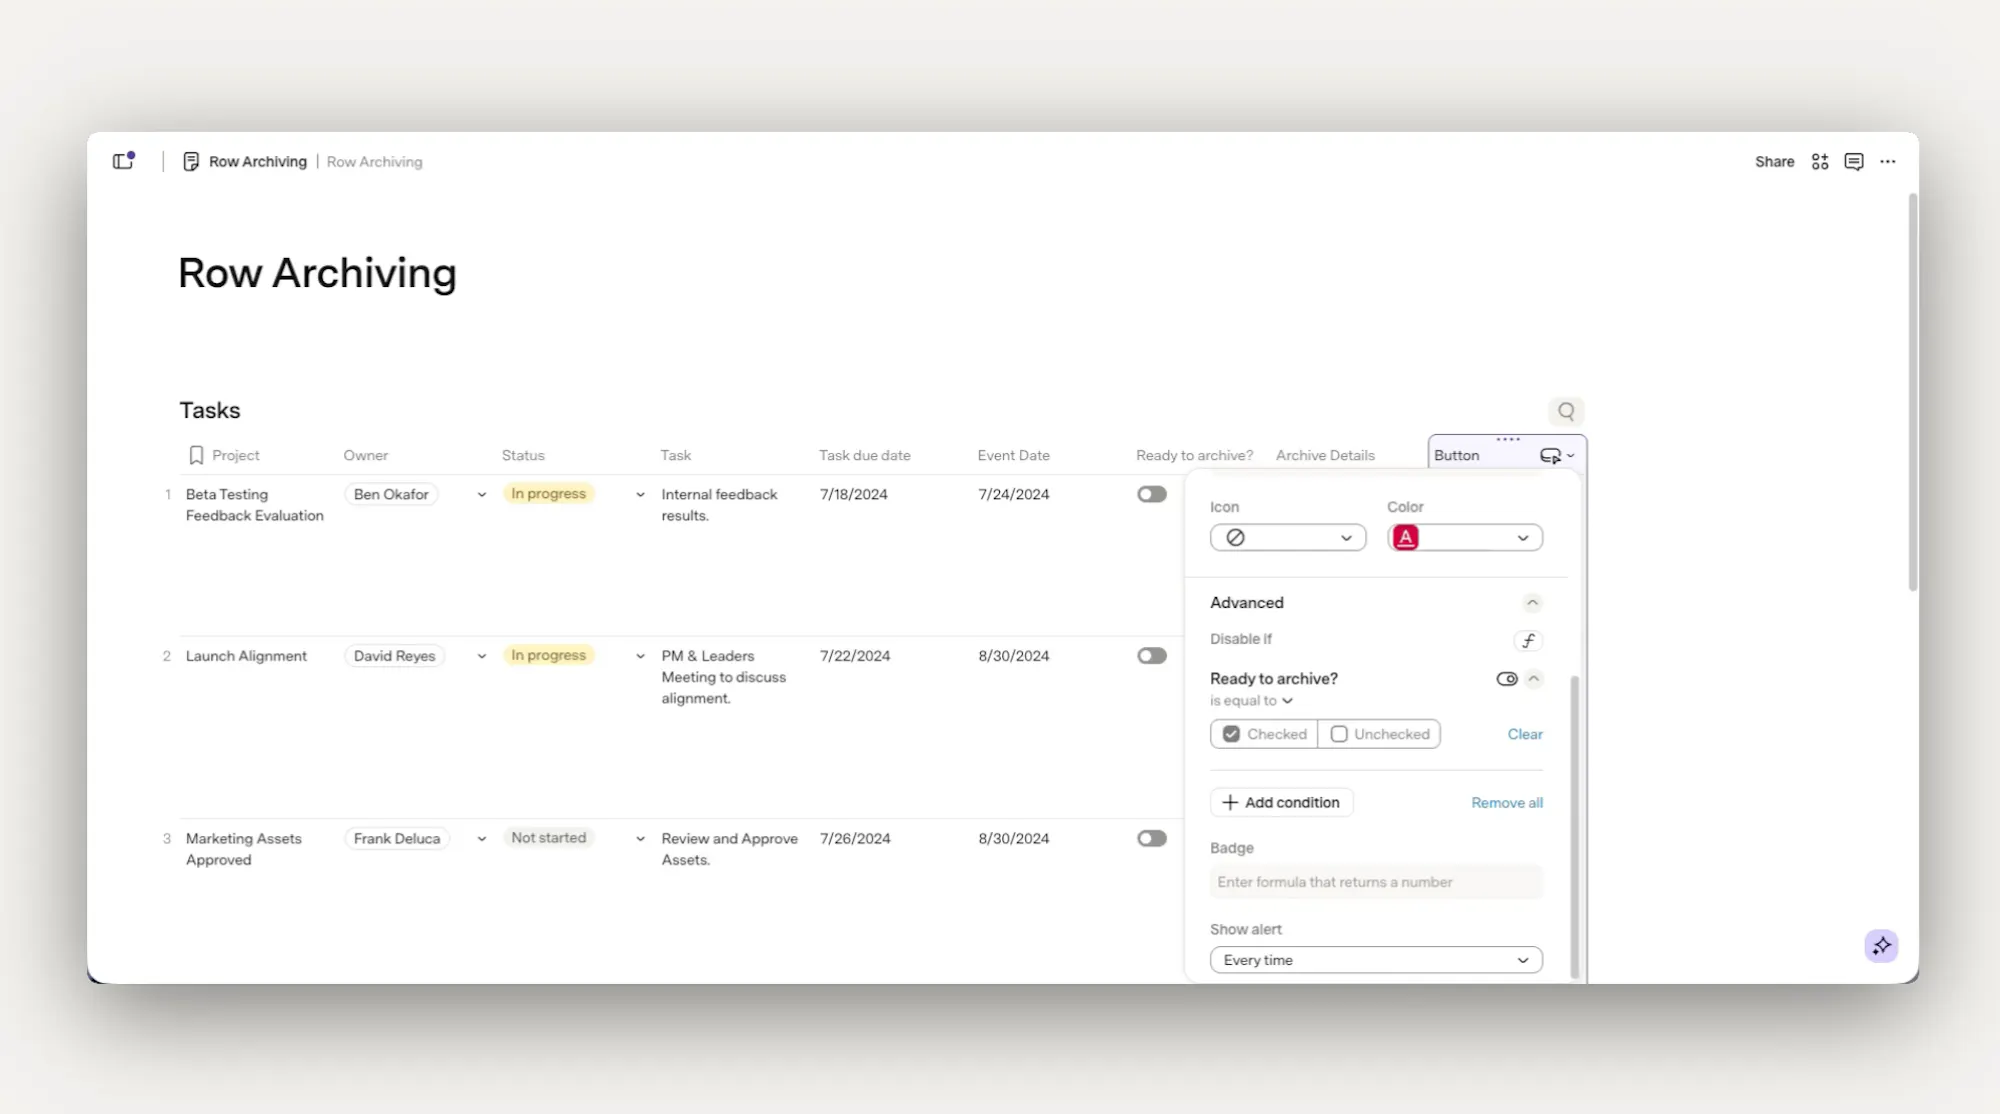
Add Disable If criteria
In the Advanced section of your button settings, we’re going to add Disable If criteria to disable this button if a row is not marked as ready to be archived. We’ll do this by targeting the checkbox/toggle column we made earlier in the tutorial. In this section, you can add a rule that says:- If [name of checkbox/toggle column] is equal to “unchecked”
6. Start archiving
Now that you have your button column in place, you can either formulaically designate rows to be archived if they meet specific criteria or manually mark them to be archived. Once you have some rows ready to be archived, you can press the archive button manually or:- you can create a button that pushes buttons to push all the enabled buttons in your table.
- you can create an automation rule to push these enabled buttons for you on a specified cadence.
What’s next?
For more tips on addressing performance issues in your docs, check out this article here.Was this helpful?
YesNo