


4 min read
Introduction to Super Docs
So, someone shared a doc with you; here's what to know.

What you’ll learn:
- What you’re looking at
- How to use a Superhuman Doc
- How to find what you’re looking for

What you’ll need:
- A doc
Terms to know
Doc: The collaborative space that brings all Superhuman Docs' building blocks together...aka: the thing that was just shared with you! Page: The basic scaffolding of Superhuman Docs. You can have as many pages as you like, giving your doc infinite depth to grow. Table: A table in Superhuman Docs can be as simple as a list or as deep as a database. And it can have customizable, connected views, so everyone can work off the same data, in their own preferred way.Superhuman Docs: At a glance
Superhuman's docs are organized by pages and subpages, which you can find in the page list on the left-hand side of your doc. Pages bring together unstructured data—like text and images—and structured data—like tables. Some like to think of pages like tabs in a spreadsheet; others prefer to imagine them as chapters and subchapters in a book. Pages can also bring in content from another doc; we call this sync pages. Or even bring in content from another tool via page embeds. To learn more about embedding third-party content as a page, check out this article. Learn more about docs, pages, and tables here.
< All docs in the upper left corner of a doc. No need to worry about workspaces for now, but if you’d like to learn more about them, check out this article.
Docs tip
If you’d like to know who else has access to a doc (and all its pages and subpages), click Share in the upper right corner of the doc. This will show who has access and what type, as well as who the owner is.
Interact with a doc
There are many ways you can interact and engage with a doc. Below, we share some of the simplest and most impactful ways to interact with a doc.Add a Comment:
Comments are the simplest way to communicate within a doc. To add a comment, highlight the text or select the table row that you’d like to comment on. In the inline text editor (or right-hand margin of the page), you’ll see a speech bubble with a plus sign. Click to add a comment!
Suggest a change:
Suggesting changes is a great way to recommend an improvement without making a permanent edit. To suggest a change, highlight the text or select the table row and choose the thought bubble with the pencil to enter Suggest changes mode. Any edits will create a suggestion that can then be accepted or rejected.Undo an oops:
Think you may have changed something on accident? No worries—undo is always an option. Hover over the doc title, click the three horizontal dots that appear, then click Undo. Also, common keyboard shortcuts work in Superhuman Docs! Meaning the trusty CMD+Z (Macs) or CTRL+Z (PCs)will undo any changes you’ve made.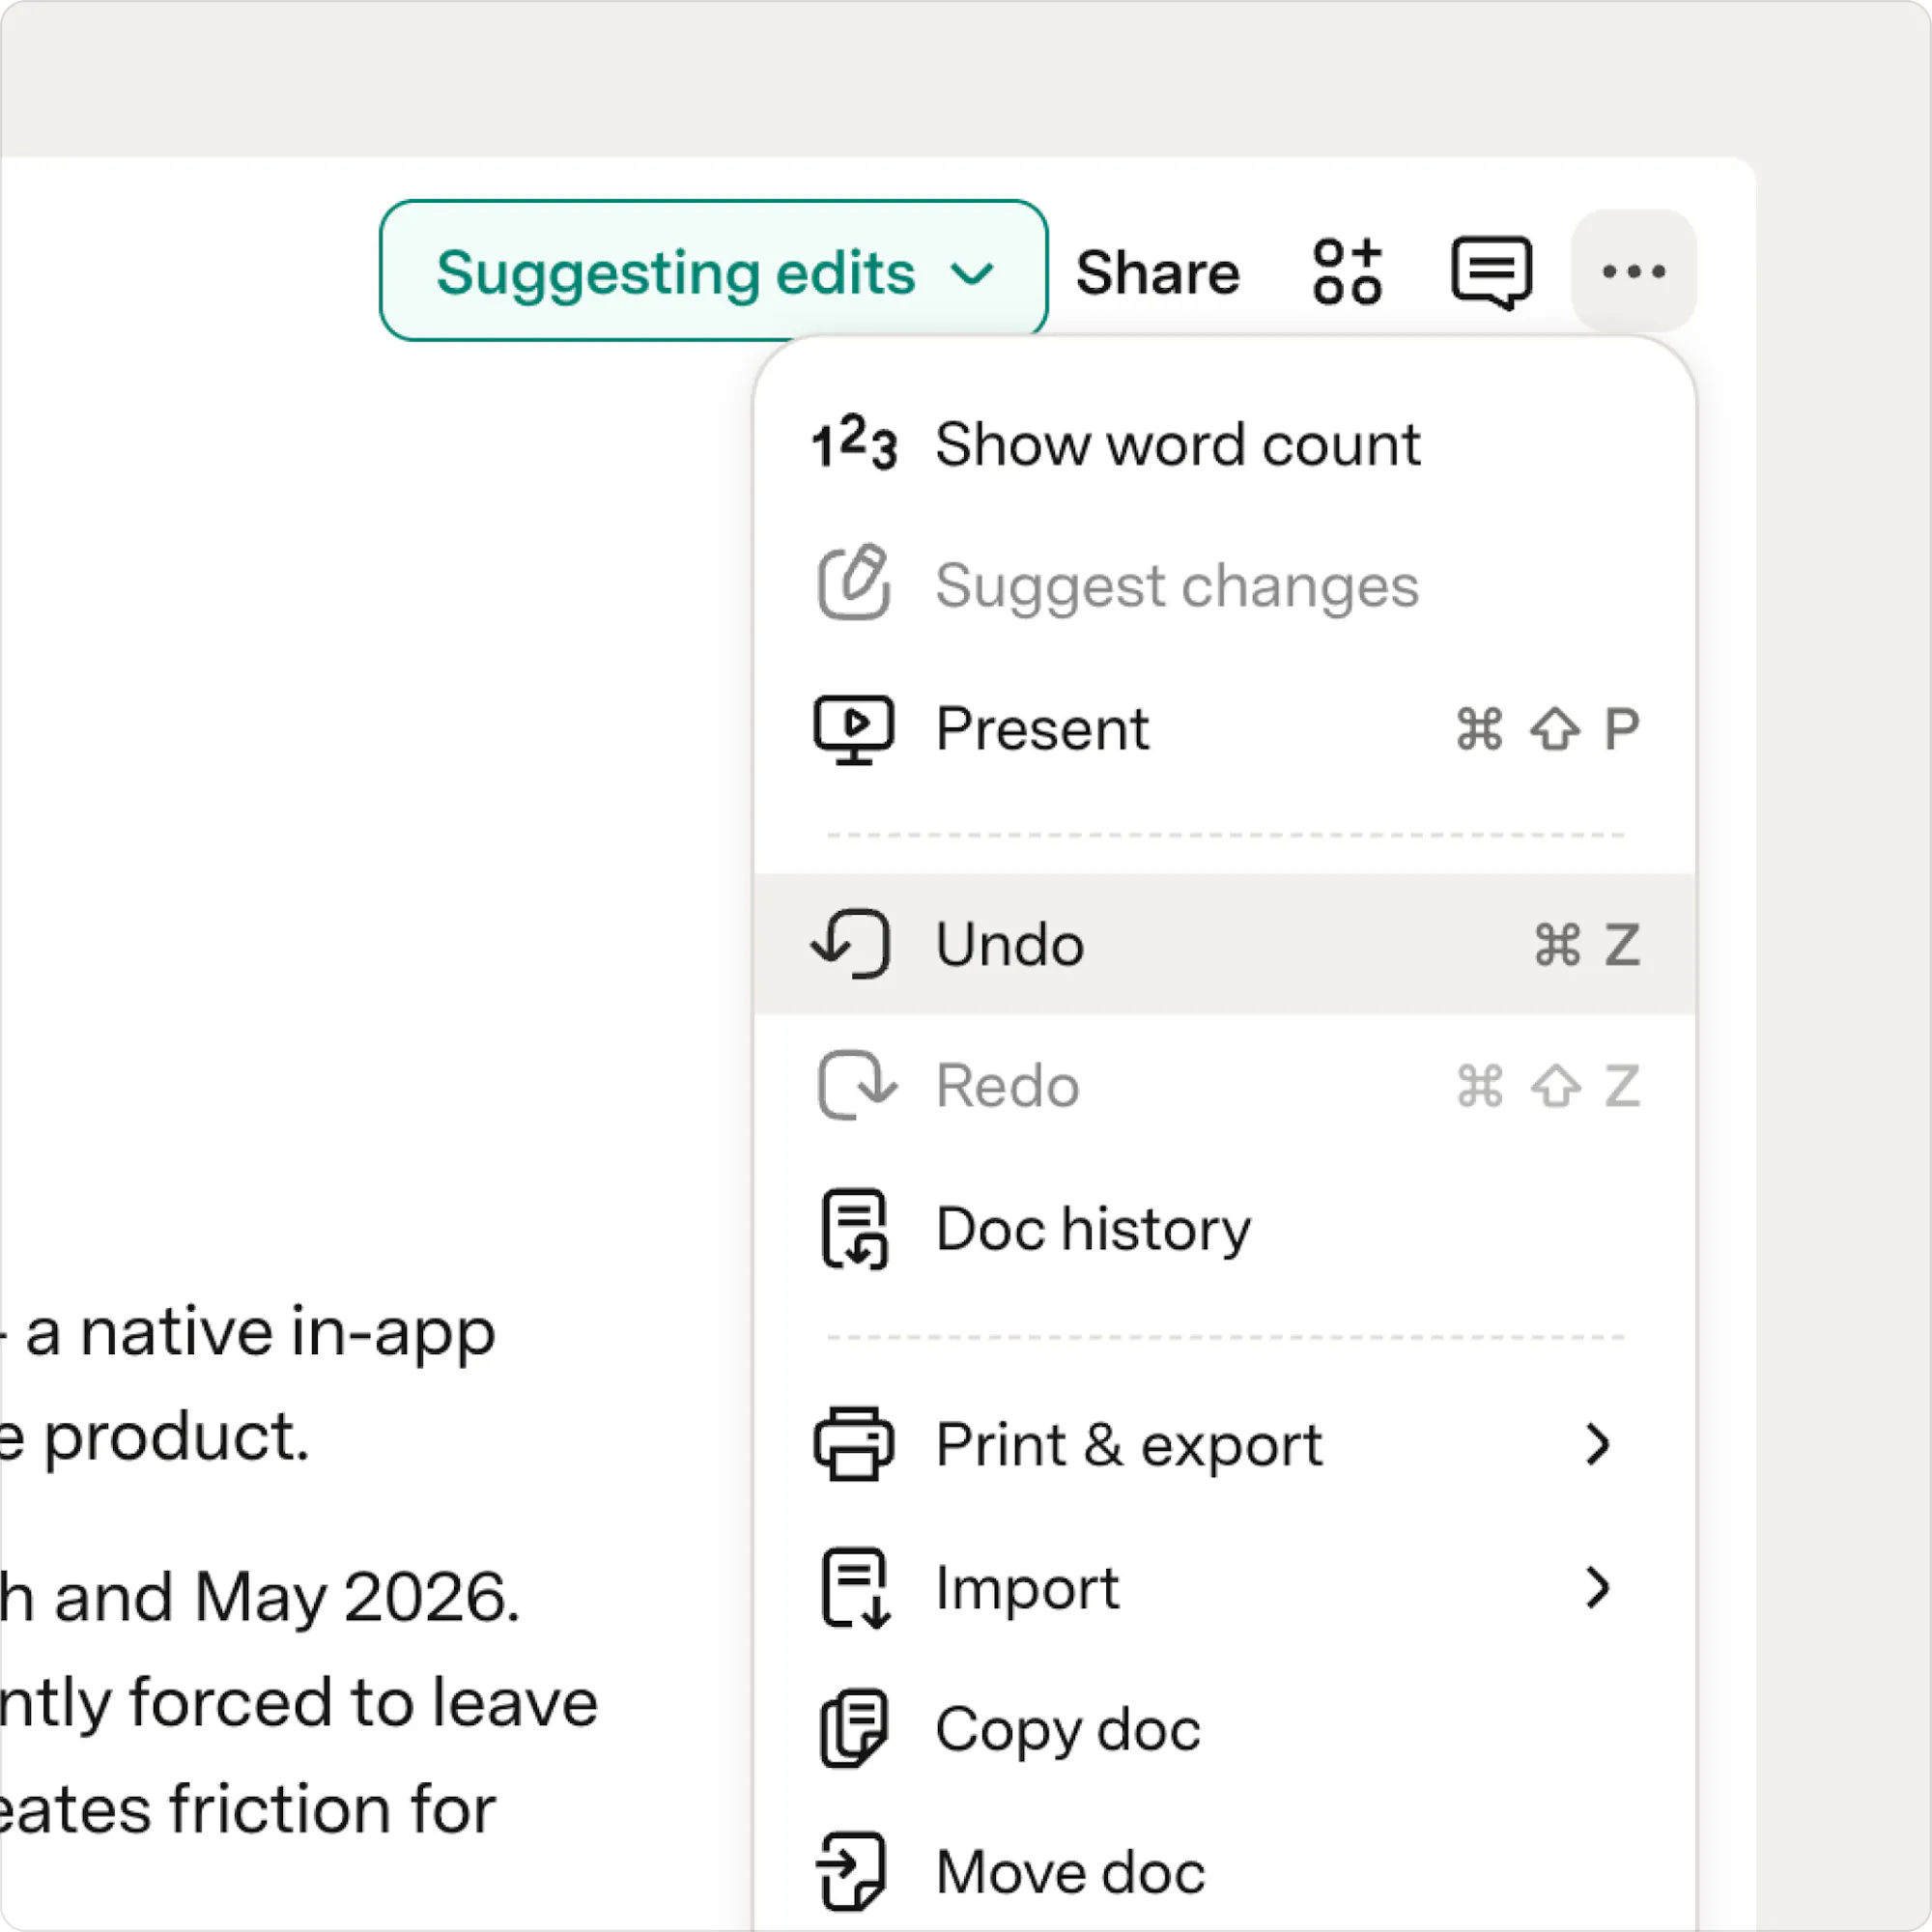
Unlock a doc:
If there is a lock icon in the right corner of a doc, you will not be able to change anything in the doc. To make changes, click the lock to unlock. In some cases, you may not have access. Reach out to the doc owner for assistance.
Find what you’re looking for
The page list is great for browsing through the different parts of a doc. Looking for something specific? The search bar at the top of the page list is your best option for searching across all pages.Docs tip
If there are pages you’re in often, click the three horizontal dots that appear when you hover over the page in the page list, and select Bookmark for me. This will bookmark the page to the top of the page list for only you.
What’s next?
Now that you know the basics of using a doc, you’re ready to get collaborating with your team. If you’re curious to learn more about what can be done in Superhuman Docs, join us for a Nail the Basics training! You can also see more about how to get started building in Superhuman Docs with our Getting started resources.Was this helpful?
YesNo