Skip to content
Upload collection logo: You can upload a custom logo (if your collection has one) or click the magic wand beside ‘Upload collection logo’ to use the RMRK logo. The second option is ideal if you’re minting a single NFT as opposed to a collection.Name: Give your collection or NFT a name.Maximum number of NFTs in the collection: Specify the number of NFTs your collection will have. If you intend to keep minting NFTs into this collection for as long as you want, leave the ‘Unlimited Number of NFTs’ toggle on. If you want to create a limited edition collection (with a finite number), turn off the toggle and input your desired number.NOTE:If you mint a collection with a finite number, once you have filled that collection you will not be able to add any more NFTs to it, and to create more NFTs you will need to create a new collection. You can also have multiple collections at the same time, which you might use to sell different types of NFTs.Burned (destroyed) NFTs count toward the limited mint number. This means that if you decide you only want 2 NFTs minted in a collection but the first one was burned, then you now have 1 NFTs left to mint in that collection.Symbol: This is a unique identifier of your collection. It can be any string of letters - if you’re not sure, just click the magic wand to generate one.Description: An optional field where you place text describing what your collection is about. This description will be shown in all NFTs within this collection if the individual NFT’s description is left empty.External URL: Another optional field where you put a link to where people can learn more about your collection (like a landing page, website, or blog post).
Once done with the metadata entry, click create.Confirm the transaction in the polkadot.js extension popup.
In the upload file dialog box below the selected collection, click choose file and select the item you would like to mint into an NFT.Next, add a name for the NFT.Add a description.
RMRK FAQ
- Pages
Share
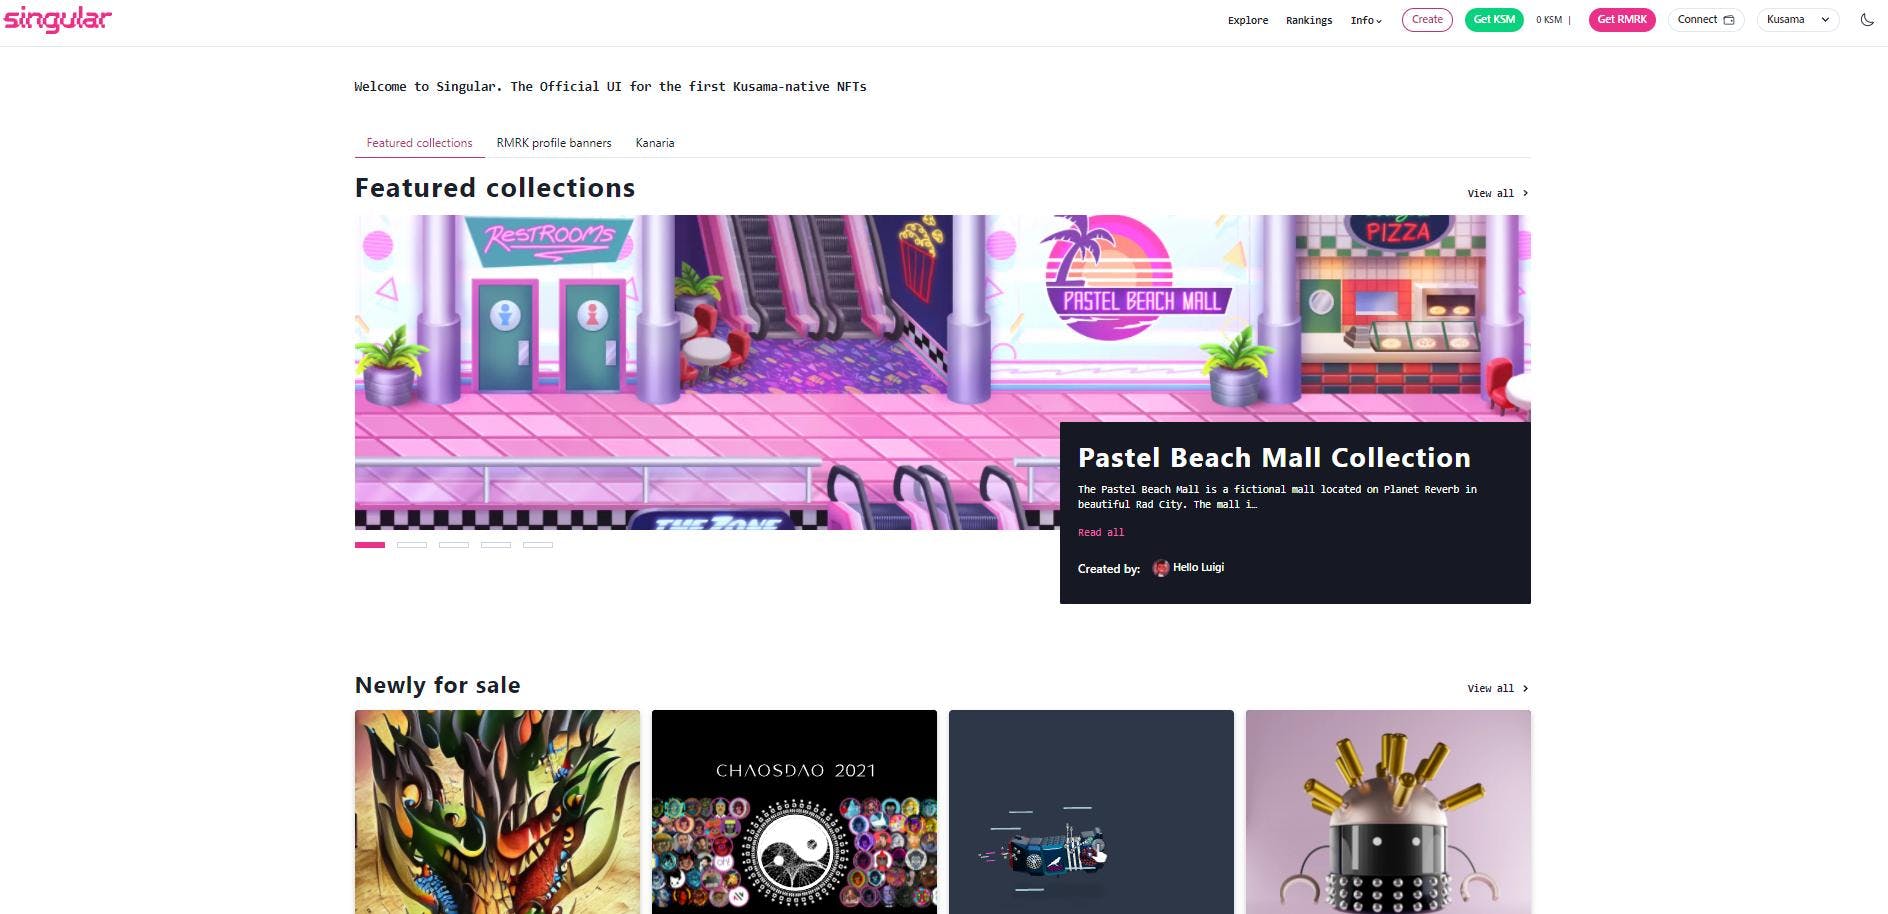
Explore
How to mint an NFT
Step 1
Step 2
Click the Create button at the top of the site.

Step 3
On the next page, you will be asked to select which network you will like your NFT to live on.
NOTE: As at the time of writing this guide, only Statemine and Kusama are listed, but this will change in future with Singular deploying to more chains (Moonriver soon). For the sake of this guide, we will select Kusama.

Step 4
On the next screen, click Create a collection.
NOTE: In order to stay aligned with and compatible with other NFT standards, Singular does not allow minting of standalone NFTs. Thus, even if you only want to mint a single NFT, you will have to create a collection. You can choose to mint all your NFTs in a single collection or create new collections as you see fit. Think of collections like an album or EP that can contain one or more NFTs (songs).

Step 5
On the create a collection screen, input your collection’s metadata.

Note that this field supports markdown. Here is that explains what markdown is and how to use it (in case you’re unfamiliar with it.)
Step 6

Step 7
Once the transaction goes through, your new collection will be visible on the create an NFT page. Now select the newly created collection.

Step 8
Next, mint you new NFT:

Step 9
Click create. Note that you’ll need some KSM to complete the transaction. Don’t worry though, each mint costs around 3 cents. Thus, $5 can mint over 100 NFTs.
Step 10
Confirm the transaction in the polkadot.js extension popup.

Step 11
Once the transaction goes through, your new NFT will now be available on the Singular NFT marketplace.

If you get stuck and need help, don’t worry, come join us in our social channels to ask for support– or .
Want to print your doc?
This is not the way.
This is not the way.

Try clicking the ··· in the right corner or using a keyboard shortcut (
CtrlP
) instead.