Skip to content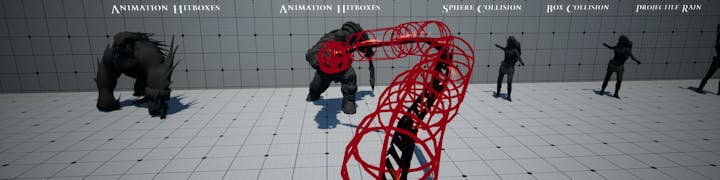
Open your animation in the Unreal editor.Add the AnimNotifyState BP_HitboxAnimNotifyStateClick on the newly added notify state and go to the Details Panel. Click on the + sign next to CollisionShapes to add a collision componentChoose what type of shape you wish to add. We shall select Sphere for demonstration purposesYou can set the size of your collision capsule and its attachment bone/socket. In our animation, we will choose hand_r. We can notice that the shape isn’t quite placed correctlyWe shall adjust the LocationOffset accordingly, by setting it to (-32.0, 12.0, 0.0) in Bone Space.World Space: The offset is applied in the general world frame of reference. This is usually not useful for such type of animation hitboxes but the choice is there if you want it.Bone Space: The offset is applied in the reference frame of the specified bone. Click on the bone to which the collision is attached in order to help you better visualize the axes and the directions along which the offset will be appliedComponent Space: The offset is applied in the Mesh’s reference frame. This means that the hitboxes will simply rotate with the character since the offset is applied in the ROOT’s frame of reference. Click on the root in order to help you better visualize the axes and the directions along which the offset will be appliedParent Bone Space: The offset is applied in the parent of the specified bone. Click on the parent of the bone to which the collision is attached in order to help you better visualize the axes and the directions along which the offset will be applied. In our example, the parent bone of hand_r is loweram_r You can make the collision shapes rotate with the bones by checking the bRotatesWithParent box.You can add multiple collision shapes in the same notify by clicking on the + sign again. This allows you to trace complex collision shapes with easeYou can override/modify the ApplyShapeHit function to add custom logic whenever a hit is detected and broadcast more information than just damage.
Go to your Project Settings Scroll down to Collision on your left Expand the Preset section and scroll down until you find LyraPawnCapsule (if you can't find it, collapse the section and expand it again) Double-click LyraPawnCapsule and make sure Hitbox is set to Block

Your BP_WeaponComponent should be able to return to you which Data Asset should be used depending on the current weapon.Create a DataAsset Blueprint class inheriting from BP_RHSAnimHitboxData .Create an AnimNotifyState inheriting from our BP_HitboxAnimNotifyState_DataDriven_Base and override its function GetCollisionDataAsset in order to use your BP_WeaponComponent .

Here you can return the data asset associated with your current weapon.Create a data asset from your Data Asset blueprint class
Here you can return the data asset associated with your current weapon.Create a data asset from your Data Asset blueprint class

This is an example of what the data asset would look like.Setup your weapon classes so that each weapon has their collision data asset.In your animations, use the AnimNotifyState you have created in step 3.
This is an example of what the data asset would look like.Setup your weapon classes so that each weapon has their collision data asset.In your animations, use the AnimNotifyState you have created in step 3.

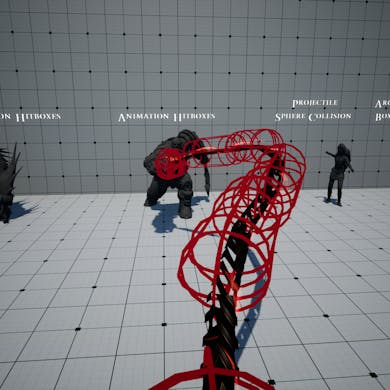
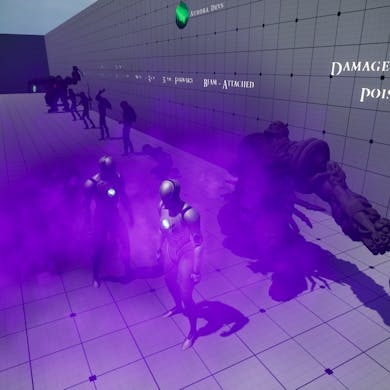
Animation Hitboxes - Be it an RPG or a fighting game, add flexible hitboxes to your animations with simple AnimNotifyStates.
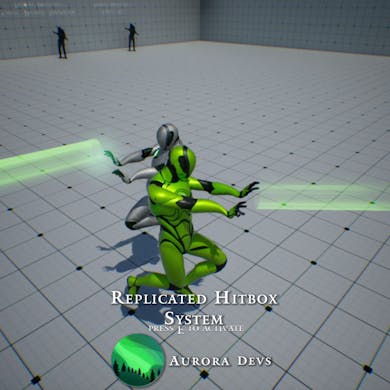
Animation Hitbox Notifies

Setting up collision hitboxes in animations is as simple as ABC.

You can modify a couple of settings in here such as the damage, the trace channel and the debug duration/thickness. You can also toggle debugging in-game. Most importantly, you can setup the collision shapes, their size and their attachment.


Keep in mind that the offset can be performed in World Space, Bone space, Component Space or Parent Bone Space.


❗MAKE SURE THAT THE SELECTED BONE HAS A PARENT ❗
Side notes:


bRotatesWithParent set to FALSE bRotatesWithParent set to TRUE

❗However, each notify will only hit the same actor once (to avoid the same actor getting hit on each frame from the same notify)❗
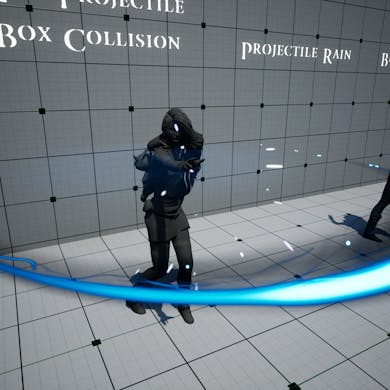
Trace Modes
RHS allows you to use two different trace modes with our Animation Hitboxes. These modes change the way the traces are made on each frame by the AnimNotifyState.
Frame Trace
This is the default trace mode. This mode traces the chosen shape in-place on every frame at the authored location.

Path Trace
This mode traces the chosen shape from the location in the previous frame to the current location in the current frame.

Comparison
This addition also means that under low FPS circumstances, the new Path Trace will not miss any hits that Frame Trace would.
Here's a comparison of the two trace modes in 14 FPS:


Lyra Setup
Dynamic Anim Hitboxes
You may want your anim hitboxes’ shapes to be driven by which weapon you’re wielding or other parameters instead of being directly ingrained into the animation itself. You can do this with by using an AnimNotifyState inheriting from ourBP_HitboxAnimNotifyState_DataDriven .
Supposing as an example that you have a component called BP_WeaponComponent which knows which shapes to use for your hitbox depending on the currently used weapon.
Each of your weapon classes should be associated to a data asset inheriting from BP_RHSAnimHitboxData which holds the collision shapes for that weapon.
Want to print your doc?
This is not the way.
This is not the way.

Try clicking the ··· in the right corner or using a keyboard shortcut (
CtrlP
) instead.