Skip to content

Summary (Text type, this will map to the Issue Title in JIRA) Description (Text type, this will map to the Issue Description in JIRA) Issue Type (Recommend making this a Select List column with the specific issue types available in your Jira account)Submit or Create button column (Button type. See the below simple table. View the button options to see the set-up)
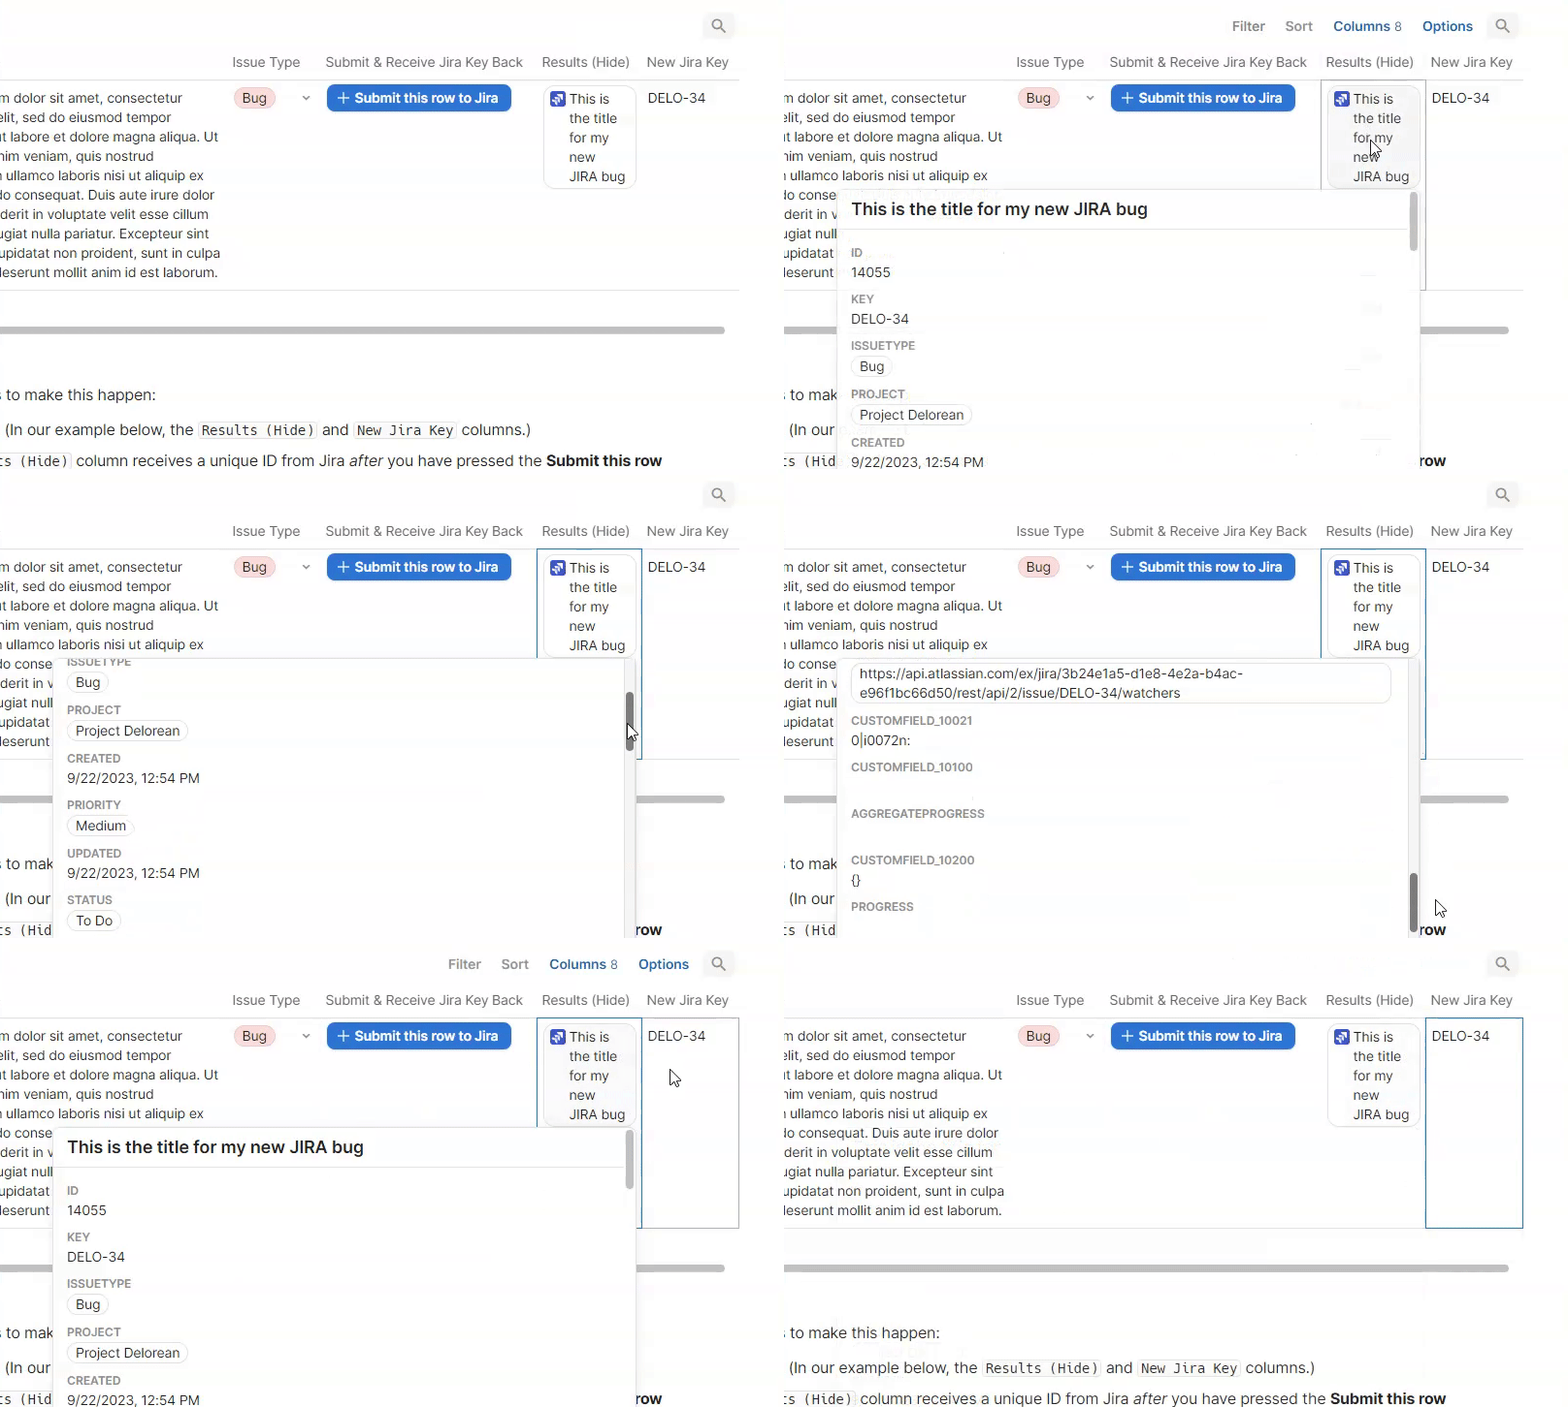
Add two new columns to your table. (In our example below, the Results (Hide) and New Jira Key columns.) In the example above, the Results (Hide) column receives a unique ID from Jira after you have pressed the Submit this row to Jira button. The column type for the Results (Hide) column is a “Jira Issue” type, and it automatically searches your Jira project for the issue matching the unique ID. If you hover over the column, you’ll see other fields related to the new issue created” The New Jira Key column is a formula that pulls out the Key property from the Results (Hide) column:You can hide the Results (Hide) column from view. Update the button options to send the results to your new column.
Jira Pack guide
- Pages
Share
Explore

 Create Jira issues in Coda
Learn how to create new issues in Coda and push them to Jira using this step-by-step guide.
First, create a new base table with a minimum of 4 columns.
As recommended in the above video, you can start with a simple table containing 4 columns:
Summary
Description
Issue Type
Submit Bug
Summary
Description
Issue Type
Submit Bug
This is the title for my new JIRA bug
Lorem ipsum dolor sit amet, consectetur adipiscing elit, sed do eiusmod tempor incididunt ut labore et dolore magna aliqua. Ut enim ad minim veniam.
Bug
Submit this row to Jira
There are no rows in this table
Here is the JIRA created based on the information above:


Next, optimize your table. Make your table more user-friendly with these quick tips.
Tip #1: Add columns to your table to track which issues have been submitted.
Adding a column to track submitted information allows you to filter the table and display a confirmation to others when an issue is created. You can also disable the button once the issue has been submitted in order to eliminate potential duplicate issues.
Summary
Issue Type
Update Submitted Info in this table
Submitted to JIRA?
Submitted Date:
Summary
Issue Type
Update Submitted Info in this table
Submitted to JIRA?
Submitted Date:
This is the title for my new JIRA bug
Bug
Submit Issue + Update Other Columns
There are no rows in this table
The button options include the formula RunActions, which enables the button to take multiple actions at the same time. In this case, the Run Actions formula will perform the following three actions: (1) submit the issue to JIRA (2) update the submitted to JIRA column in this table, and (3) update the submitted date column in this table.


Tip #2: Bring the Jira Issue Key back to Coda.
Once the issue is created, Jira assigns the issue a key (ex: DELO-34). As part of the same button action, you can bring that Key back to your table in Coda.
Summary
Description
Issue Type
Submit & Receive Jira Key Back
Results (Hide)
New Jira Key
Summary
Description
Issue Type
Submit & Receive Jira Key Back
Results (Hide)
New Jira Key
This is the title for my new JIRA bug
Lorem ipsum dolor sit amet, consectetur adipiscing elit, sed do eiusmod tempor incididunt ut labore et dolore magna aliqua. Ut enim ad minim veniam.
Bug
Submit this row to Jira
14055
There are no rows in this table
In the example above, we took two steps to make this happen:


Tip #3: Use the concatenate formula to include more information into your issue title or description.
The summary and description attributes can include additional information or help with correctly labeling your JIRA issues with the right format. Review the button options to see the formula for the summary field.
Summary
Description
Issue Type
Workstream
Concatenate issue name
Summary
Description
Issue Type
Workstream
Concatenate issue name
This is the title for my new JIRA bug
Lorem ipsum dolor sit amet, consectetur adipiscing elit, sed do eiusmod tempor incididunt ut labore et dolore magna aliqua. Ut enim ad minim veniam.
Bug
Lightening
Submit Workstream + Summary
There are no rows in this table
The issue title can now be formatted to include important information and pull data from multiple Coda columns. Here is an example of the created JIRA title:


Want to print your doc?
This is not the way.
This is not the way.

Try clicking the ··· in the right corner or using a keyboard shortcut (
CtrlP
) instead.