Jira Pack guide
Share
Explore

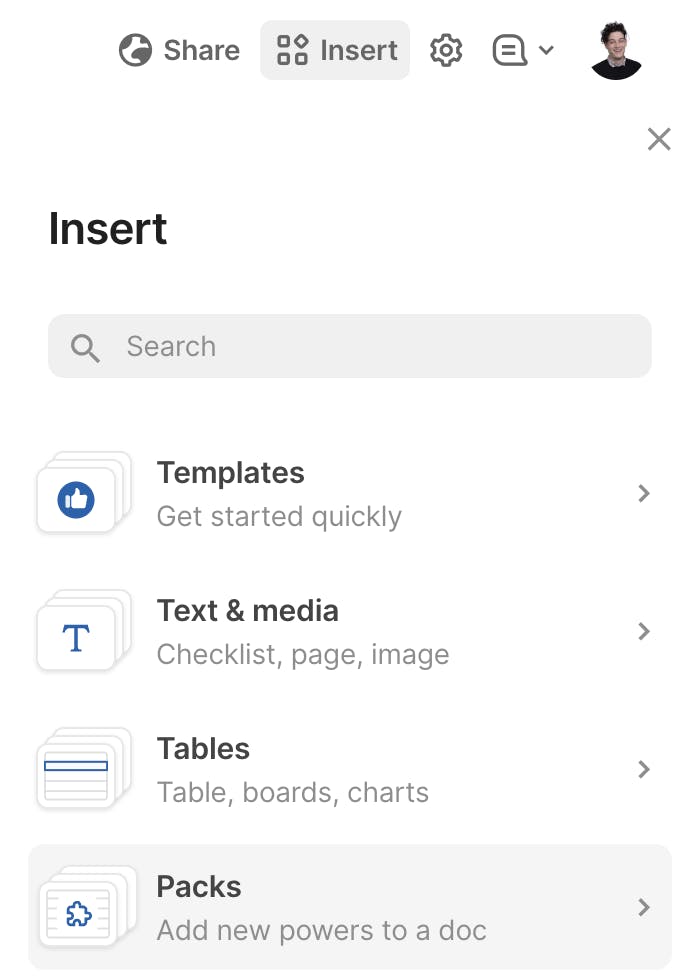
1. Click Insert in the upper right of your Coda doc.

2. Select Packs.

image.png

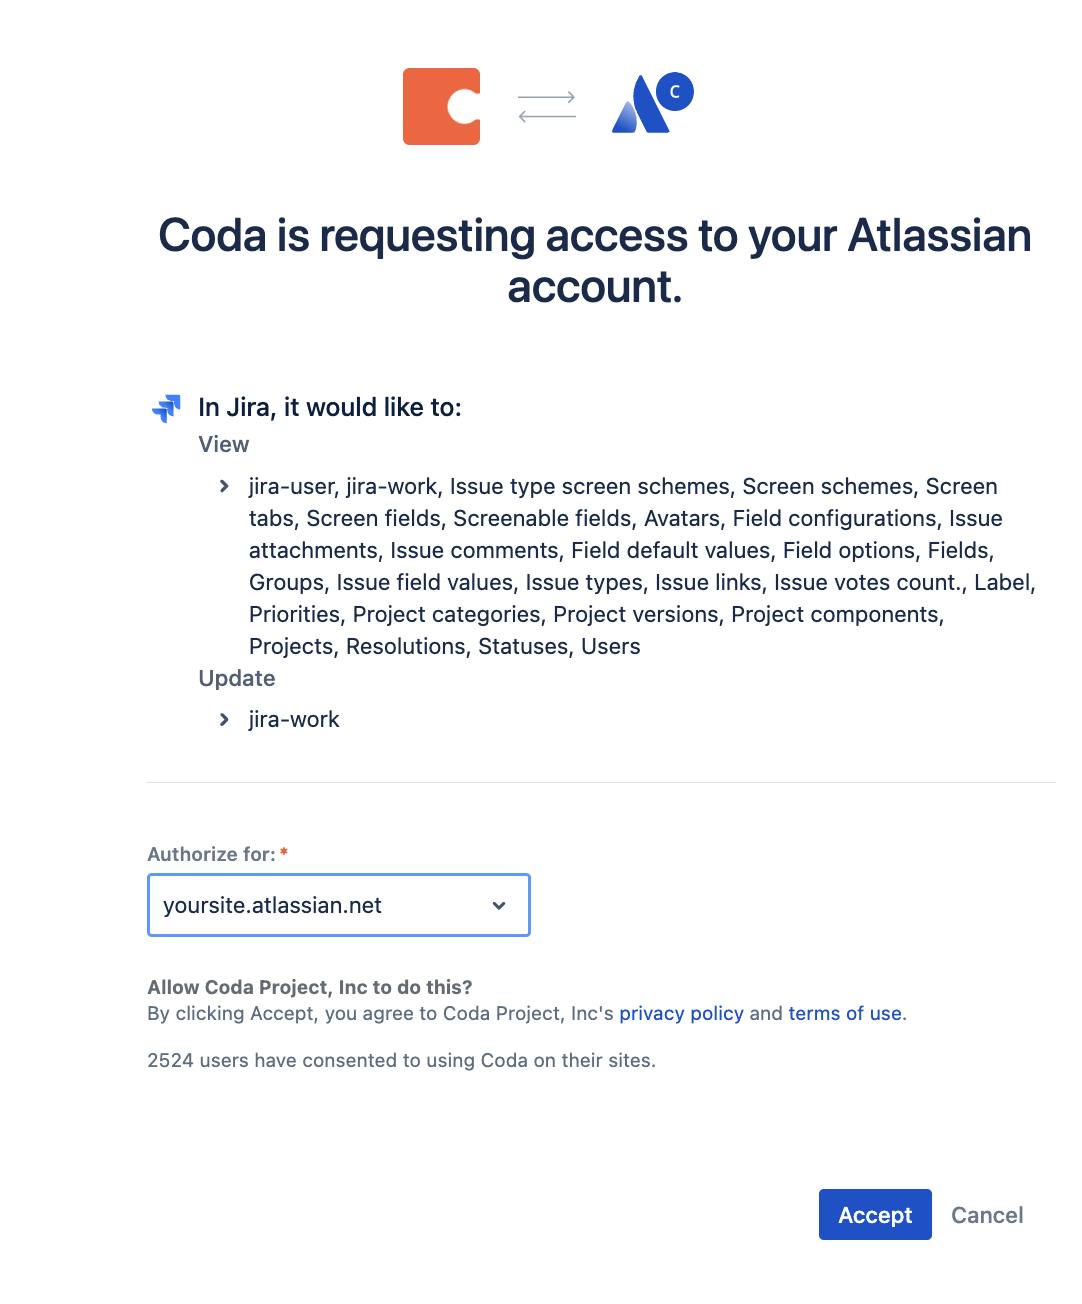
3. Click Jira, and you will be redirected to Jira’s login page.

4. After authenticating, click “Accept” to grant permission for Coda to access your Jira data (Jira DC requires your URL and API token). You may need to select the applicable ‘site’ in the dropdown “Authorize for:”

image.png

5. Choose who can view data.

A window will open asking who can view data from Jira. You must allow anyone the doc is shared with the view data in the doc.

image.png

6. Choose who can take actions.

A window will open asking who can take actions in Jira from your Coda doc. Choose whether you would like others to log in to their own Jira account to create new issues, or if you would like them to create them from your account.
Only you: Jira will be set up in this doc, but if others want to create new issues in Jira they will have to log in with their Jira accounts to do so. This is recommended for docs shared with others to force users to authenticate with their own credentials before creating Jira issues from your doc.
Anyone this doc is shared with: Anyone with access to this doc can use your Jira authorization credentials to create issues via Jira. This will create new issues in Jira as though they were created by you.

image.png


7. Sync changes back to Jira.

With two-way sync, any changes you make in Coda can be pushed back to Jira to keep all your data moving in step. Head to your table options and turn on the two-way sync toggle.
Get started on your own Coda doc with Jira by copying this doc!
Copy doc
Share
 
Want to print your doc?
This is not the way.
Try clicking the ⋯ next to your doc name or using a keyboard shortcut (
CtrlP
) instead.