Pages
 How to install and use
1. Add to workspace


4. Use this template when creating a document or import it into existing document
2. Set up backend
Whatever you are translating, needs to be in a table. To show translated text on canvas, go to .
Use custom table
Format([@-Reference to a row in DB Settings with this table].[Column Popup URL Template],thisRow.UID)
WithName(
[DB Targets].Filter(Translation.Target = [Flow 1].[Current Lang] and Source = thisRow).First(),
TranslatedVersion,
If(thisRow.Original.IsBlank(),
If(CurrentFlow.[Visual editing],
Hyperlink([thisRow].[Edit URL],[text-site-header-empty].Original),
"Empty. Enable visual editing to edit this."
),
If(CurrentFlow.[Show source version],
If(CurrentFlow.[Visual editing],
Hyperlink(thisRow.[Edit URL], thisRow.Original),
thisRow.Original
),
if(CurrentFlow.[Visual editing],
Hyperlink(TranslatedVersion.[Edit URL],TranslatedVersion.[Translated text]),
TranslatedVersion.[Translated text]
))))
[DB Translations]
.FormulaMap(
WithName(CurrentValue,CurrentTranslation,
[DB Texts].Filter(CurrentValue.In(
[DB Targets].Filter(Translation = CurrentTranslation).Source) =false)
.FormulaMap(
WithName(
CurrentValue,CurrentSource,
[DB Targets]
.AddRow(
[DB Targets].Translation,CurrentTranslation,
[DB Targets].Source,CurrentSource
)))))
RunActions(
DeleteRows([DB Targets].Filter(Source=thisRow)),
DeleteRows(thisRow)
)
5. You can now add rows with texts into this table.
6. To translate texts, simply first click Prepare translation button, and then Translate button. Depending on how many translations are needed, it will take some time to execute.
Use provided table
With this template, we have provided a table DB Texts. This table is already set up and ready to be translated. If you just have some texts that you want to translate, you can add them to this table. Simply add new rows and first click Prepare translation button, and then Translate button. Depending on how many translations are needed, it will take some time to execute.
3. Set up frontend
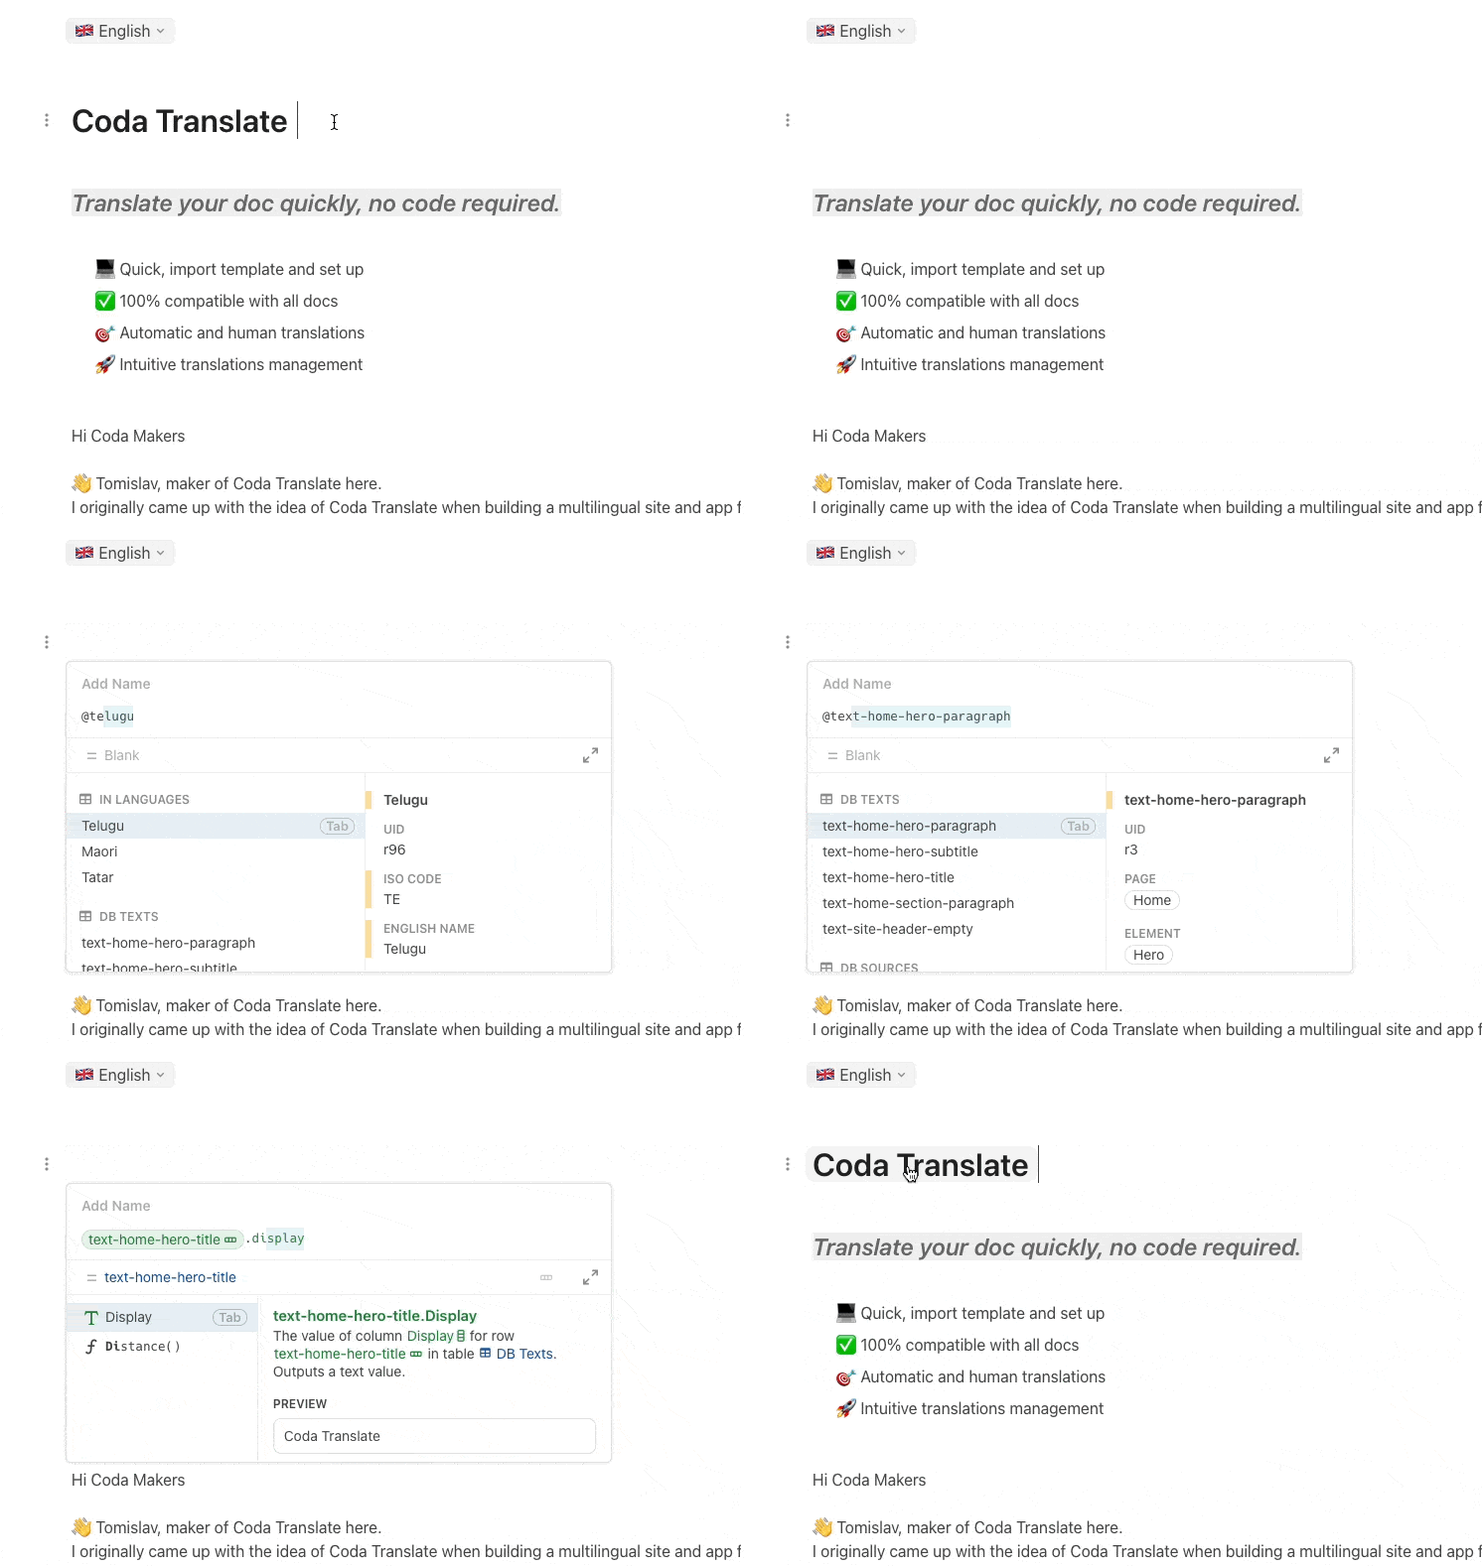
Use custom pages
You can translate your existing page.


If the text is translated, switching the language will work.
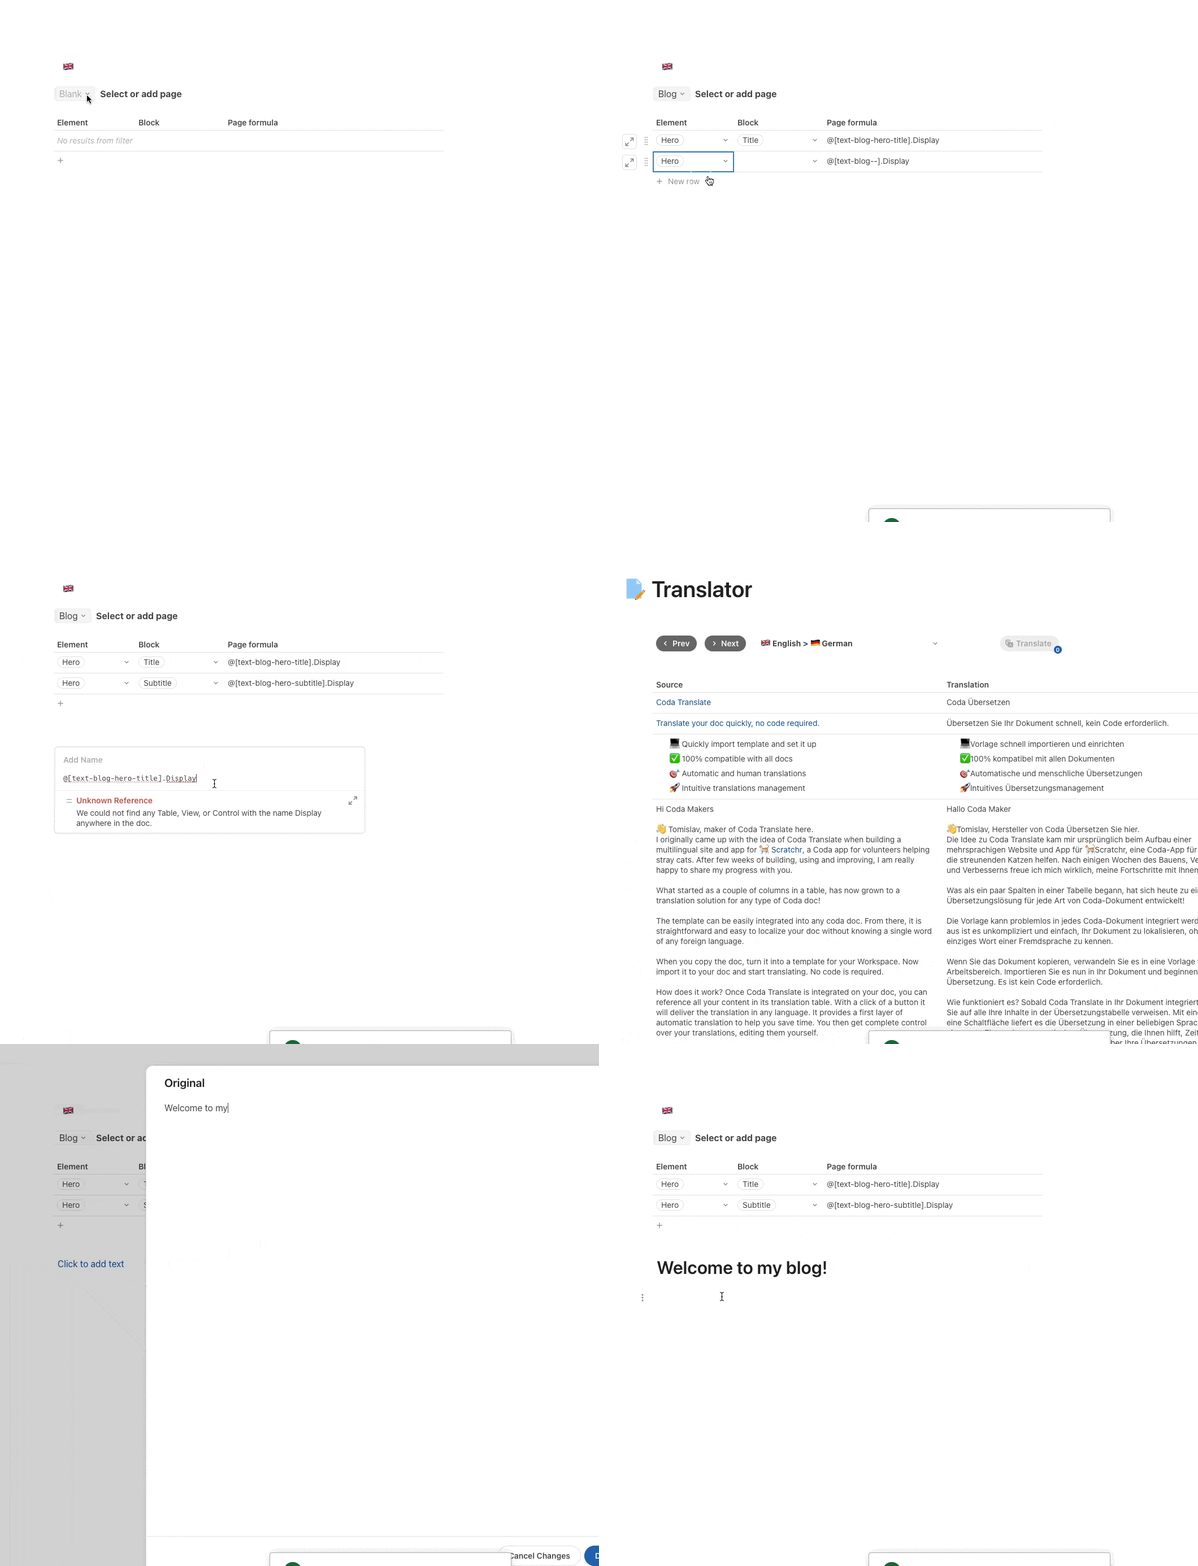
Copy provided page


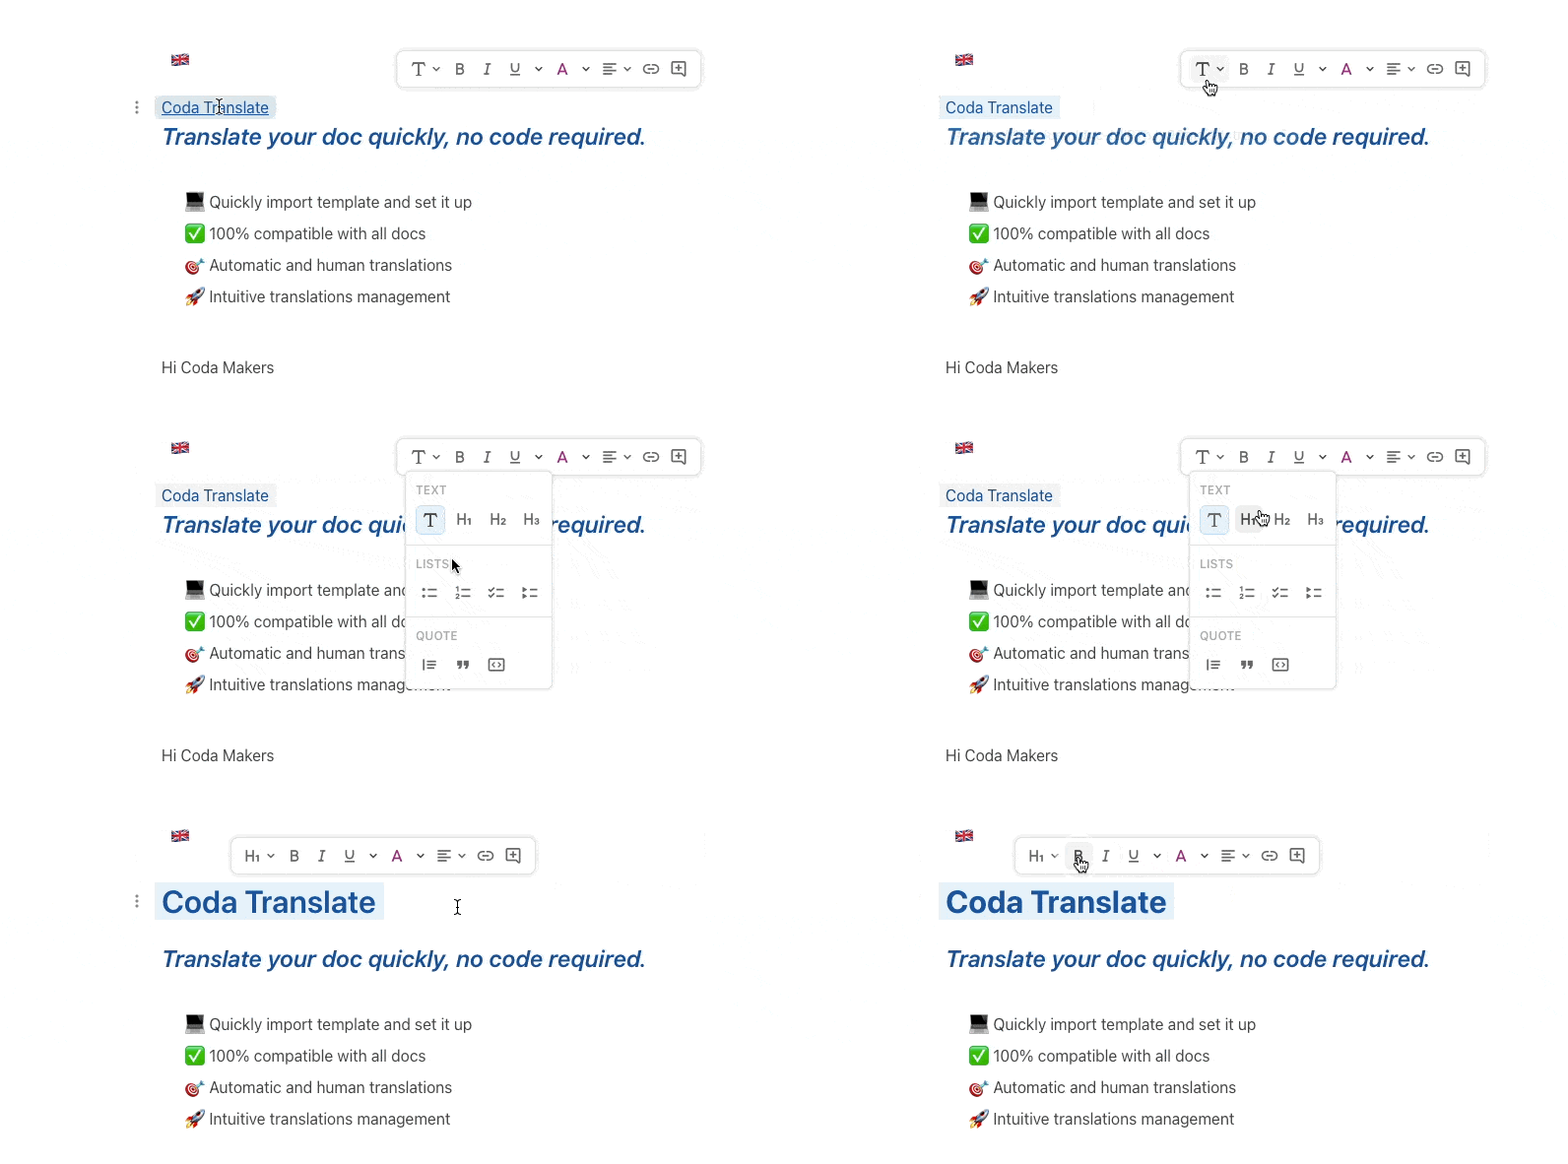
4. Style your content as a paragraph to maintain style across all translations this way:


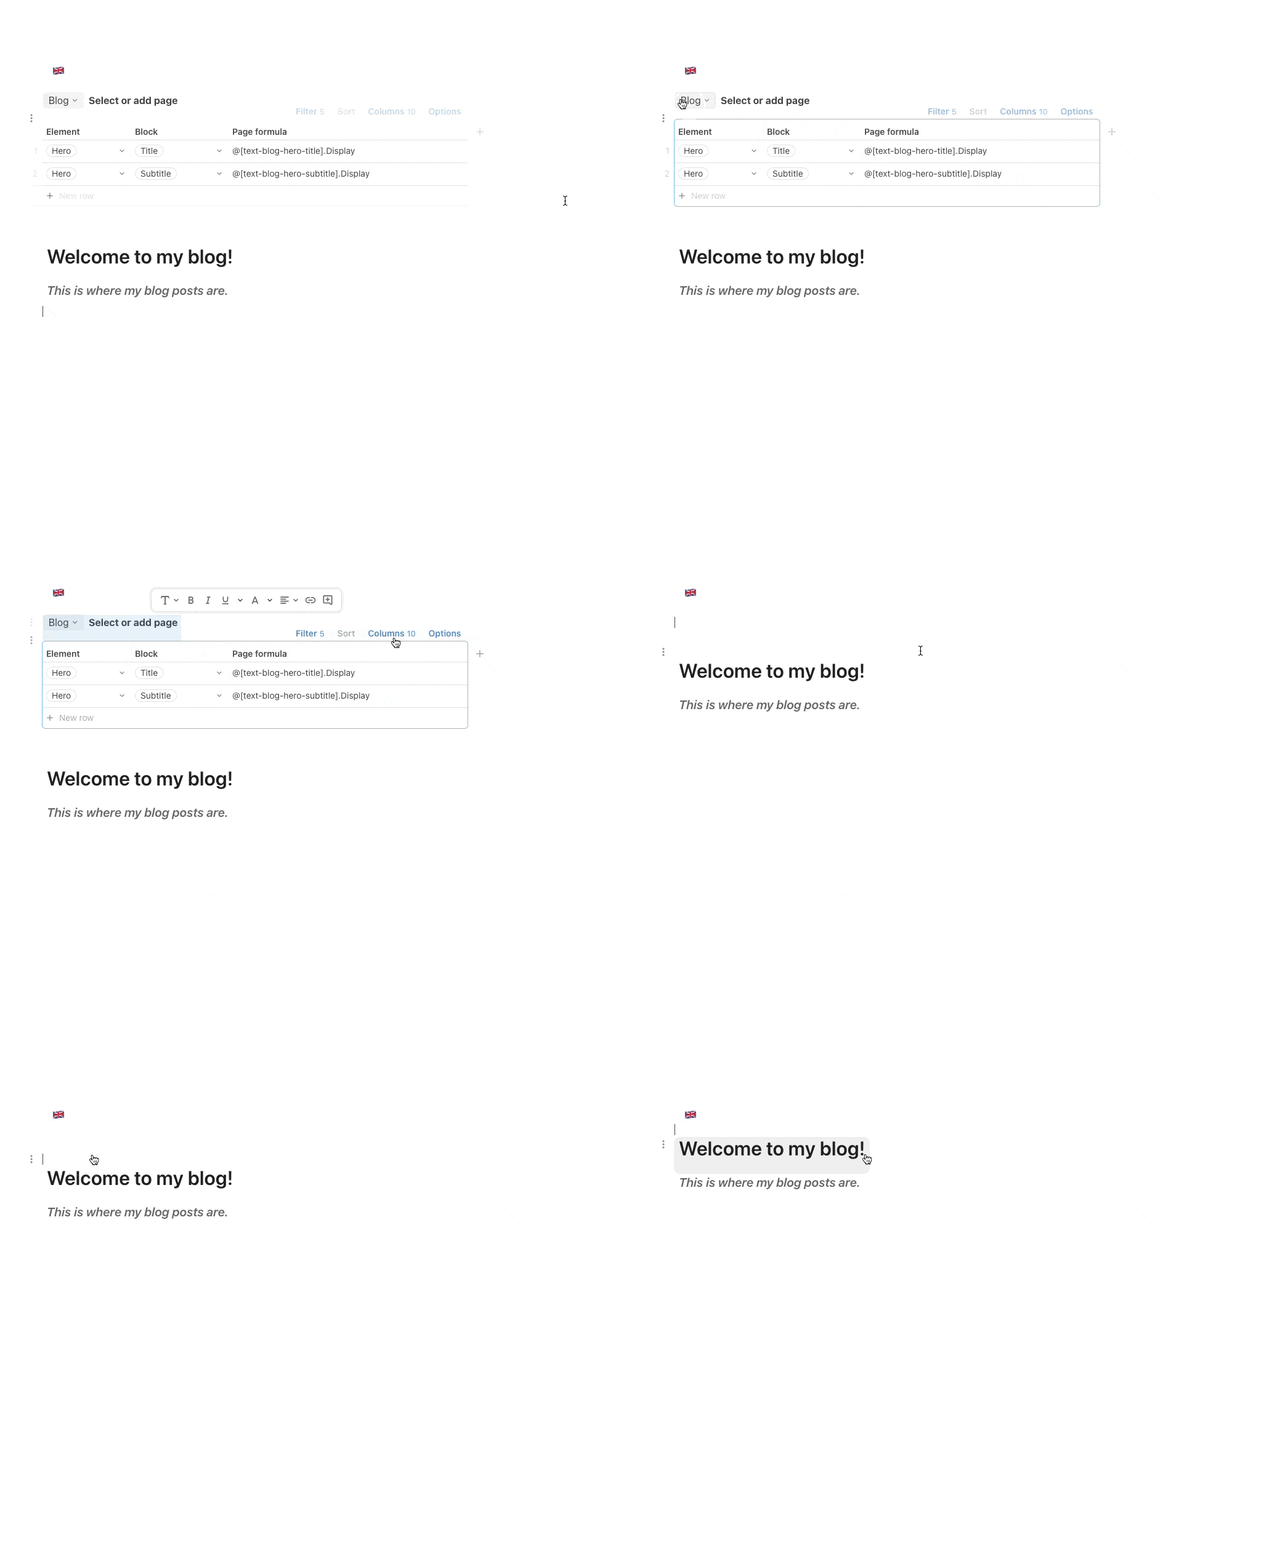
5. When you are done inserting content to the page, just delete the helper tables:


Finally, go to DB Texts, click Prepare translations button and then Translate button. This will translate your content.
You can then visually edit different translations directly on the page, or disable this option in .
Want to print your doc?
This is not the way.
This is not the way.

Try clicking the ⋯ next to your doc name or using a keyboard shortcut (
CtrlP
) instead.