Skip to content
 Send contracts (Template A)
Set up the contract-specific details and start sending out contracts!
This page should be used to only send out contracts with the one single template you will pick in Step 1.
If you want to send out contracts using a different template, click this button and it will duplicate this page. Please re-name the new page and go through these same steps to start sending out contracts using that template!
Use a Different Template
⓪ Initialize page
This button will sync your templates and clear out the contracts table in Steps 4, 5, and 6.
Initialize
① Specify your contract details
Blank
② Check your personalization
[ ]
[ ]
If these are incorrect, please go here to update them:
③ Customize your emails
There are 2 emails that are sent to your signer by eSignatures for each contract:


For each of these emails, you can customize the following 2 fields:
NOTE: If you want to use the signer’s name to personalize your emails, you can use the constant __FULL_NAME__ This constant will be replaced with the name of the signer when the emails are sent out. See the examples in the tables below.
Signature Request email
Write whatever you want your signer to see in the column “FILL THIS OUT”.
Name
Example
FILL THIS OUT
Name
Example
FILL THIS OUT
Signature Request Subject Line
Your document is ready to sign
🚀 Your test document is ready to sign!
Signature Request Body Text
Hi __FULL_NAME__,
To review and sign the contract please press the button below
Kind Regards,
Denis
Hi __FULL_NAME__,
To review and sign the test contract please SMASH that button below!
Your friend,
Denis
No results from filter
Final Contract email
Write whatever you want your signer to see in the column “FILL THIS OUT”.
Name
Example
FILL THIS OUT
Name
Example
FILL THIS OUT
Final Contract Subject Line
Your document is signed
💪 Your test document is signed!
FInal Contract Body Text
Hi __FULL_NAME__,
Your document is signed.
Kind Regards,
Denis
Hi __FULL_NAME__,
Wahoo! Your test document is signed.
Talk soon,
Denis
No results from filter
④ Setting up your table
① Check your placeholder fields
Edit your contract
② Modify the table columns
Now, you need to make a few simple changes to the table below:
0
1_title
2_custom-fee
3_discount
1_title
2_custom-fee
3_discount
Hello
12321
1231
Hello
121
1231321
There are no rows in this table
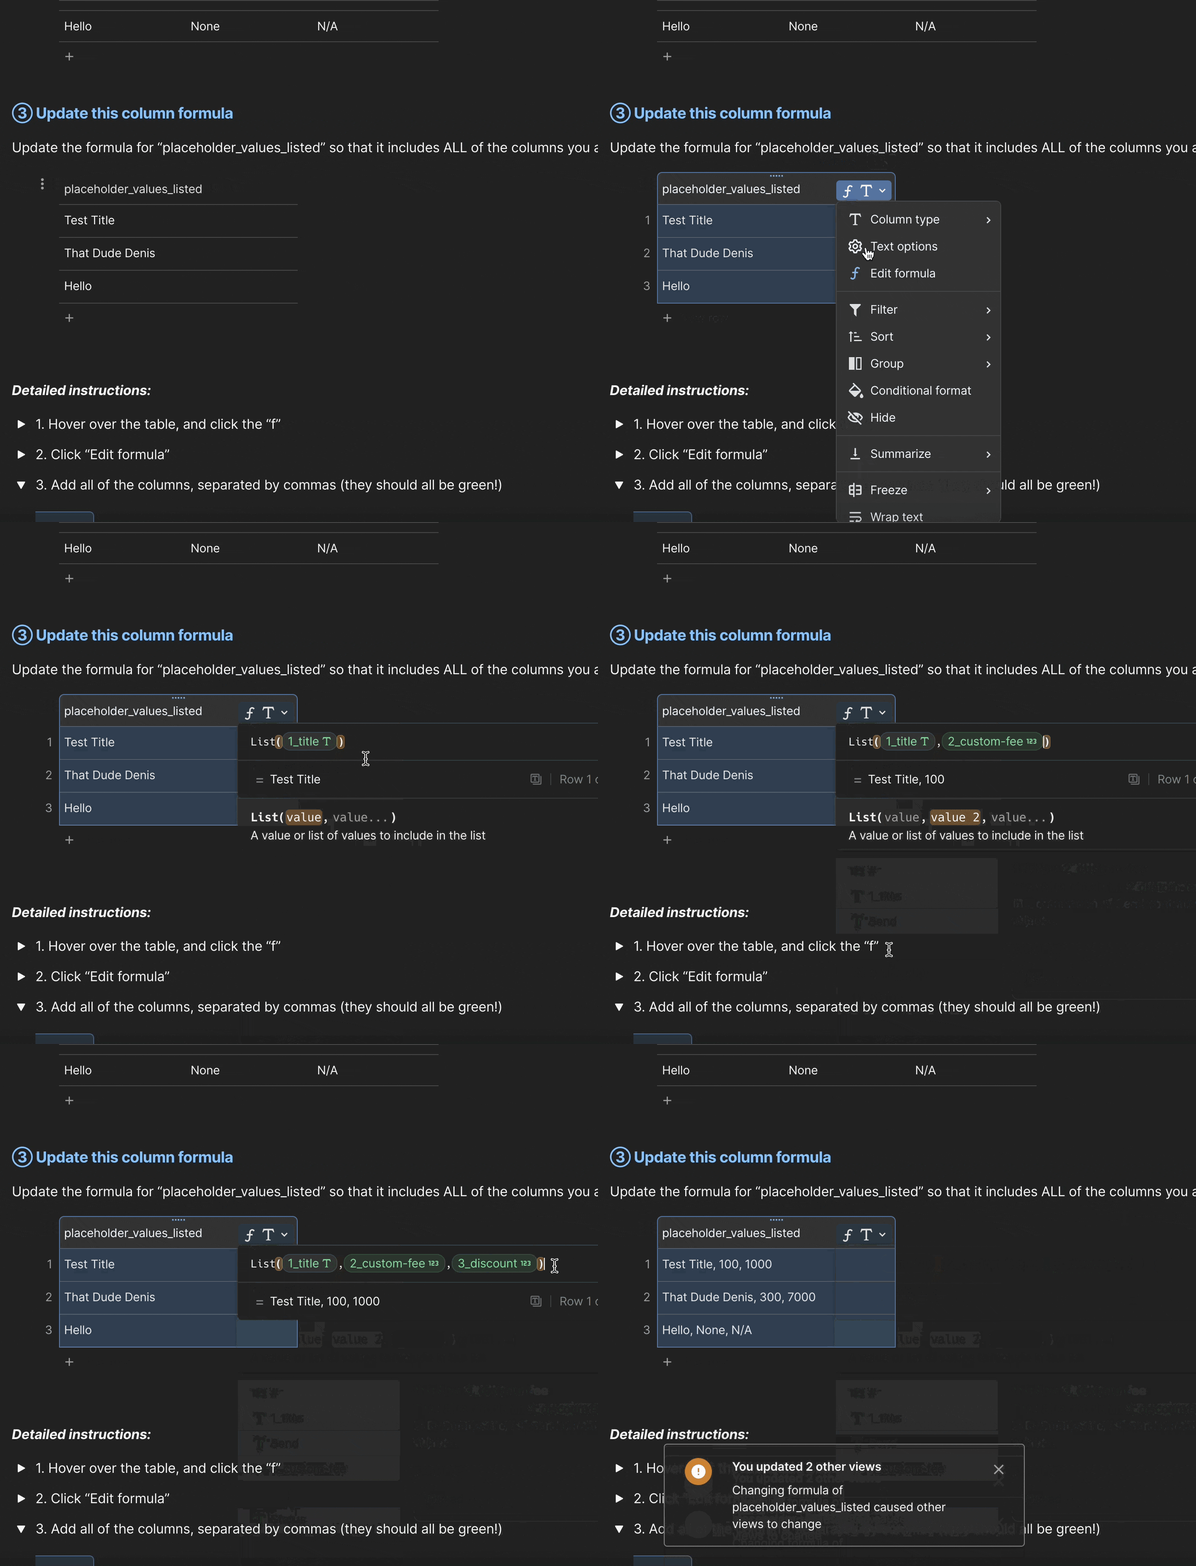
③ Update this column formula
placeholder_values_listed
placeholder_values_listed
Hello123211231
Hello1211231321
There are no rows in this table


⑤ Let’s send some contracts!
👏 Awesome, you’re ready to send some contracts now! LFG.
How to send contracts
Add row
NOTE: Until you actually have paid credit in your account, all contracts will be sent as test contracts regardless of whether this box is ticked or not!
#
signer name
signer email
signer company name
cc email
1_title
2_custom-fee
3_discount
test
Send
#
signer name
signer email
signer company name
cc email
1_title
2_custom-fee
3_discount
test
Send
⑥ Tracking your contracts
Once you’ve sent a contract from Step 5, it’ll appear here in the All contracts table! The status of the contract will change automatically when the signer takes action.
All contracts
Sent contracts
Viewed contracts
Signed contracts
Withdrawn contracts
Declined contracts
Clear Contract Table
Want to print your doc?
This is not the way.
This is not the way.

Try clicking the ⋯ next to your doc name or using a keyboard shortcut (
CtrlP
) instead.