Skip to content
The selector specifies which HTML elements should have the style applied.The property and value together specify which style to apply. You can have as many property-value pairs in each CSS rule.
The ref attribute indicates the relationship between the linked file and the HTML file.The type attribute indicates the type of the linked file.
Specify the font color for your header tags (e.g. <h1>)Specify the font family for your body tag (i.e. <body>)Specify the border radius and background color for your button (i.e. <button>)
Flexbox is great for 1-dimensional systems, andGrid is great for 2-dimensional systems (i.e. it handles both rows and columns)
Add some different colored buttonsAdd a navbar (navigation bar)Add a jumbotronAdd some cards
Share
Explore
 Make it pretty
Use CSS to style your web page
CSS
Cascading Style Sheets (CSS) is a language that defines the styles on a web page. Among other things, it can be used to specify the colors, fonts, and layouts for a web page.
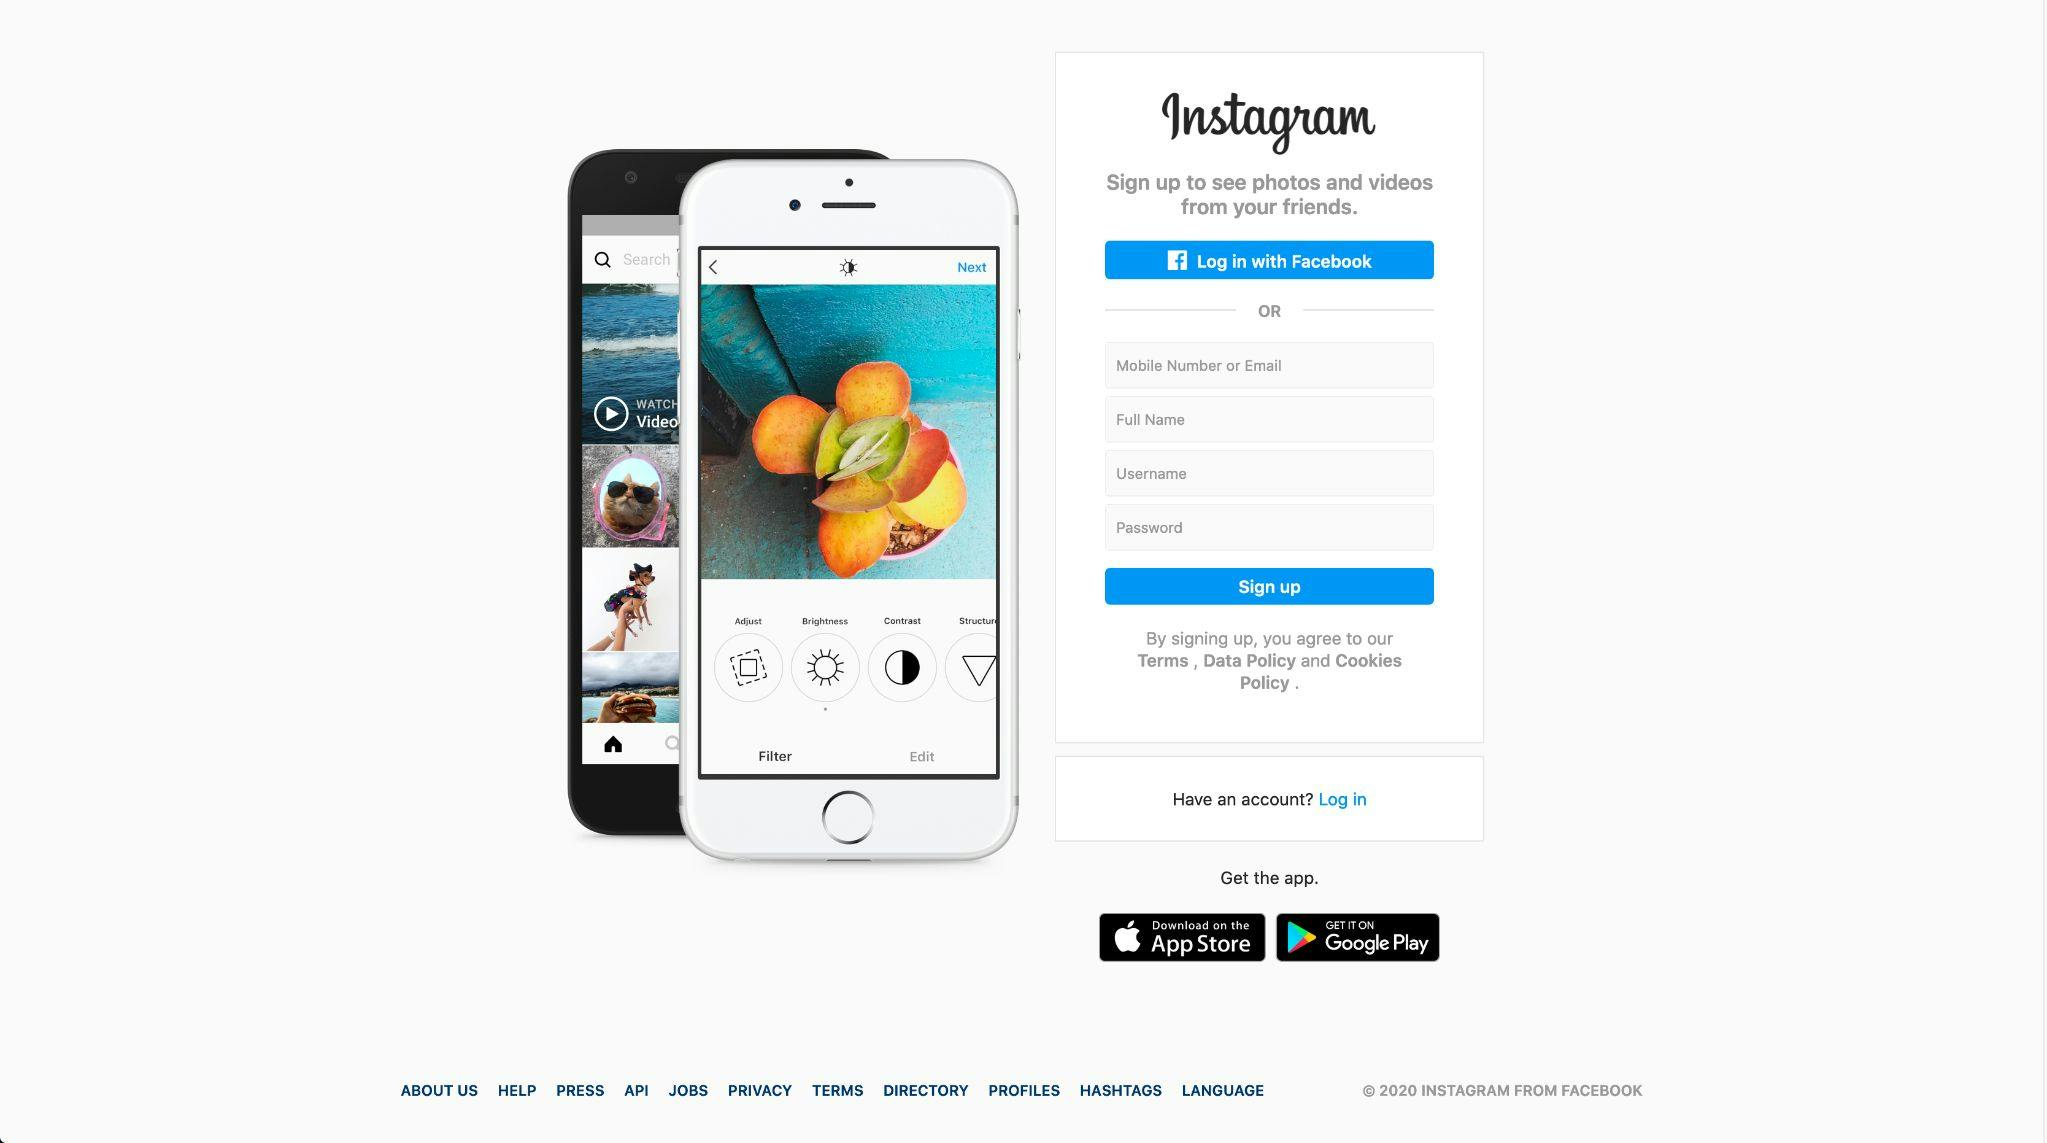
Here are two websites with the same HTML; however, one of them has its styling removed. As you can tell, one of them is much more aesthetically pleasing.

Structure of a CSS Rule
Here is an example of a CSS rule that makes all <h1> elements have a font size of 32px and blue color.
h1 {
font-size: 32px;
color: blue;
}
There are three parts to every CSS rule:
⭐️ Step 0: Inspect the CSS used in your webpage
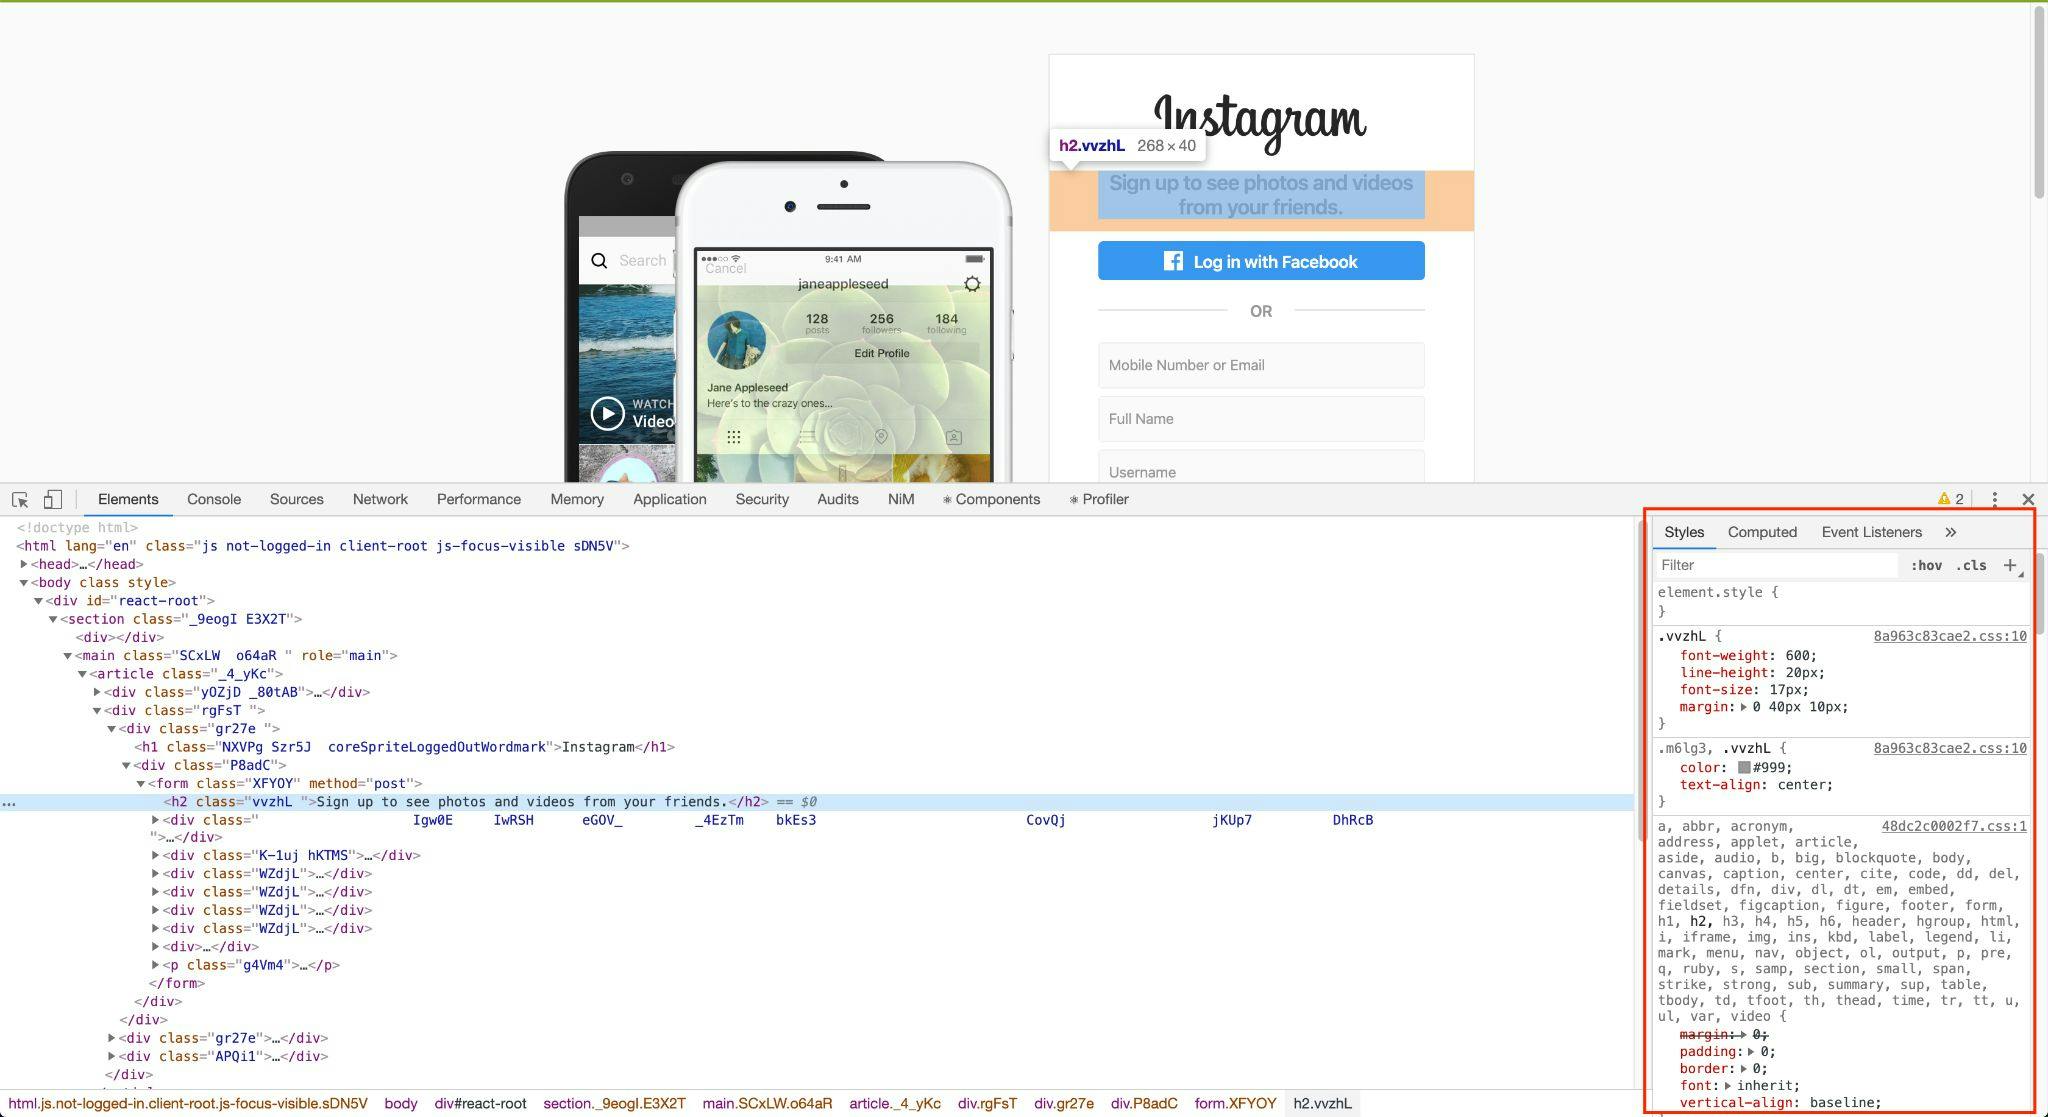
Visit a website of your choosing and pull up the Developer Tools again (right-click and choose "Inspect"). Choose an element on the web page and look at the styles that have been applied to it.
These styles can be updated in real-time! Try changing some of the numbers to see how they affect the web page. For example, I could change font-size: 17px to font-size: 48px.
The <link> tag
In the left sidebar of your repl project, you should see a list of files. We will be writing our CSS in the style.css file. If you look at the index.html file, you'll see this line of code in the <head> element.
<link href="style.css" rel="stylesheet" type="text/css" />
The <link> element links the style.css file to the HTML file so that our CSS is applied to index.html.
⭐️ Step 1: Define some CSS for your HTML tags
You can use any HTML tag as a CSS selector. Add at least one rule to style.css that applies to all HTML elements with a certain tag.
Some ideas:
If you need help with finding the CSS property or value that you want, you can do a Google search with a query containing what you want to accomplish and the language (i.e. CSS). Your peers and mentors are also valuable resources!
Note: If you want to see more font family options, you can visit and choose some fonts. Make sure to read the directions on how to embed the font using the <link> tag!
⭐️ Step 2: Define some CSS rules using class selectors
You may have some HTML elements that you want to apply styling to, but you don't want to apply the styling to all HTML elements with that tag. The solution is to define your own class. You can apply a given class to as many HTML elements as you wish.
Here is an example of how to use a CSS class selector. Notice how the class selector consists of a period (.) followed by the class name (error).
In your HTML file, you can apply the class to specific elements using the class attribute. Notice how the error class is applied to the second and third <p> elements but not the first.
Add at least one CSS rule with a class selector to your style.css and add the class attribute to at least one element in your index.html.
⭐️ Step 3: Define some CSS rules using ID selectors
Sometimes we use the id attribute to give an HTML element a unique ID. No other element in the page should have the same ID. The value that you provide as the ID can you help you distinguish that element from any other element in the web page.
We can define a CSS rule that only applies to the HTML element with some ID by using the selector #[id]. Here's an example of a CSS rule that would be applied to the HTML element above:
Add an id attribute to at least one element in your index.html and add a CSS rule that uses that id selector.
🍦Challenge A: Use more specific selectors
As the structure of your web page becomes more complex, you might want your selectors to be even more specific. For example, in the following code, I might want the error class to have a red font color when applied to <p> tags but white font color and orange background when applied to <div> tags.
My solution would be to write the following CSS rules:
Take a look at one of the resources below to learn more about other CSS selectors you can use and add some to your project:
🍦Challenge B: Use Flexbox or Grid layout for your web page
The CSS flexbox and grid layouts are especially useful for specifying the positions of your HTML elements on the web page.
Flexbox
Grid
Choose either flexbox or grid and complete the corresponding tutorial ( or ). Then use flexbox or grid layout for your own website!
🍦Challenge C: Use Bootstrap on your web page
Many people use their smartphones to visit web sites, so now more than ever, it's important for your web page to be mobile-friendly. Luckily, most browsers should let you preview what your web page would look like on a mobile device.
You can write your own CSS to make your HTML elements show up nicely on mobile, but there are also existing front-end frameworks that have classes that you can use to make your own web page mobile-friendly.
is a popular front-end library of components that you can use on your website. They look great both on desktop and on mobile! Check out some that use Bootstrap components. Make sure to preview how they look on mobile as well!
Follow the instructions in the to add the Bootstrap CSS and JavaScript source code to your project. Ask a peer or mentor if you need help understanding what to do.
Then start adding Bootstrap components to your website! Here are a couple ideas to get started:
CSS Tasks
No results from filter
Next Section ➡️
Want to print your doc?
This is not the way.
This is not the way.

Try clicking the ··· in the right corner or using a keyboard shortcut (
CtrlP
) instead.