Skip to content
The blended patterns have been made in Adobe Illustrator, using the Blend Tool found under the Object tab. If Illustrator is not available, please use the samples already blended in .png format in the turnover folder.
Take two shapes. They need to be the same kind of shape, but not necessarily the exact same size & proportions (two triangles at different sizes, two squares of different rotations). For triangles and squares, do not round the corners yet. 
You may add more shapes beyond the two. Make sure each shape is lined up in order of when they’ve been created. The Blend will connect each shape in this order.
Select two or more shapes that you would like to blend. Under the Object tab, select Blend, and choose Make.
The Blend Tool computes for how many of the shapes will it take to transition from Shape A to Shape B. Under the Object tab, and within Blend, choose Blend Options.
Choose Specified Steps. This determines the number of shapes that will be in between the two blending shapes. Choose a number that showcases enough of the transition without jumping too far ahead, or too many that it just appears as a messy zigzag.
Isolate the Blend in order to move the shapes around. You can change up the transition by rotating, resizing, and repositioning either of the two shapes.
When satisfied with the Blend, go to the Object tab, and under Blend, pick Expand. This will convert all the steps between shapes into individual vector shapes.
Rounding them prior to expansion may make messy & crooked blends. The Blend takes into account the added anchor points you gave the shape from rounding its corners.
 Blended Patterns
Overview


Patterns can be made from the three main whole shapes that interpret ActivAsia’s impact.
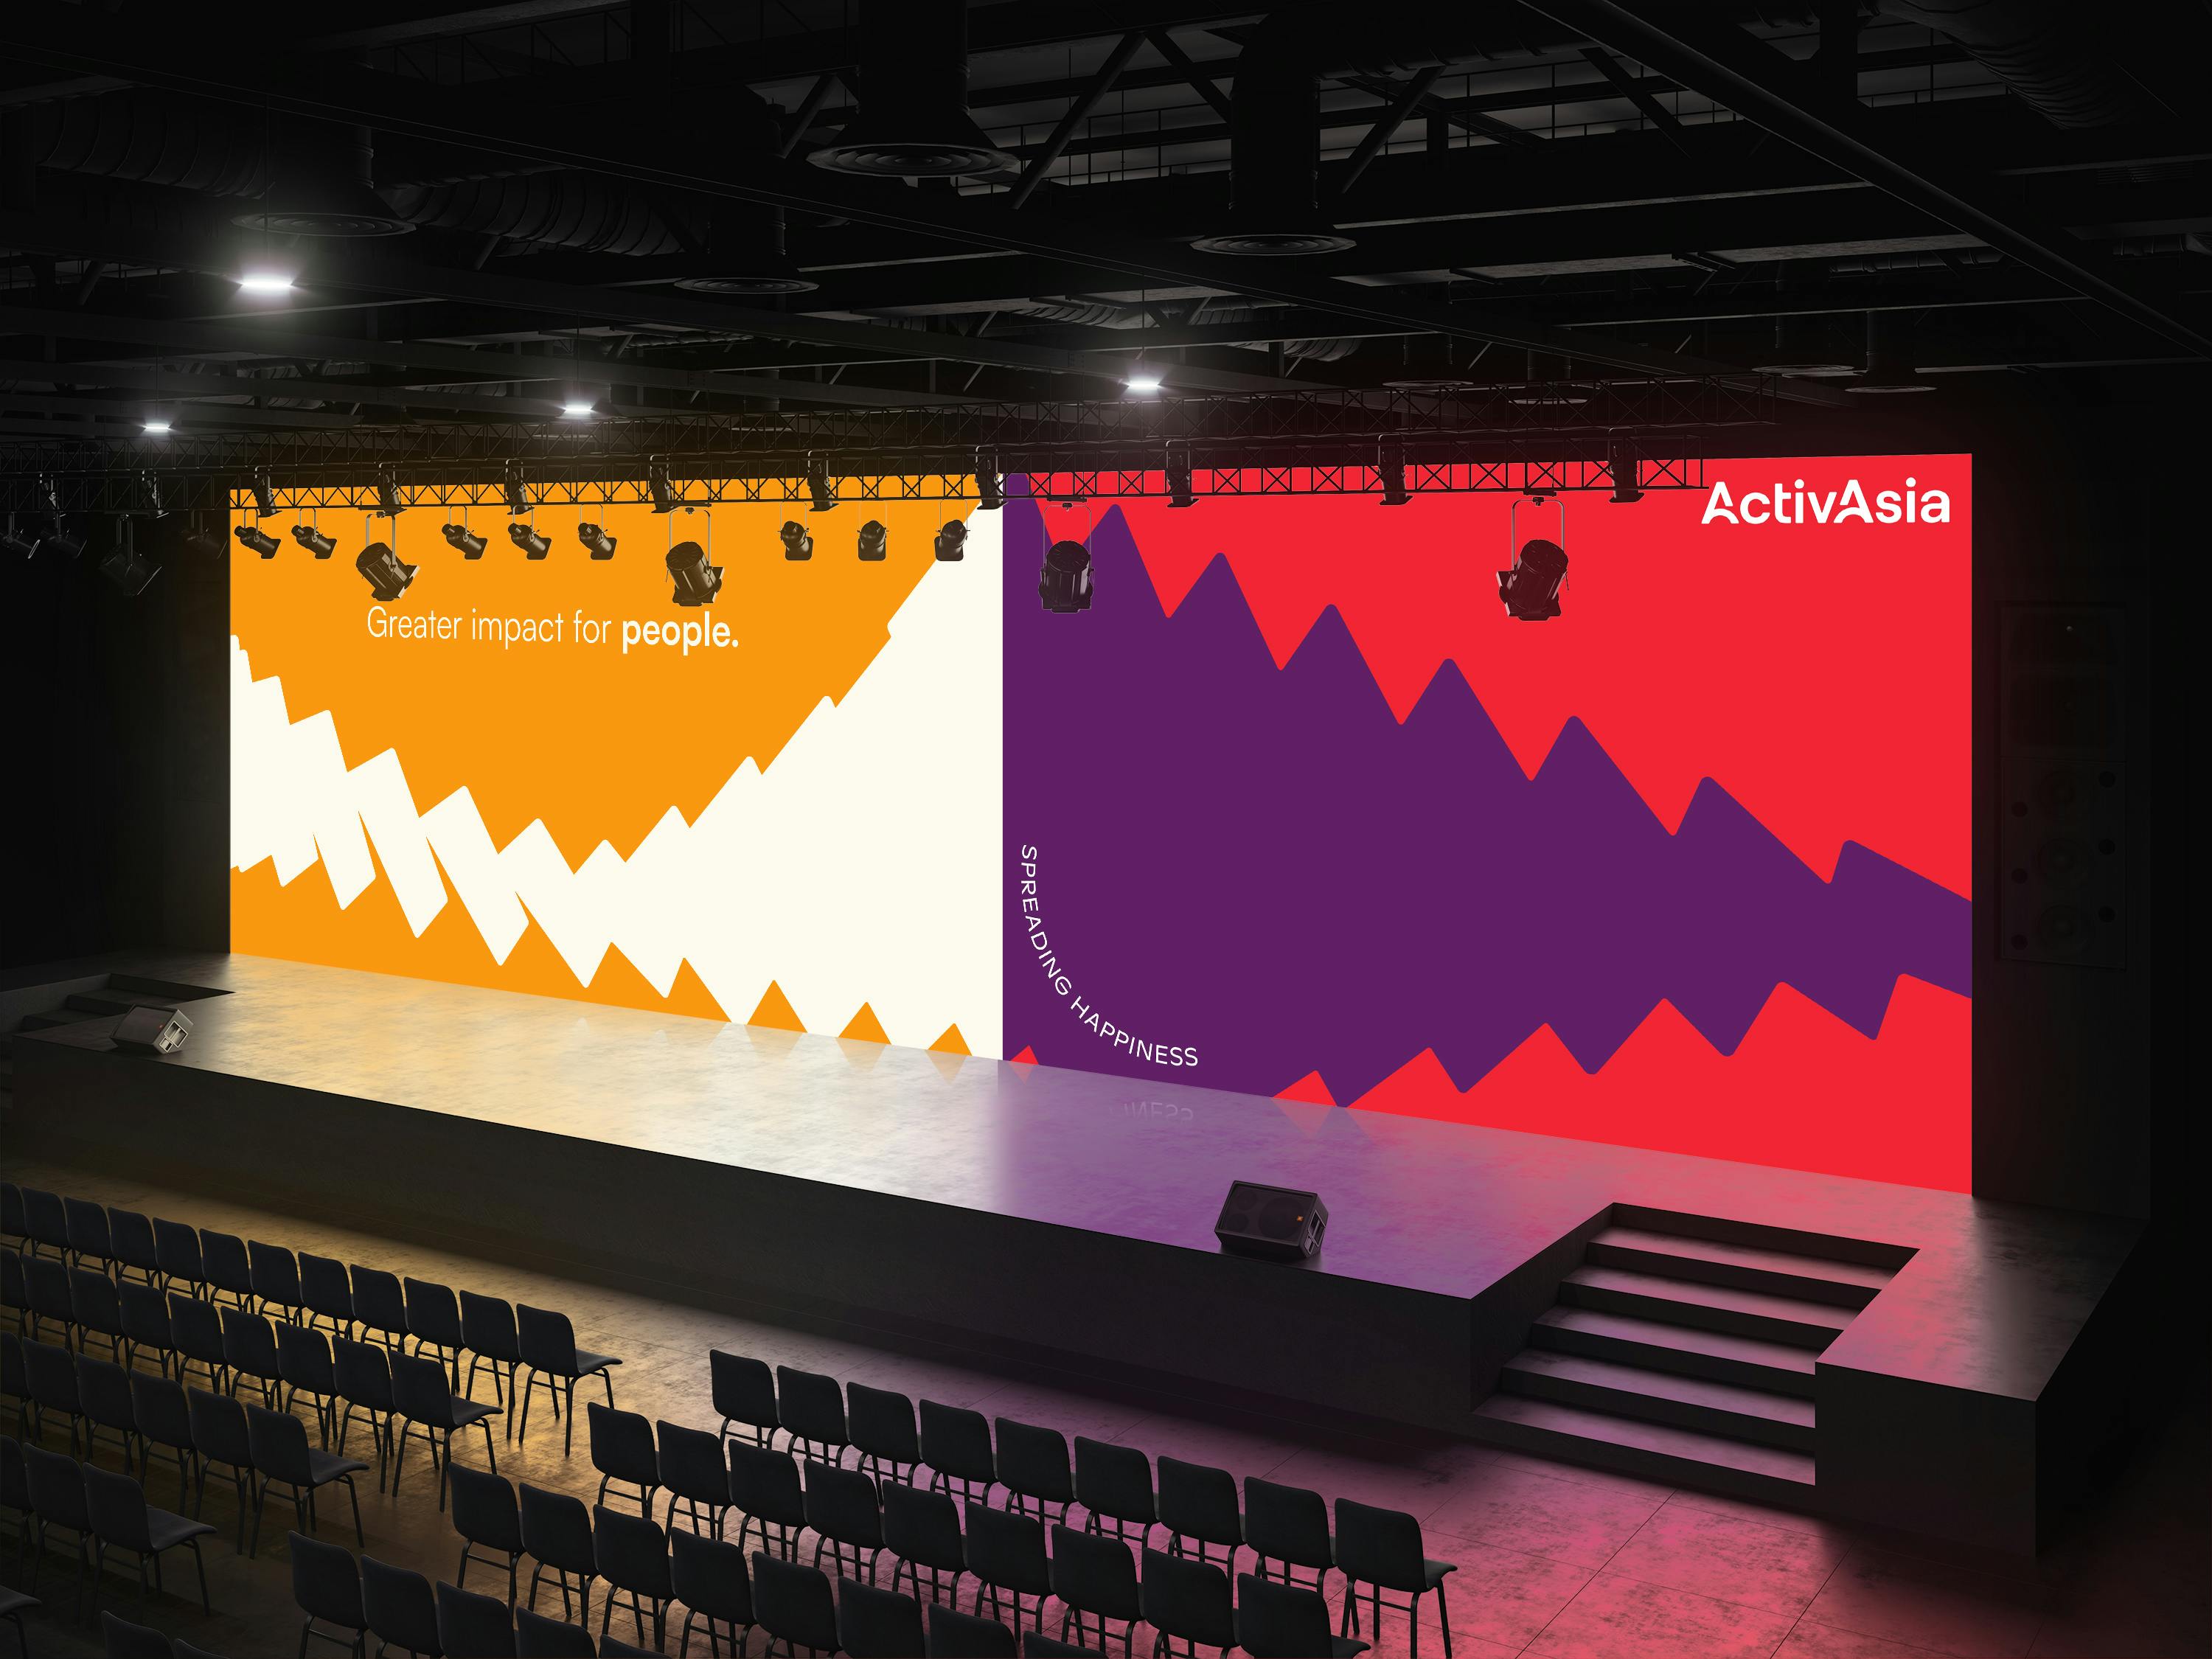
These patterns are blended together to show motion and transition - echoing the idea of building.
By playing with the shapes at different sizes and angles, the pattern becomes more dynamic & diverse, similar to the diverse team of ActivAsia making the whole ecosystem stronger.
Construction
Setting The Shapes Up


Blending The Shapes


Finishing Touches
For triangles and squares, round the corners only once the blend has been expanded.


Adjust the rotation or orientation of either of the Blend shapes if the transition has some off or irregular shapes .


Misuse
Do not blend with shapes with rounded corners.


Avoid having too many steps.


Do not blend two different shapes together.


As shapes blend, look out for any transition shapes that look warped or uneven. Adjust the either ends of the shape to clean up the transition.


Sample Applications


Want to print your doc?
This is not the way.
This is not the way.

Try clicking the ··· in the right corner or using a keyboard shortcut (
CtrlP
) instead.