Skip to content

Guides 2
 Building a one-way sync
Building a one-way sync
What you'll learn
Instructions
1. Setup
Source Table
Task
Complete
Time Estimate
1
Negotiate 100/day supply of Part X with our vendor
4 hrs
2
Find 3 candidates for initial testing
3 days
3
Address quality issues with current chamfer mill
2 days
There are no rows in this table
3
Count
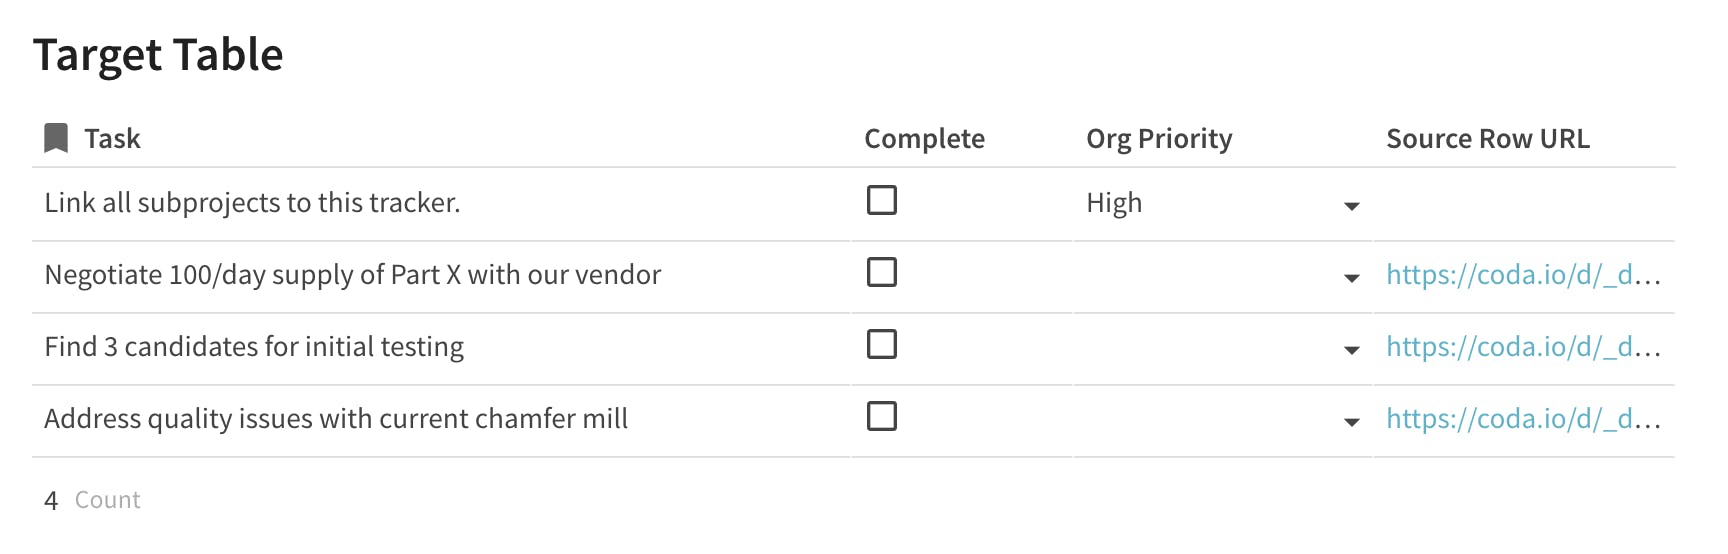
Target Table
Task
Complete
Org Priority
Source Row URL
1
Link all subprojects to this tracker.
High
There are no rows in this table
1
Count
2. Writing the sync adapter
3. Getting it working
3.1 Setting up a schedule


☑️ Mark the "Building a one-way Sync" guide as complete!
No results from filter
4. Appendix
4.1 Working with Formulaic Columns in the Source Table
4.2 Working with Lookup Columns in the Source Table
4.3 Handling deletions
Want to print your doc?
This is not the way.
This is not the way.

Try clicking the ⋯ next to your doc name or using a keyboard shortcut (
CtrlP
) instead.