Skip to content


So, What is an Intake Form?
Intake forms help a business collect information and determine the viability of a potential relationship. Questions in the form help consolidate information that can be communicated between colleagues, teams, and across an organization so they're better equipped to make decisions.
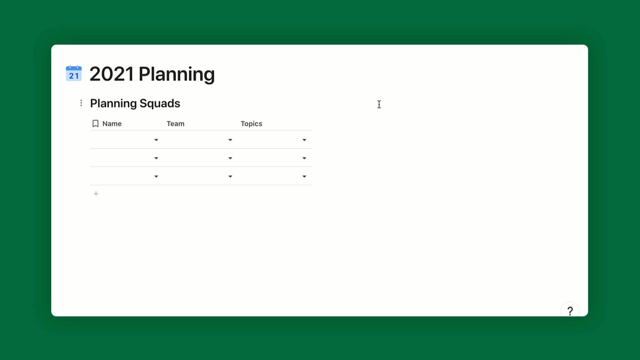
One Stop Shop, Problem Solving.
Typically with intake forms we tend to think of mountains of paperwork, multi-tabbed spreadsheets, or multi-platform data base management (yikes!). With Coda, all those fears go away. With one doc you are not only gathering the data you need, but also creating a usable database of information that can be shared company wide, for any sort of event, hiring, Product sourcing, or revenue generating opportunity!
Regardless of your skill level with Coda, this doc is designed to help you set up a few examples of Intake Forms with the greatest of ease. Each of the following pages will share “How to...” section and buttons to keep your data organized.
Using this Doc.
Throughout this doc you will see action items with a ❗ in front of it, and key reminders a 💡 in front of it. Follow along and put your own data into the template to create the different forms. The following is just a launch pad for your creativity. Edit, add, and make it your own beyond what has been set up!
What is a Form in Coda.
A digital document with blank spaces for information to be inserted and a great way to collect responses from stakeholders/employees/customers/anyone directly into your doc.
🌟 Please note, only the Doc Maker will be able to publish Docs or Forms. 🌟
Creating Forms.
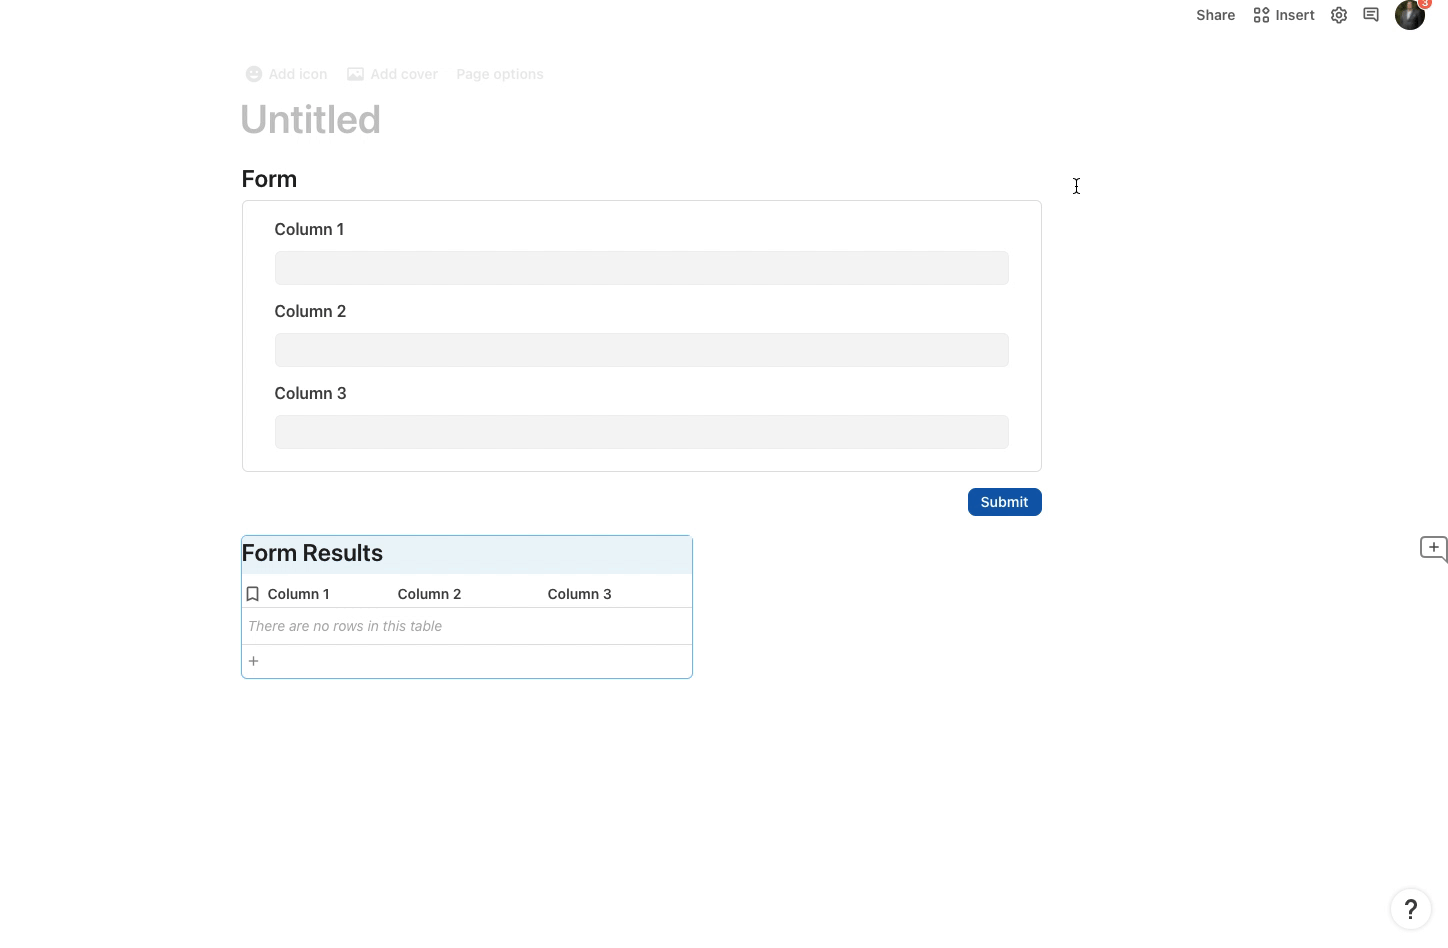
To build and customize a form, access the ‘Form Options’ menu by either typing /form to create a new form, or by hovering to expose the ‘Options’ menu, and then clicking ‘More’ (next to the Calendar view option) and selecting ‘Form.’
💡 Remember: A form is just a table with a specific view!
❗ Try it here❗
Type /form and watch your form take shape.
Adding Columns.
Remember the rule above, a form is just a table in a specific view. Click on your form and go to “Options.” Then on the right hand side you will see the selection “Table.” Click that to change your form into a table. Then edit the columns to whatever you would like.
Next, click the layout button on the right and unhide that new column to show in your form.
Below is a gif of this process. Congrats! You just added a new field to your form.
Customizing Layout.
Coda allows you to customize how your form will look. To do so, select the Edit layout option when looking at a Detail view table or when editing a Form. You can also access this from the ‘Form Options’ Menu, you select ‘Layout’ to open the editing mode for your form.

Note: if Edit layout can’t be selected, this is likely because you’re using the Default layout, which isn’t editable. So instead, select the Pick a different layout option.
Once in the edit menu, you can select any of the Quick Styles for a great starting point, or you can build from scratch. You can select which columns to show or hide from the panel on the right. Then, you can drag and drop items to create the perfect layout for your team. You can even drag each item to make it longer or shorter on each line.
If you want to edit a particular column in that layout, just click onto that field. You should then see a suite of options in the right panel. Here you’ll see the usual column settings, as well as options to display a column label, font size, and more. Different column types have some different options, so be sure to check this out.
Want to print your doc?
This is not the way.
This is not the way.

Try clicking the ··· in the right corner or using a keyboard shortcut (
CtrlP
) instead.