Skip to content

A capture card. Search for 'HDMI capture card' to see options. Or buy the . Ideally, make sure whatever you buy has the 'virtual webcam' feature built in. The HD60 for example DOES NOT. The S+ added that. If you don't, there is software hacks you can jump through.A camera. Maybe you can use something you have, or find a cheap one on craigslist. Check out this for details. You want something that has 'Clean HDMI' - none of that crap like focus boxes or min remaining in battery. A mount to get the camera level with your face. I'm using . It's the perfect height to exactly clear a 27" monitor/iMac. Won't work if you have your computer on a stand.A DC adapter to leave your camera plugged in. I got this . So far it's working fine, and at 1/10 the price (and available at all!) hard to complain.The right HDMI cable. The EOS has a mini (not micro!) HDMI out. I to make it clean.
Share
Explore


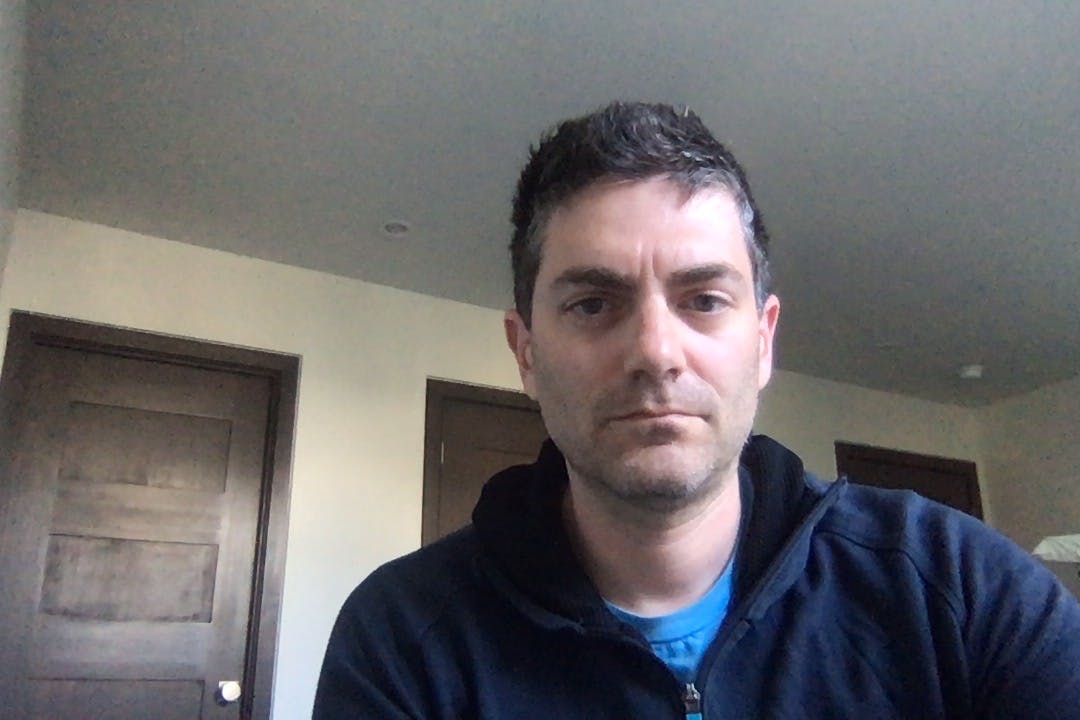
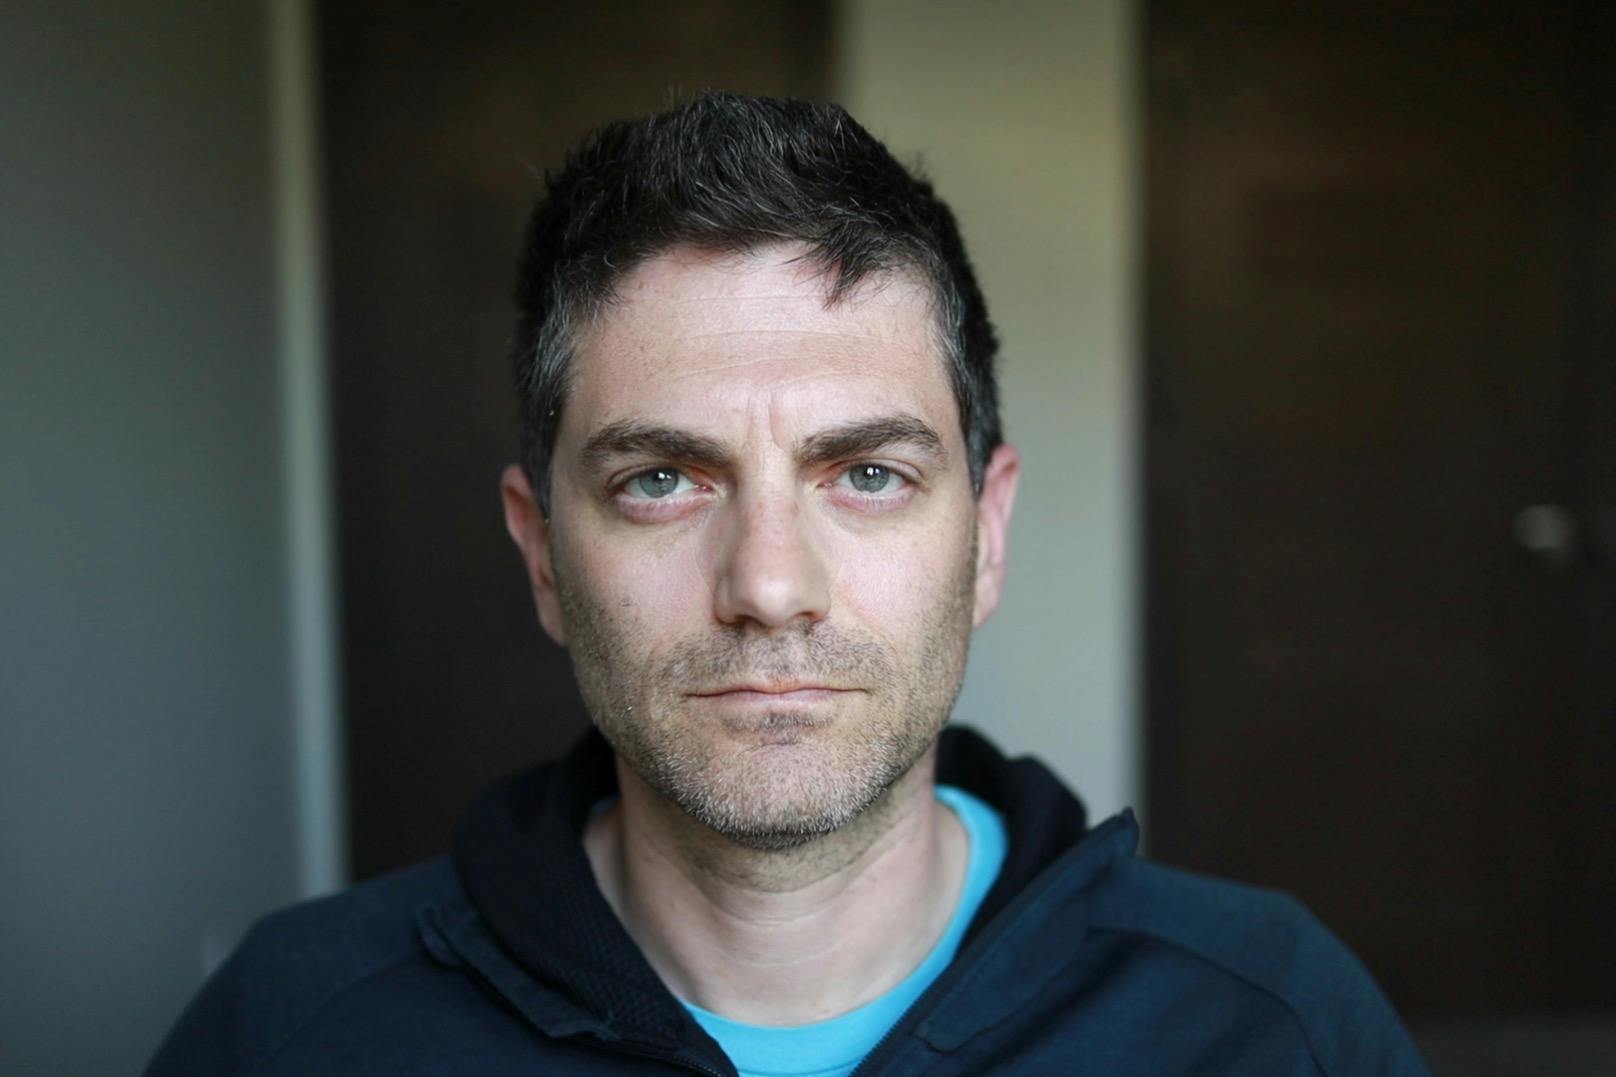
The left is what video calls used to look like. The right is what they look like now
Join me in this adventure. I'll warn you now it's really kind of pointless, vain, and expensive. I've enjoyed wasting some time on this and have had a number of people ask me about it, so I'm sharing with you. You don't need any of this though. After all, we're still just in dumb zoom/meet video conference talking about work. finally, sorry that they are all pictures of me.
Light and the device that captures it
We've only got two variables here to work with (audio isn't covered in this one). Light, and the camera itself. There's a lot of light changes you can make for free, and some light changes that will cost you money. you can move your desk. Move your camera. Change angles. Or buy stuff. Let's start with the free options - move things around.
Ambient Lighting
Here are four images I took with my 13" MacBook Pro's built in FaceTime camera. All I did was rotate a bit each time. The upper left has the only light coming straight in against my left eye. Upper right I turned ~45 degrees so the light hits just the right side of my face. Lower left I turned another 45% so now the light washes over the side and front a bit. Finally I turned around so you can see the light coming in, and what it looks like with light directly behind.


Somehow almost everyone I talk with seems to have their setup like the lower right. So if you want to optimize for video, turn stuff around. Get the light coming in at a 45 degree angle to your face, with no direct strong light visible in the frame at all.
This may not be practical - to actually get the lower left picture as my work enviornment, I'd be sitting with my back pushed up against the wall, and the desk pushing against my belly. It would be really uncomfortable, and ugly and kind of break the room.
Camera Position


Same camera (macbook pro again), taken 5 seconds apart. Left is on my lap. Right is held up so it's straight on. Nothing else moved. I prefer the right, but maybe you like to have a double chin so I won't judge if you stick with the left.
Of course you can get fancy stands for your computer, or put it on some books.
Add lights now?
So maybe you want to add some lights. From my limited experiments there isn't much point in adding lighting with the crap camera built into the Mac.
Left is the same natural light pic from above, right is with some lights I'll discuss more further down.


I'd stick with the natural light if you're sticking with the Macbook Pro's camera.
Web Camera
OK, you want to upgrade your camera. I'll jump to the fancy pic in a second, but I do have 2 web cameras to compare.
Left is the 13" macbook pro. It's terrible. Grade D. Expand it and cry. Right is the built in FaceTime camera on a 27" iMac Pro. It's a big step up. Adding lights here also doesn't make it any better for either.


I'd call it a solid step up - C grade. This is what I've been using pre-COVID, and I'd regularly have people comment how clear and good it looked.
Fancy Camera
Left is the iMac Pro. Right is a (Amazon Smile link, proceeds to my kid's school).


Clearly we're in a different league, price wise and quality.
Camera is doing HDMI output, getting captured with an . Image, like all others was captured in PhotoBooth, a left behind relic on the Mac. Flash screen turned off of course.
The bokeh on the EOS R jumps out - everyone comments on how creamy and blurred the background is. Something about that shallow depth of field screams out. Same camera, smaller aperture and not nearly as many comments. But knock that background out and it tickles something in our brains.
Lens choice is important. Note that even with a 35mm on a full frame camera, it's much smaller frame of view than the built in camera. A 50mm would probably be too tight. Also keep a close eye on the aperature. I'm F1.8. The larger that number (e.g. F4) the more in-focus the background is, and the less awesome it'll look. Getting a 'fast prime lens' here will pay off.
Overall I'd give this a B+/A-. The colors are cold since my lighting is hard shade coming in from north facing windows. The background is still a bit brighter than I'd like.
Now lighting helps out
Left is our previous winner. And right is the same setup, with an coming from my right, and a desk lamp filling in from the left.

You'll notice that since my face is brighter, the camera has automatically adjusted the exposure, making the background a bit darker. In these photos it's not super noticeable - I think maybe due to the time of day. But it really helps bring the focus away from the room. The color temp from the lighting warms up my face, and the nice thing about the Key light is it's fully adjustable so you can do whatever you'd like - match the outside, make it so warm your skin looks on fire.
I exaggerated the color for here - I'd usually tone it down a bit. You'll also notice that with the key light the nice highlight in my eye disappears. That's why people go for the ring light on-axis lighting too, but I think this is good enough for now.
Wiring it all up
I'm sorry it took this long to get here. Your shopping list looks like:

Enjoy!
Want to print your doc?
This is not the way.
This is not the way.

Try clicking the ··· in the right corner or using a keyboard shortcut (
CtrlP
) instead.