Skip to content
3x Container1x Text Input1x Image4x Label
5x Frame5x Text3x Vector
the designed component according to the instructions from the previous section
vercont_pass_hide_frame, vercont_conditions_frame = Vertical Containerhorcont_pass_frame = Horizontal Containersvg_eye_icon = Imagetxt_insert_pass = Text Inputlbl_condition_one_title, lbl_condition_two_title, lbl_condition_three_title = Label
Parent Password Frame Border Colour - #3860B2Icon Colour - #5E7EC0Condition Warning Message Colour - #F57070Conditions Title Colour - #3860B2

How to design it in Power Apps
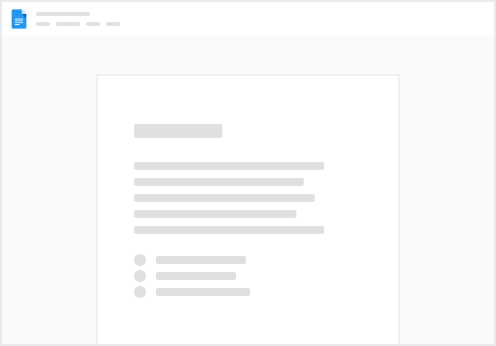
Preview

What does it consist of?
Procedure
Step 1 - create password container
Add a new Vertical Container PCF object, call it "pass_hide_frame" with this "Gap" property:
5
Step 2 - create password content
Add a new Horizontal Container PCF object under "pass_hide_frame", call it "pass_frame" with this "BorderRadius" property:
10
Add a new Text Input object under "pass_frame", call it "inser_pass" with this "HintText" property:
"insert pass..."
Add a new Image object under "pass_frame", call it "eye_icon" with this "Image" property:
"data:image/svg+xml;utf8, " &EncodeUrl("<svg width='30' height='31' viewBox='0 0 30 31' fill='none' xmlns='http://www.w3.org/2000/svg'> <path d='M15 20.5125C17.7614 20.5125 20 18.2739 20 15.5125C20 12.7511 17.7614 10.5125 15 10.5125C12.2386 10.5125 10 12.7511 10 15.5125C10 18.2739 12.2386 20.5125 15 20.5125Z' stroke='#5E7EC0' stroke-width='1.5' stroke-linecap='round' stroke-linejoin='round'/> <path d='M2.5 15.475C10.1125 2.14995 19.8875 2.16245 27.5 15.475' stroke='#5E7EC0' stroke-width='1.5' stroke-linecap='round' stroke-linejoin='round'/> <path d='M27.5 15.5125C19.8875 28.8375 10.1125 28.825 2.5 15.5125' stroke='#5E7EC0' stroke-width='1.5' stroke-linecap='round' stroke-linejoin='round'/> </svg>")
Step 3 - create condition labels
Add a new Label object under "pass_hide_frame", call it "requested_title" with this "text" property:
"Please meet the requested characters"
Add a new Vertical Container PCF object under "pass_hide_frame", call it "conditions_frame" with this "Gap" property:
5
Add a new Label object under "conditions_frame", call it "condition_one_title" with this "text" property:
"One number"
Add a new Label object under "conditions_frame", call it "condition_two_title" with this "text" property:
"At least one uppercase"
Add a new Label object under "conditions_frame", call it "condition_three_title" with this "text" property:
"At least one special char"
This is an output:

How to design it in Figma
Preview

What does it consist of?
Procedure
Step 1 - create a vertical frame with auto layout
Add a new Frame (F command) with vertical auto layout (SHIFT + A command) object, call it "vercont_pass_hide_frame" with these properties:

Step 2 - create a content for parent frame
Add a new Frame (F command) with horizontal auto layout (SHIFT + A command) object, call it "horcont_pass_frame" with these properties:

Step 3 - create a input field for pass frame
Add a new Frame (F command) with horizontal auto layout (SHIFT + A command) object, call it "txt_insert_pass" with these properties:

Add a new Text (T command) under "txt_insert_pass" frame, call it "text" with these properties:

Step 4 - create condition texts
Add a new Text (T command) under "vercont_pass_hide_frame" frame, call it "lbl_requested_title" with these properties:

Add a new Frame (F command) with vertical auto layout (SHIFT + A command) object, call it "vercont_conditions_frame" with these properties:

Add a new Text (T command) under "vercont_conditions_frame" frame, call it "lbl_condition_one_title" with these properties:
Add a new Text (T command) under "vercont_conditions_frame" frame, call it "lbl_condition_two_title" with these properties:
Add a new Text (T command) under "vercont_conditions_frame" frame, call it "lbl_condition_three_title" with these properties:

This is an output:

How to use it via DesignKit
Prerequisites
Used Prefixes
YAML Output

Used Colours
Want to print your doc?
This is not the way.
This is not the way.
Try clicking the ··· in the right corner or using a keyboard shortcut (
CtrlP
) instead.