Skip to content
The name of the model was changed to Purdue University Believer, or PUB. The value is equaled to the number that corresponds to which receiver is tied to which Believer. This is incredibly important as it allows for the correct receiver to connect to the correct Believer. The view is what is shown when the DATX is turned on. We modified the view for Believer 6. We changed the from view 1 to view 2 for all 7 models.
Upload the FCU Version 1.31.3Connect the Flight Controller to Ground Control and navigate to the Parameters tabDownload and export the parametersImport and upload the FCU Version 1.27.1 From the Engineering windows, reboot the autopilotExport the parameters
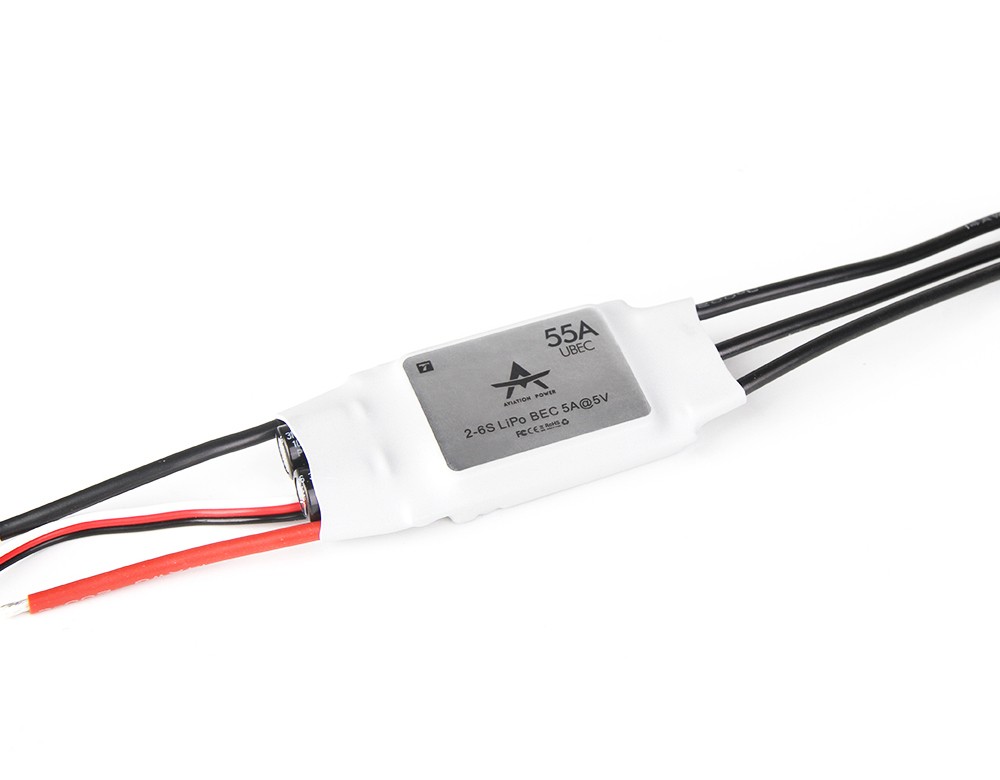
 Motors and Controls
Introduction
Receivers, RX, and Transmitter, TX, are essential to flight controllers as they are the components that handle two-way communication. Transmitters are responsible for sending data from the flight controller back to the radio and receivers are responsible for receiving the commands from the radio transmitters. Without this information RPIC would not be able to send commands to the aircraft and the aircraft would not be able to fly how the RPIC wants it to.
My team and I were tasked with ensuring our receiver and transmitters were ready to be paired, pair them together by binding them on our DATX, explore the importance of LUA script, upload a new FCU version parameter, test the systems connectivity, and finally draw a complete wiring diagram of the Believer.
Resources Used


There are no rows in this table
Team Members
Group 6: Isabella Avedician, Kenzie Florkiewicz, Diego Hernandez, Nico Jaekle, and Clayton Brown
DATX
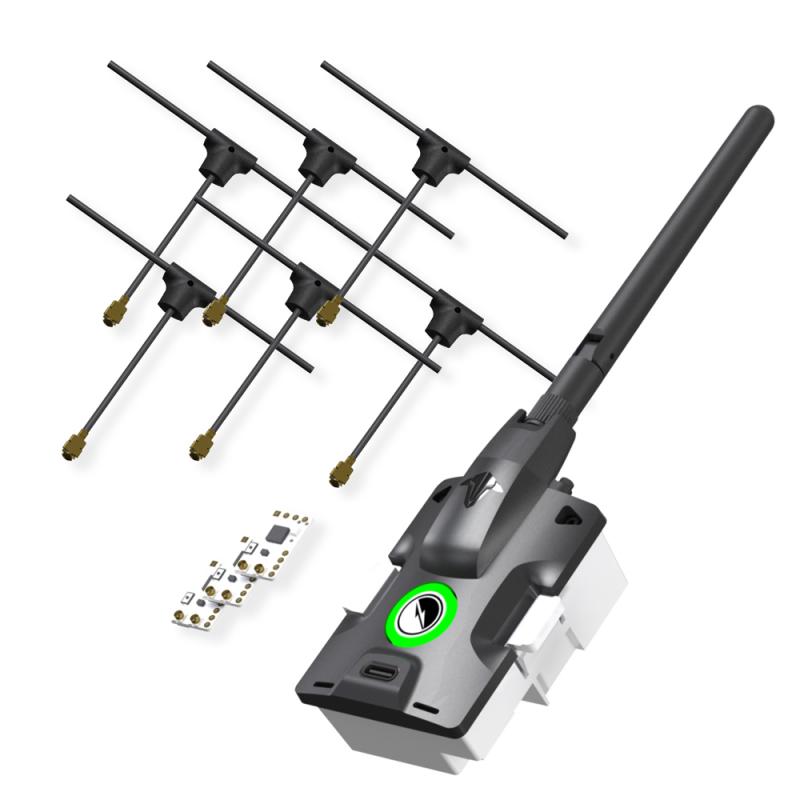
A transmitter and receiver are the two main components required when connecting to any aircraft. For the Believer, we are using the controller as a User Interface for a third party transmitter instead of using the built in transmitter. We are using the TBS Tracer Micro Starter.
Starter Set and Parts


Figure 1. TBS MIcro RX
Figure 2. TBS Tracer Immortal T Antenna
In order to prepare the receiver module we soldered the header pin on Ground, 5 Volt, Channel 1. In addition, we soldered the fourth empty pin to reduce vibration which helps minimize potential sparks. Refer to Figure 3 and Figure 4.

Figure 3. TBS Micro RX labels

Figure 4. Micro RX and Antennas Soldered
After my team and I downloaded all seven models needed, we inserted an SD Card that was provided to us, into our DATX. We then flashed our TX version 6.17 using the TBS Agent Web.
Then, using Diff-Checker, we uploaded models 00 through models 07 and compared the differences. Within the seven different models there was three main components: the name, the value number, and the view. These three components varied between models.
When using diff-checker we came across a LUA script. A LUA script is a set of instructions written in the LUA scripting language. LUA Script is known for being lightweight, fast, and embeddable. These qualities make it a popular scripting language in the UAS industry, It is commonly used to add functionality to larger applications for controlling application behavior. In addition, it is incredibly flexible and customizable which allows the users to monitor and manipulate the behaviors, which is what we are trying to accomplish with the Believer.

Figure 5. All systems plugged into the Flight Controller
After flashing the TX and verifying each of the models were in view 2, it was time to bind together the TX and RX. To do this we plugged the RX into our BlueCube and used a servo wire to connect the transmitter to the BlueCube. The black servo wire was put to ground and the other end was plugged into the RCIN terminal on the Flight Controller.
For our receiver module, we used another servo wire to connect it to the Flight Controller. The ground on top, or negative, channel 1 on the bottom plugged into the signal wire, and then 5 volt plugged into the middle or positive wire. In order to successfully bind the two together, we had to power on our DATX, navigate the LUA script, and go through the binding process. By following these steps we were able to successfully bind the two together.

Figure 6. DATX showing successful binding between RX and TX
FCU and Parameters
In our prior lab, , we flashed the BlueCube with a FCU Version 1.31.3, which does not align with the FCU version and parameter file we will be using. This causes an uploading error. In order to fix this issue, we exported the FCU Version 1.31.3, flashed, and uploaded the FCU Version 1.27.1, which is our current FCU Version. Refer to the steps and table below to see how my team and I completed this step.
Parameters Version Control
Date
FCU Version
File
Notes
11/6/2025
1.31.3
Open
11/13/2025
1.27.1
Open
Open
Open
There are no rows in this table
Test System Connectivity
Since we uploaded new parameters, my team and I needed to be sure that all our systems were operating the way that they are supposed to. In order to test the systems’ connectivity we needed to connect the GPS, Airspeed Sensor, Telemetry, and DATX to our Flight Controller, refer to Figure 5.
My team and I decided we needed to take the system outside of the building we were working in to ensure GPS connection. After going outside and receiving GPS connectivity, all of our other systems were in the green which confirmed that all systems were connected, refer to Figure 7.

Figure 7. Platform Health Status
Wiring Diagram of the Servos, ESC, and Motors
Link to full wiring diagram:
Summary
Two-way communication is critical to ensure a safe flight operation. Not only does two-way communication allow for the RPIC to send instructions to the drone, it also receives critical information like sensor information, telemetry, airspeed, and much more. In this lab, my team and I successfully paired the TX and RX together using solder techniques and the DATX to bind them together. We were also introduced to the importance of LUA script in the UAS industry and how we are using it to customize and manipulate the behavior of the Believer. In addition, we uploaded a new FCU version parameter that won’t cause an uploading error and we tested our systems to ensure connectivity. Finally, we drew a complete wiring diagram of the Believer.
Want to print your doc?
This is not the way.
This is not the way.

Try clicking the ··· in the right corner or using a keyboard shortcut (
CtrlP
) instead.