Skip to content
Intro to JS+prossecingJS
Share
Explore
Session 1

icon picker
Drawing basics

Quick tip: number scrubbing

If your using then you can use the "number scrubber" to quickly try out different numbers. Since you can't see the way the cursor moves to change the number scrubber here, here's a GIF that shows the motion:
(Since it's a GIF and not a video, it has no sound.)
You click on the number, then click and drag on the arrows that pop up above it. Number scrubbing is great because of how easy it makes experimentation.

Quick tip: Order function calls
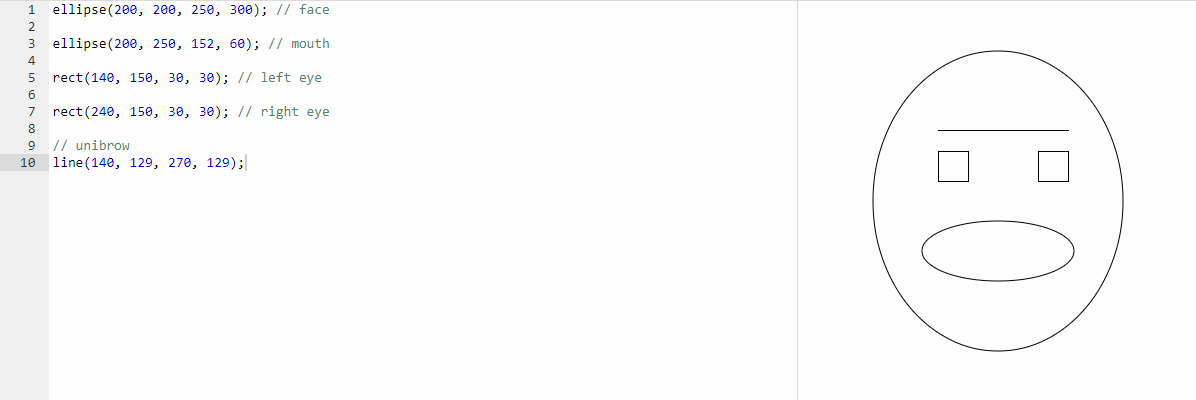
When you type a line of code from top to bottom in the editor, order matters.
For example, the ellipse command that draws the face is right on top of the other commands and if you move the face command underneath the mouth command the result will look like this:
mouth disappear.gif
The mouth disappear! Why? Because in the code, the mouth command draws it first than the face command.
That’s why it’s important that you make your code in ordered. Else, you might can’t find your mouth.

ellipse(x, y, w, h)

When you draw an ellipse you always follow two parentheses () and a semicolon ;. Inside the parentheses, you put four parameters, using the first two as the center coordinates and the last two as the width/height. For alternate ways to position, see in khan.
Parameters
Meaning
1
x
the x-coordinate of the center
2
y
the y-coordinate of the center
3
width
the width of the ellipse
4
height
the height of the ellipse
There are no rows in this table

Example

Result

image.png

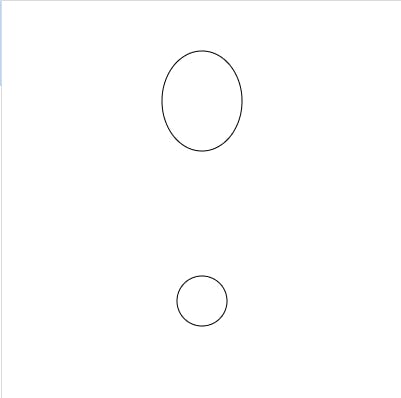
rect(x, y, width, height, radius)

When you draw a rectangle, using the first two coordinates as the top left corner and the last two as the width/height. For alternate ways to position, see in khan.
Parameters
Meaning
1
x
the x-coordinate of the top left corner
2
y
the y-coordinate of the top left corner
3
width
the width of the rectangle
4
height
the height of the rectangle
5
radius
(Optional) the radius of the corners, to round the rectangle
There are no rows in this table

Example

Result

image.png

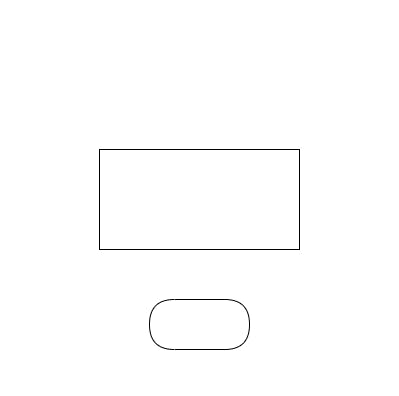
line(x1, y1, x2, y2)

When you draw a line, it starts from one point to another. The color of the line is determined by the most recent call. The thickness of the line is determined by the most recent call. The line ending style can be changed using .
Parameters
Meaning
1
x1
the x-coordinate of the first point
2
y1
the y-coordinate of the first point
3
x2
the x-coordinate of the second point
4
y2
the y-coordinate of the second point
There are no rows in this table

Example

Result

image.png

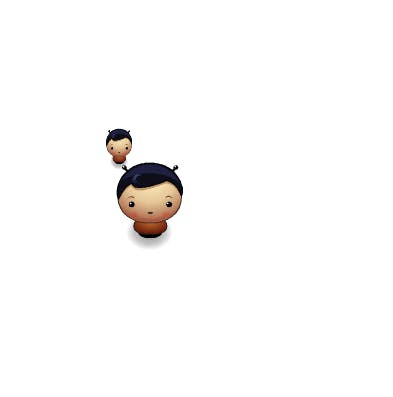
image(image, x, y, width*, height*)

Draw an image on the canvas. The only allowed images are those that popup in the image picker when you use the getImage() method. The image is positioned using the x/y as the upper left corner. For alternate ways to position images, see .
Parameters
Meaning
1
image
an image returned by getImage()
2
x
the x-coordinate of the top left corner
3
y
the y-coordinate of the top left corner
4
width
(Optional) the width of the drawn image
5
height
(Optional) the height of the drawn image
There are no rows in this table

Example

Result

image.png
Want to print your doc?
This is not the way.
Try clicking the ⋯ next to your doc name or using a keyboard shortcut (
CtrlP
) instead.