Skip to content

 Creating a Google Analytics Account from Scratch
Follow these steps if you want to create a new GA4 property.
We DO NOT recommend using Google’s official Google Analytics migration tool.
Step 1
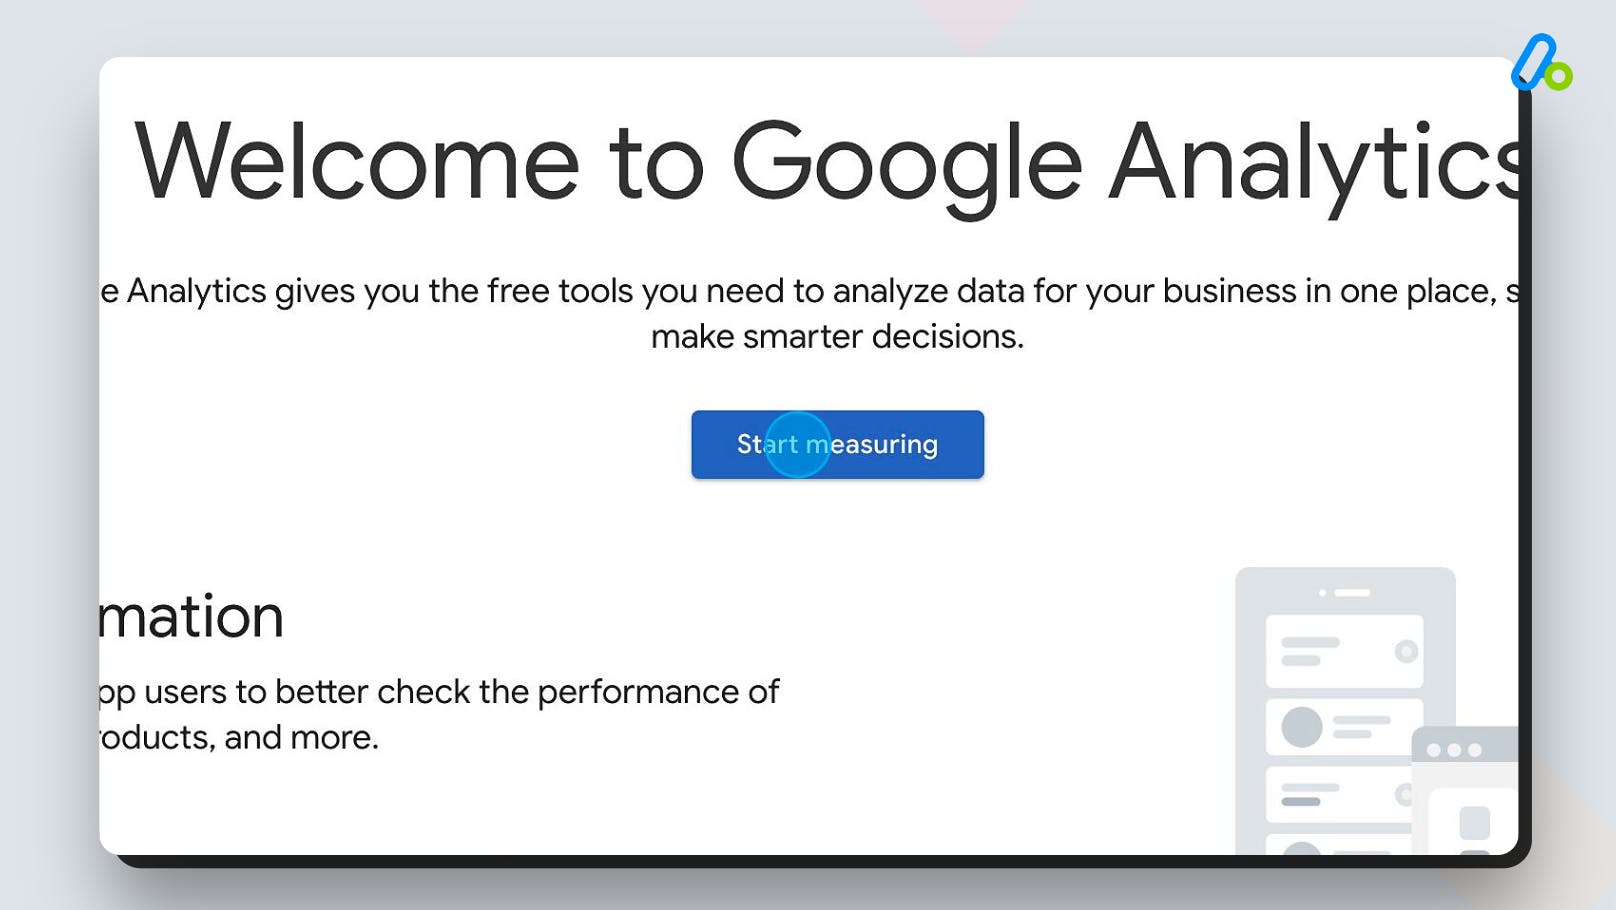
Go to Google Analytics
Step 2
Account name
Type up your “Account Name” and click NEXT.

Step 3
Next

Type a “Property Name”, and choose “Country” and “Currency”. Click NEXT.
Step 4
Choose industry and business size
Choose your Industry and Business Size and click NEXT.

Step 5
Drive Online Sales

Choose “Drive Online Sales”. This is the best choice for Shopify merchants. Click CREATE.
Step 6
Accept terms
Click the “I also accept the Data Processing Terms as required by GDPR.” field and click “I ACCEPT”.

Step 7
Choose a platform

Now you have to create a “GA4 Data Stream”.
Click “WEB”.
Step 8
Create stream
Type your website URL and Stream Name. You can use your Shopify store’s URL and name in these fields.
Click “Create stream”.

Step 9
Get Measurement ID

Your “Google Analytics Account”, “GA4 Property,” and “GA4 Data Stream” have been created. Now click COPY icon to get your measurement ID. Save this somewhere as you will need to use this information in the setup phase.
As simple as that 😎
👉 Next Chapter:
Want to print your doc?
This is not the way.
This is not the way.

Try clicking the ··· in the right corner or using a keyboard shortcut (
CtrlP
) instead.