


7 min read
Getting started with tables in Coda
Coda tables are so much more than spreadsheets.
The problem with spreadsheets.
Spreadsheets, oh spreadsheets, how you have served us well throughout the years. But alas, it’s time to bid you adieu and embrace a new era of data management. Tables are the project management tools of the future. You see, spreadsheets are like the old-fashioned rotary phones of the data world: functional, but slow and cumbersome (and without the nostalgia). But the best part is the fun! Coda tables are like a playground for data enthusiasts. You can customize views, add interactive buttons, and even build mini apps within your table. It's like turning your data into a virtual theme park, where you're encouraged to explore and be creative.Why Coda?
Unlike pre-packaged solutions, Coda is flexible. We support a wide spectrum of use cases and don’t make you fit your process into a box.Coda tables are great for organizing data and managing projects. They can handle complex relationships and calculations easily. AND they can sync with each other. No more endless scrolling and manual updates in multiple places; Coda tables make things efficient and streamlined. So, my dear spreadsheet aficionados, it's time to embrace the future. Wave goodbye to the rows and columns of yesteryears and say hello to the dynamic, exciting world of Coda tables. It's time to level up your data game and experience the joy of working with a true data superhero.What’s in here.

What you’ll get:
- Introduction to Coda tables
- Tips on how to start building a scalable Coda doc
- An overview of how data looks and works in Coda

What you’ll use:
- Pages
- Tables
- Buttons
1. Starting with tables.
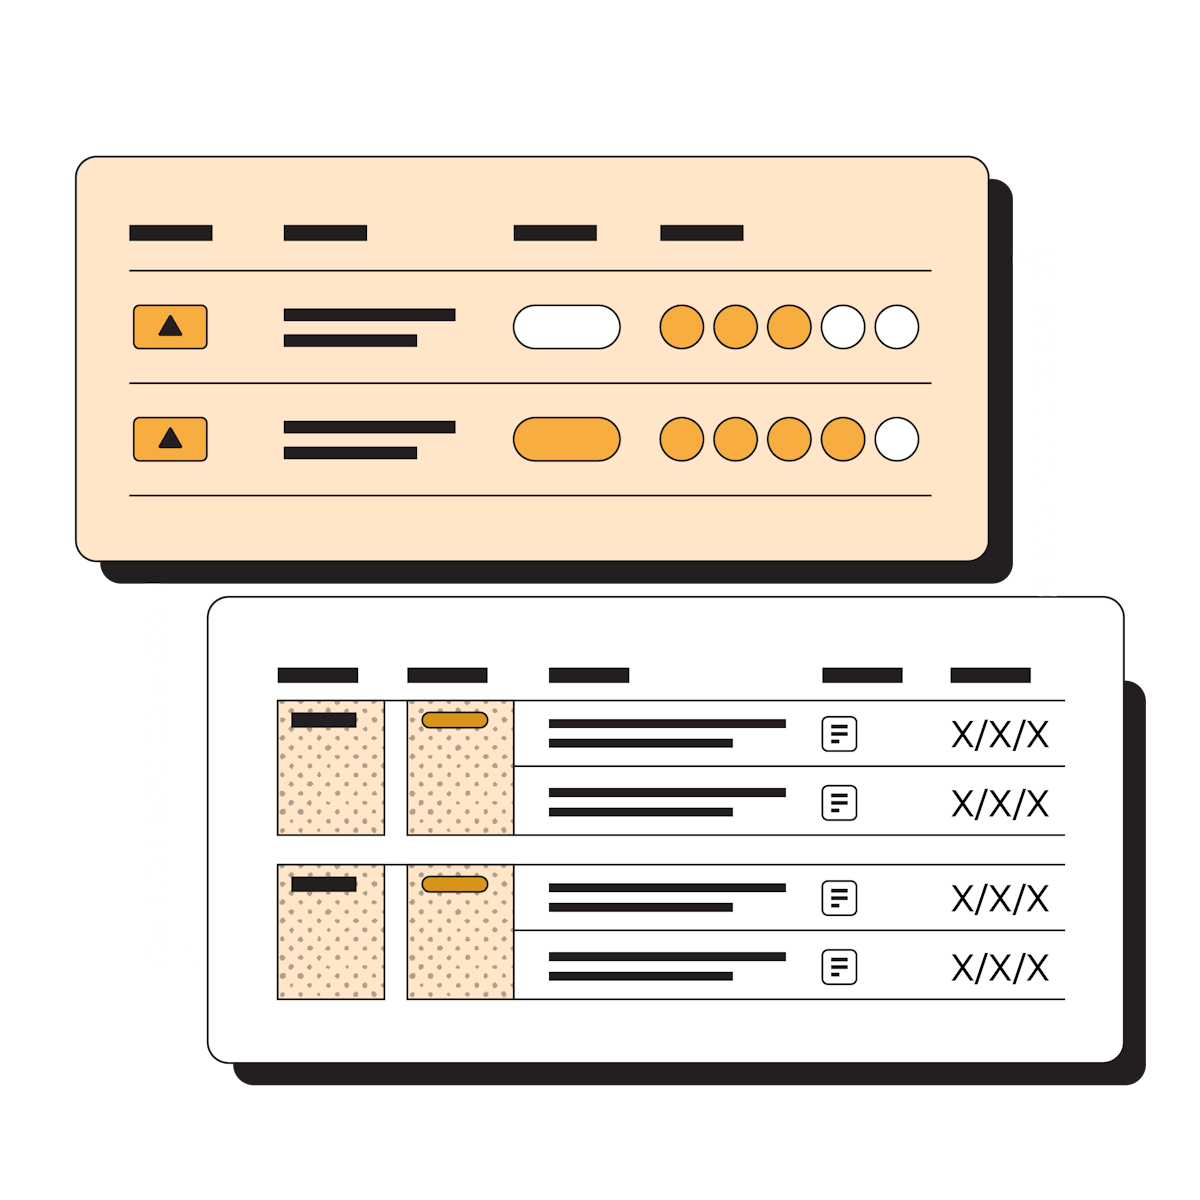
Tables are the meat and potatoes of Coda. They’re the jumping-off point for all things database. You can get a table through the Insert panel on the top right of you screen or by typing "/table" anywhere on your page. For this guide, let’s make a Tasks table to track your team’s progress on a set of initiatives.2. Column types.
From here, you can rename columns, change the data types, and even change how the table is displayed. Change the Name column to Summary, Column 2 to Assignee, Column 3 to Status, Notes to Due Date.- Assignee to a People column type.
- Status to a Select list (you can auto-populate your options!).
- Due Date to a Date column type.
- No need to change your Summary column; Text works for it.
3. Structured data.
Now, add some data to your table. Make up a couple of tasks, then set yourself as the Assignee. Set a Status and give a Due Date for each.
A note on Select lists versus Relation:
Select lists and Relations look similar in a table and allow you to choose from a set of options. They both help with data consistency. So when should you use a Select list and when should you use a Relation? There’s no hard and fast rule but here are some things to keep in mind:
- Select list: use when you only need the list for one table, and there is no other data attached to the items in your list.
- Relation: use when you need the same list of data across multiple tables and/or there are other bits of information attached to the items in the list (like a Best email for a Contact)
Now What?
Now that you have the basic understanding of Coda tables, take your table game to the next level, check out our conditional formatting help article or our Design a doc with stunning visuals guide.Was this helpful?
YesNo