Hypercasual - Arcade Idle Pack - User Manual v2.2
Hypercasual - Arcade Idle Pack - User Manual v2.2
IMPORTANT NOTE!!!
Package Contents
How to Start
HyperCasualPack/Demo/Demo.unity
Component Explanations
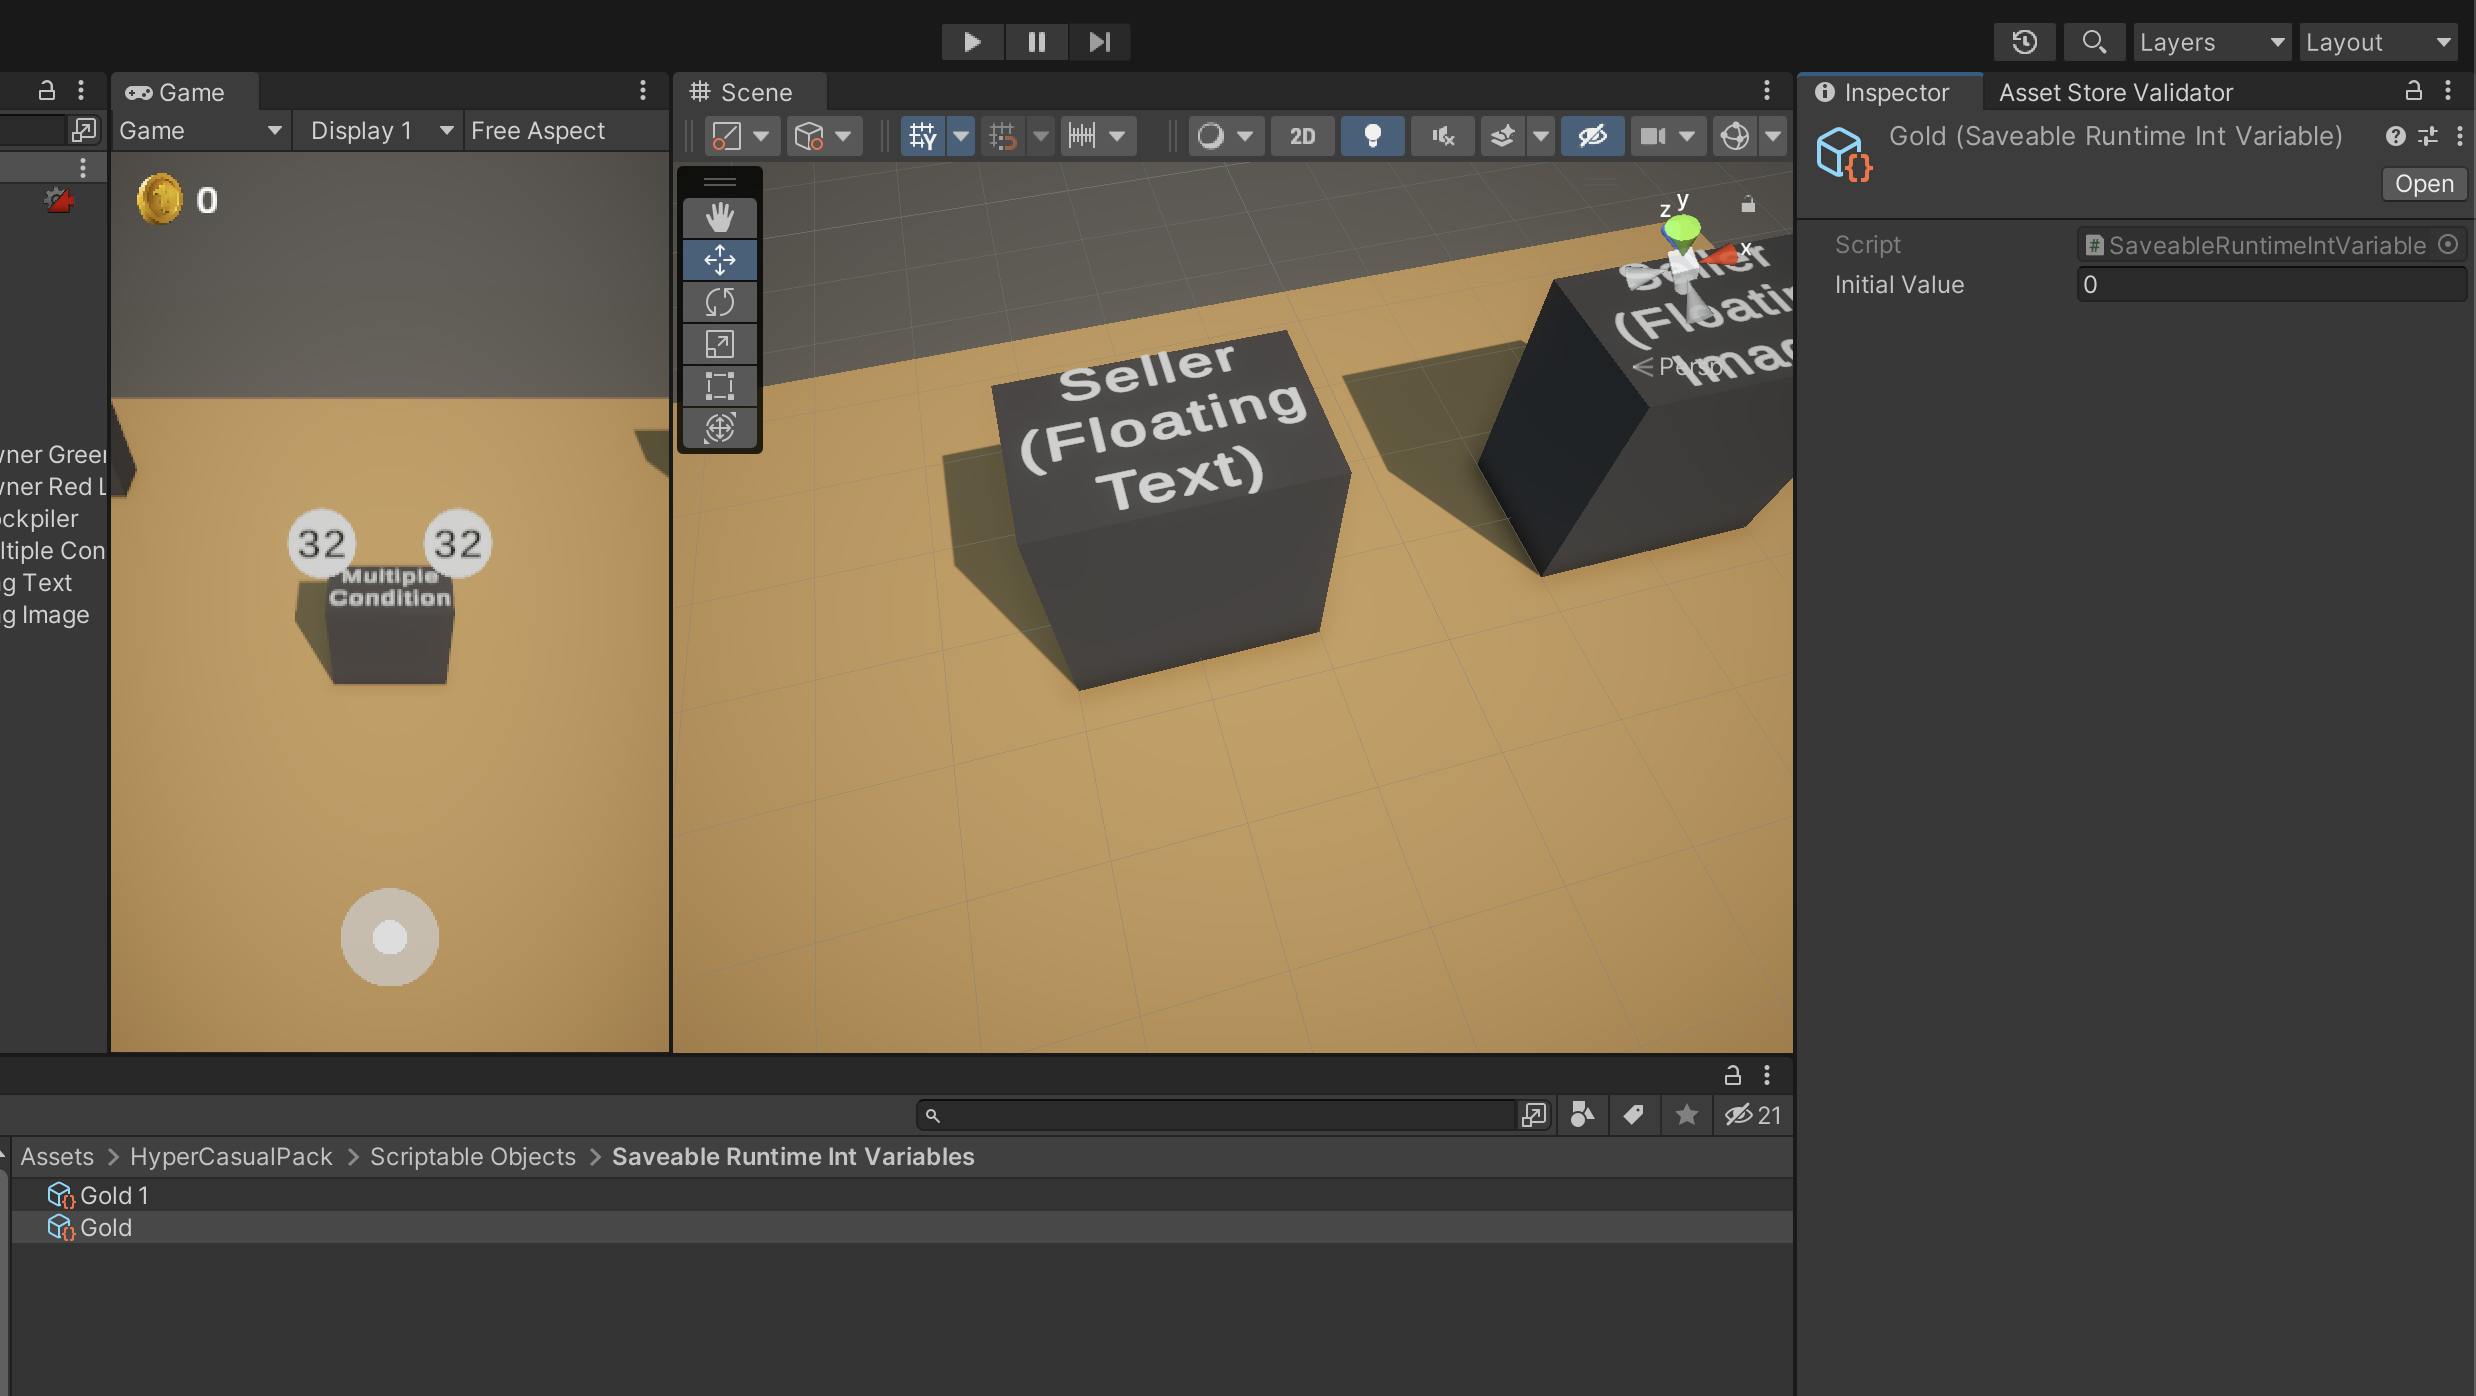
Saveable Runtime Int Variable
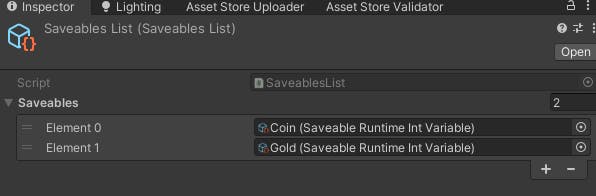
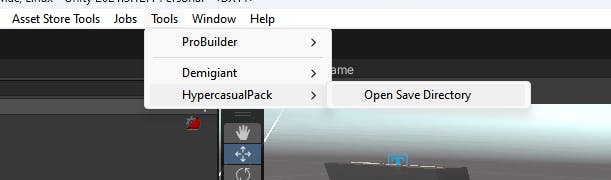
Save Manager

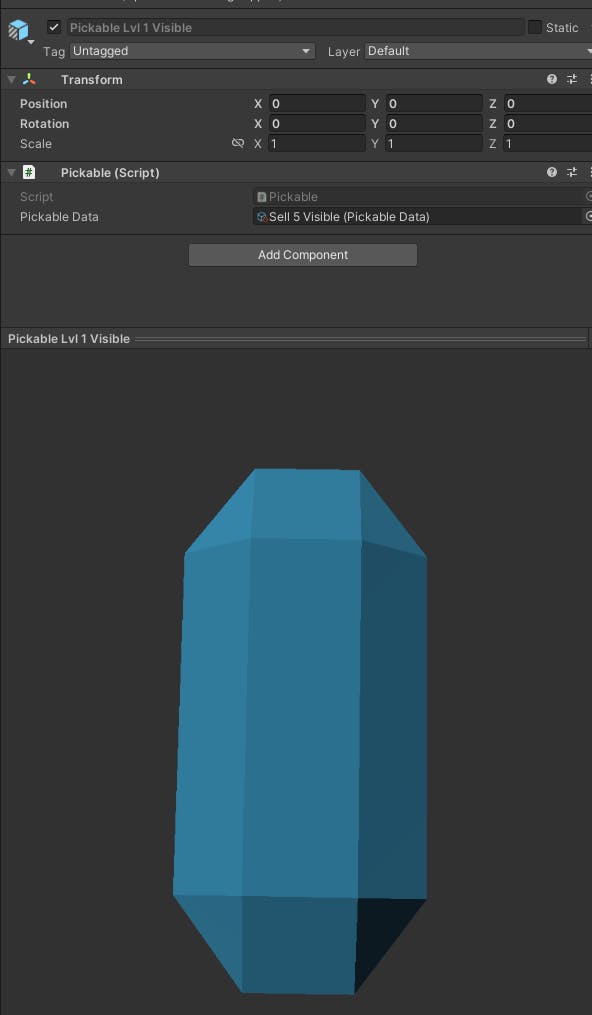
Pickable
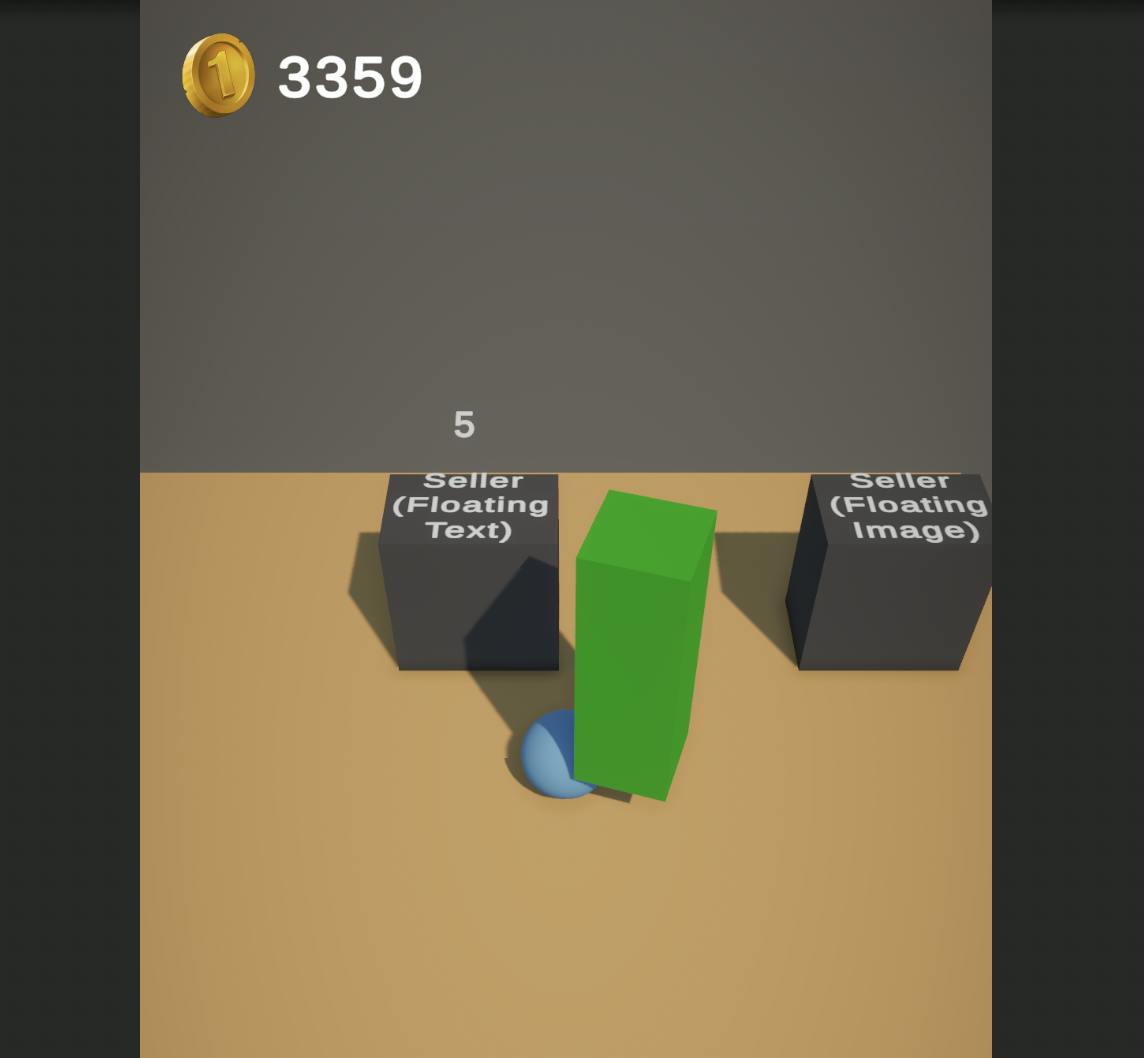
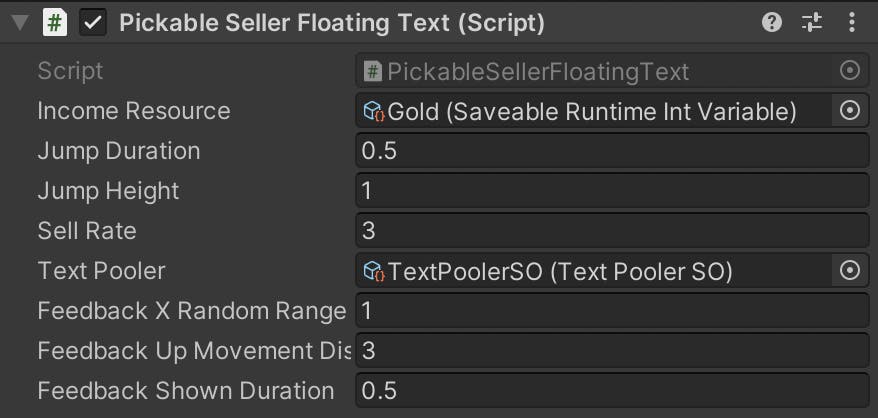
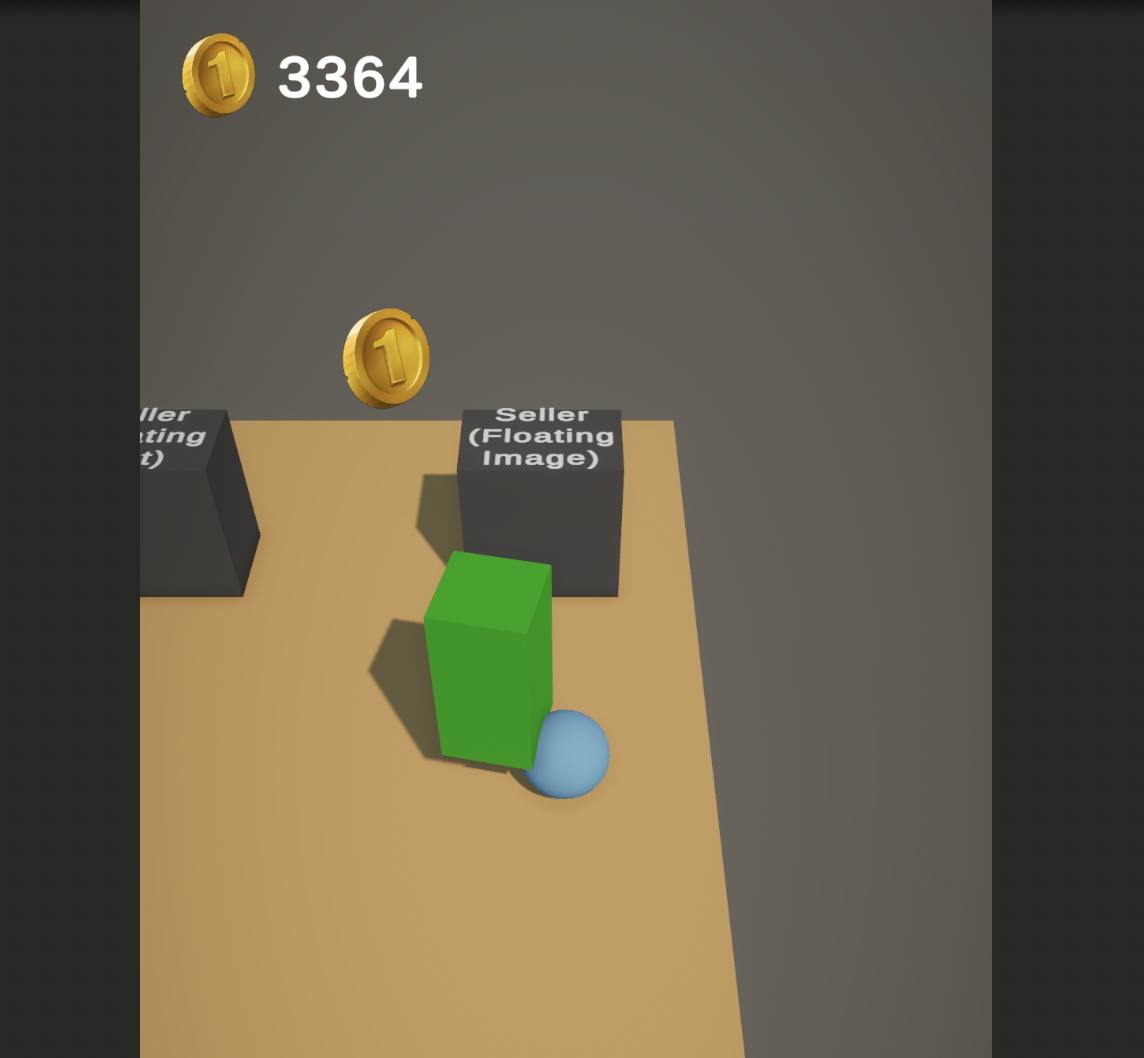
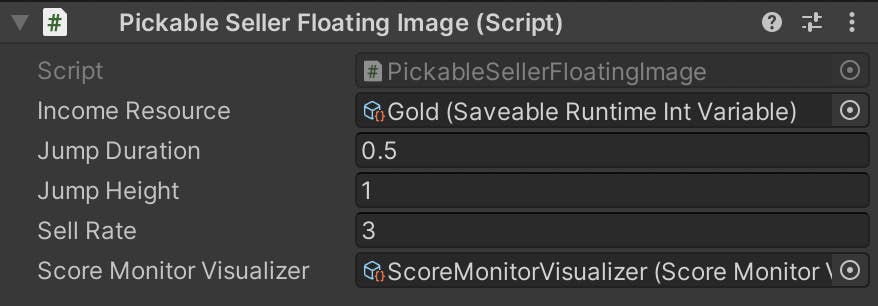
Pickable Sellers
Floating Text
Floating Image
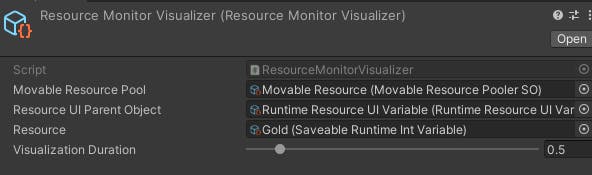
Resource Monitor Visualizer
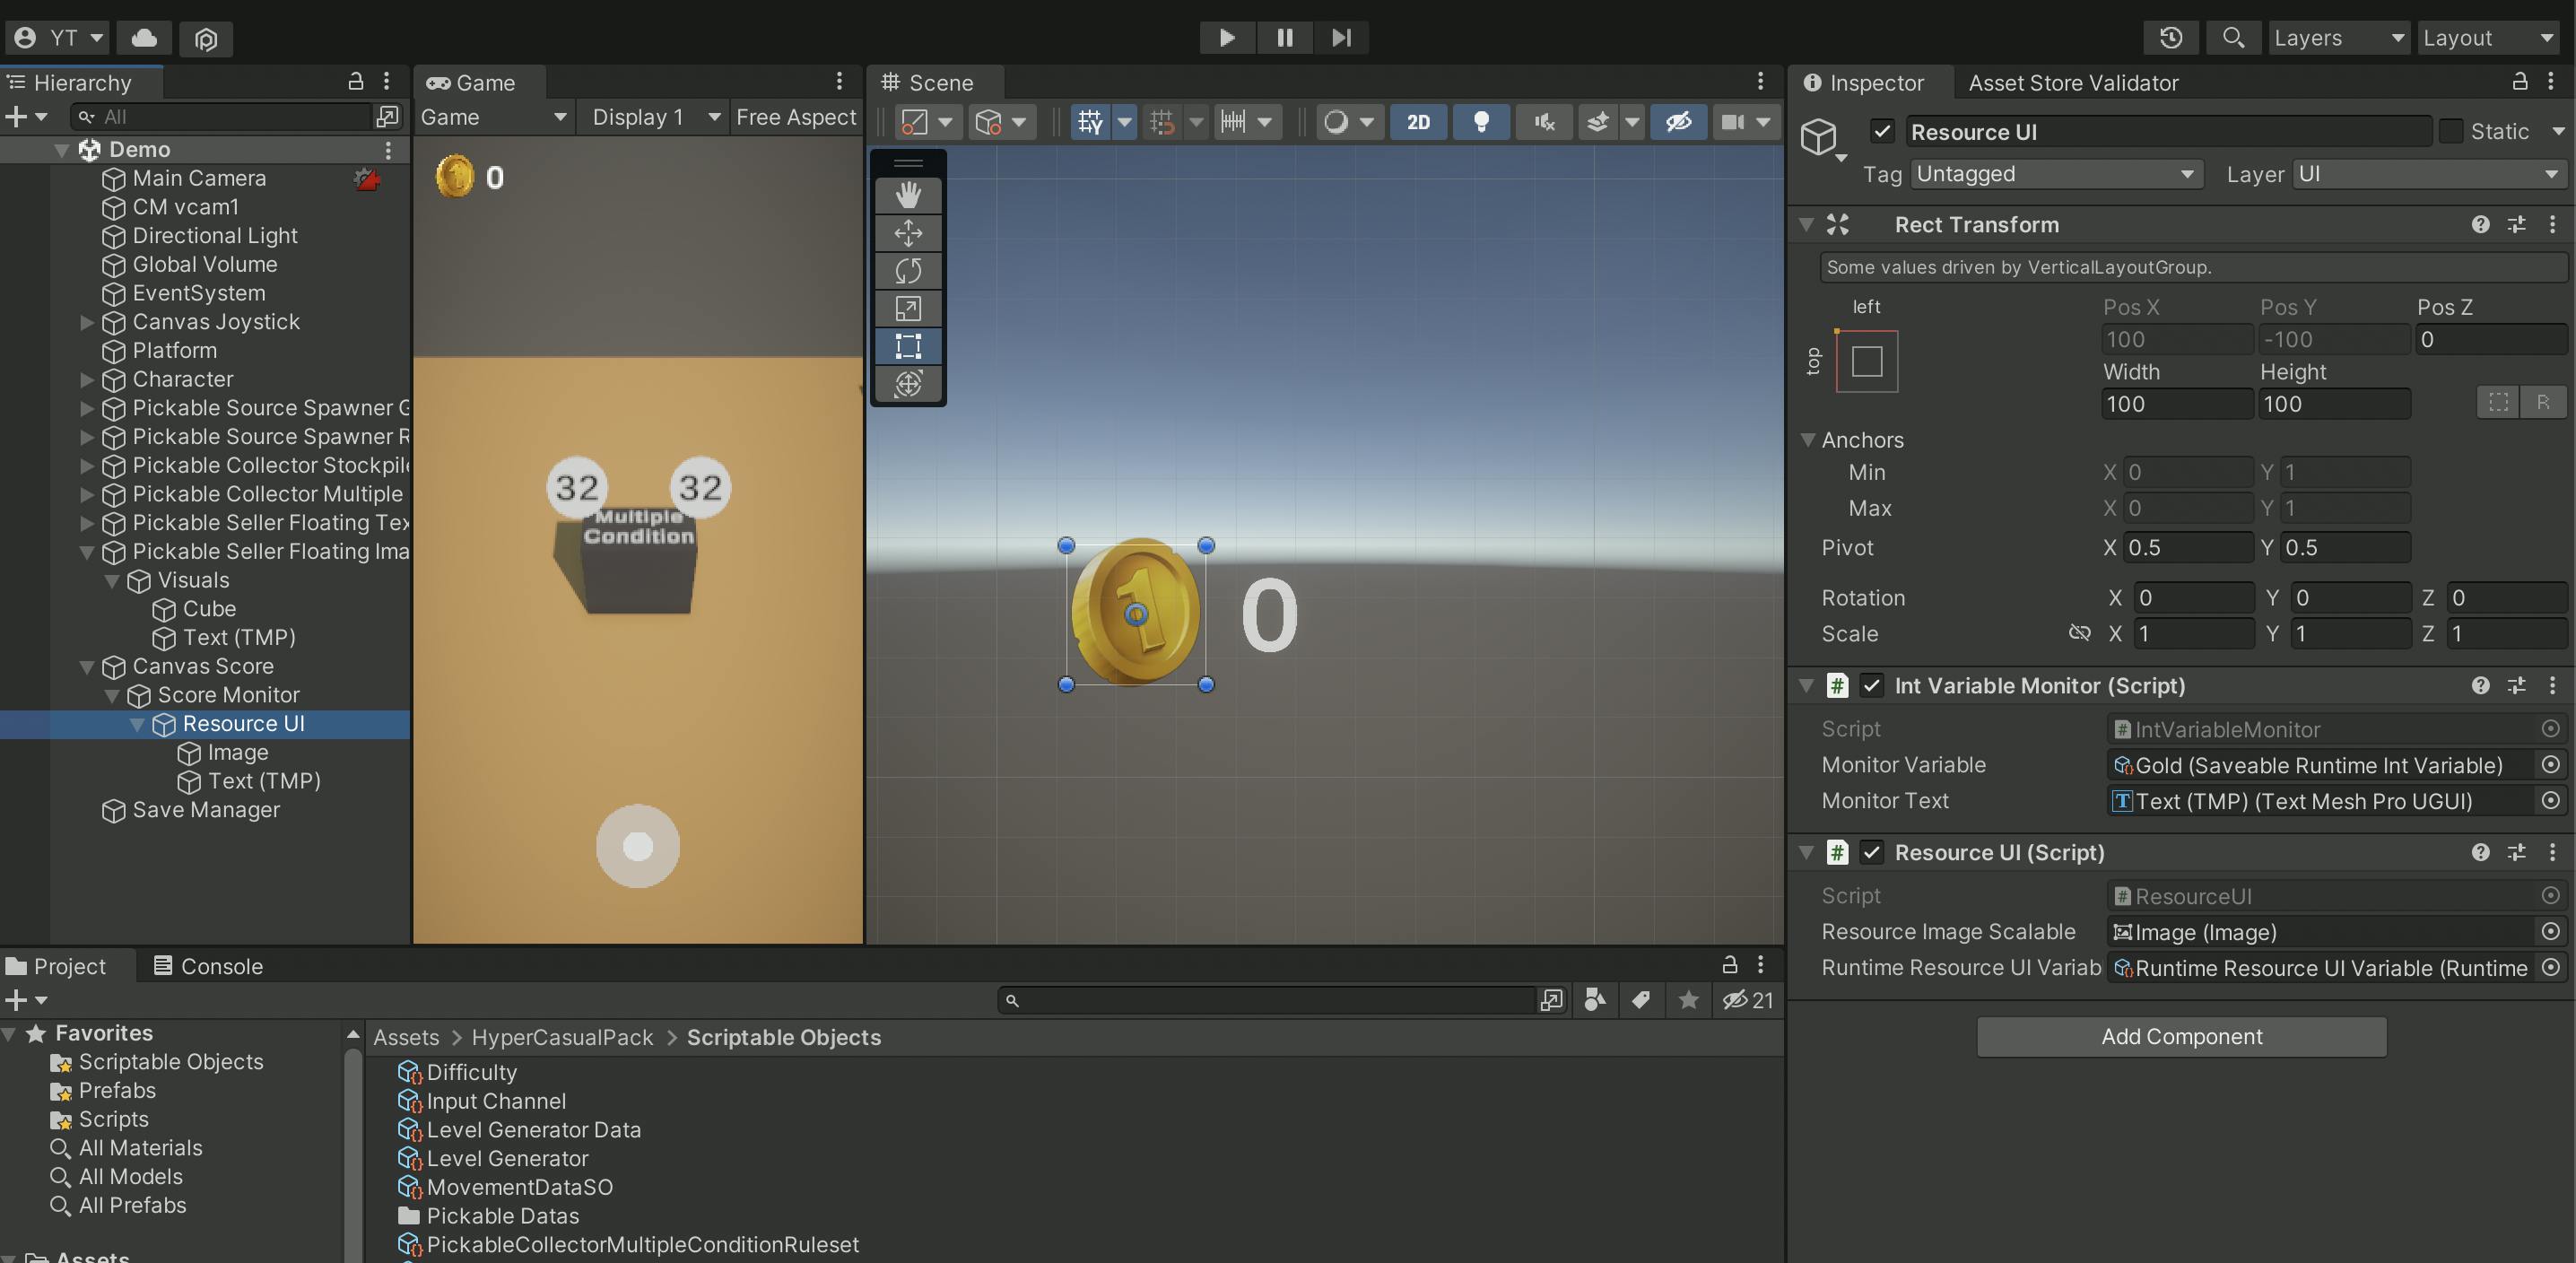
Resource UI and Int Variable Monitor
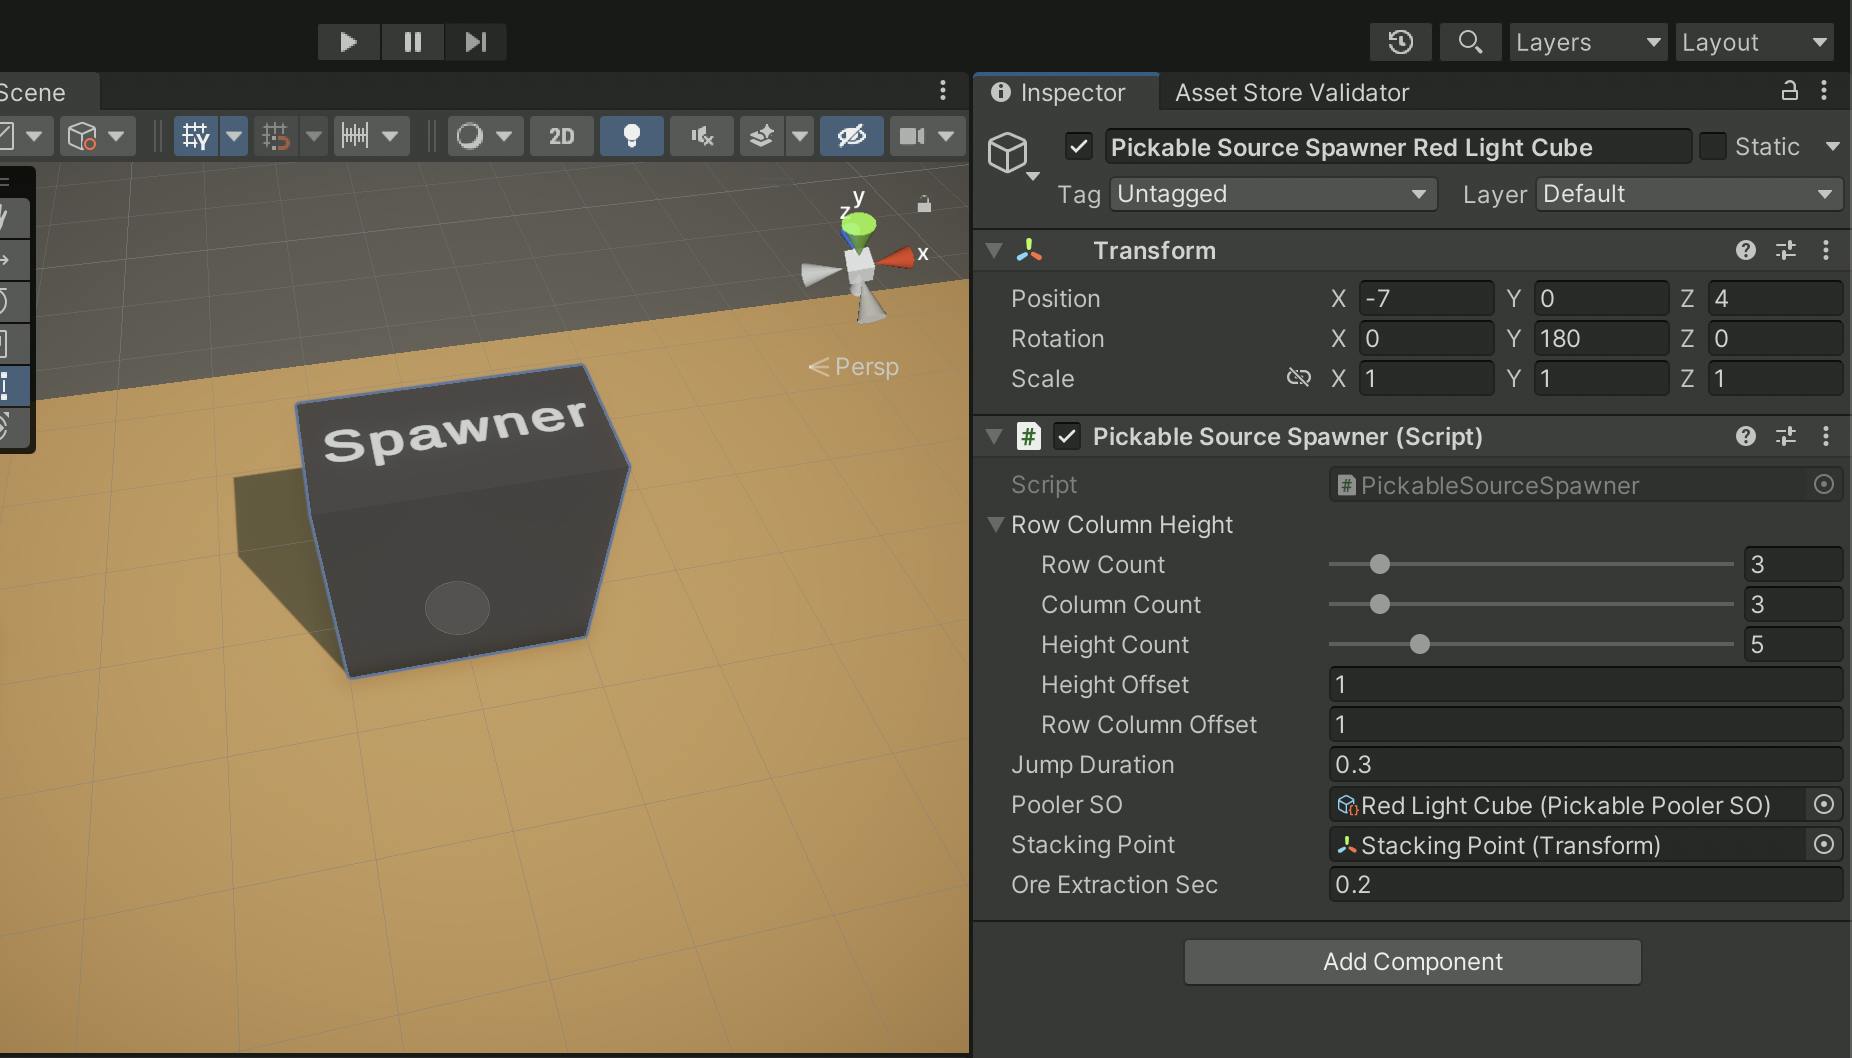
Pickable Source Spawner
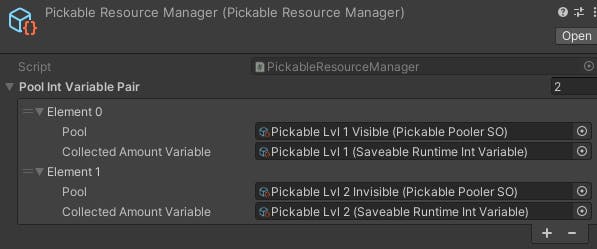
Pickable Resource Manager
Pickable Collectors
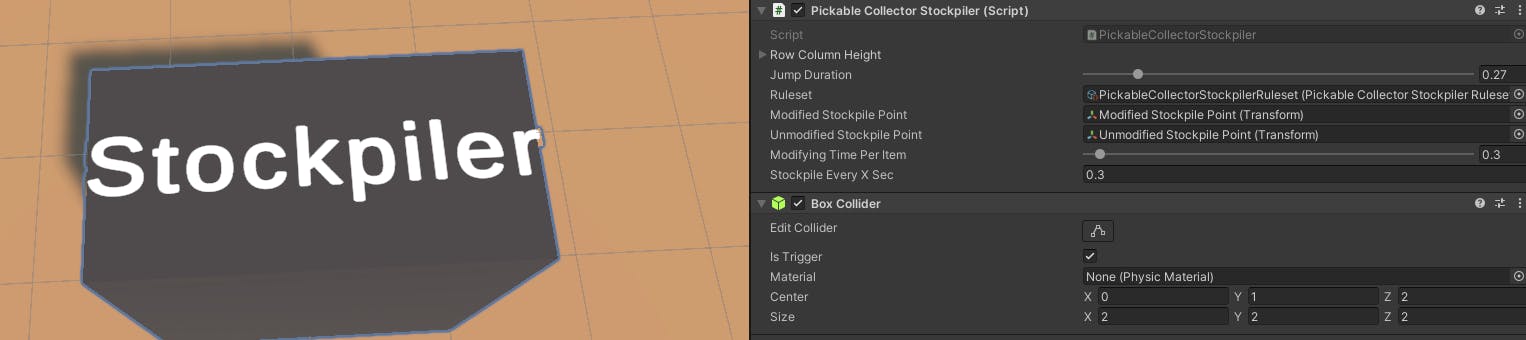
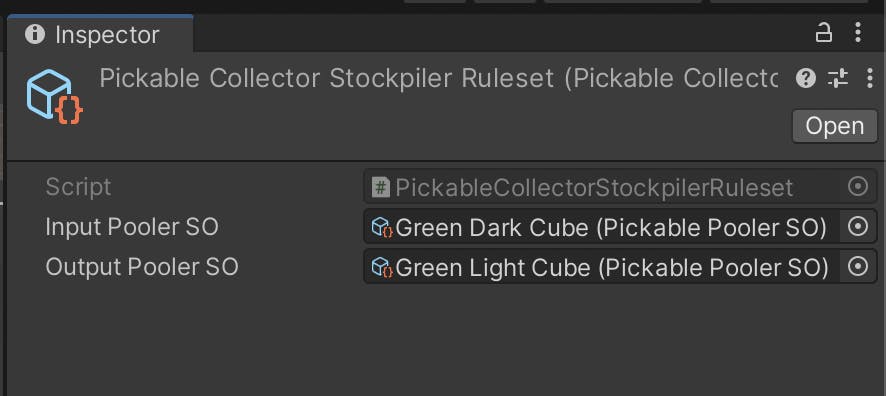
Stockpiler
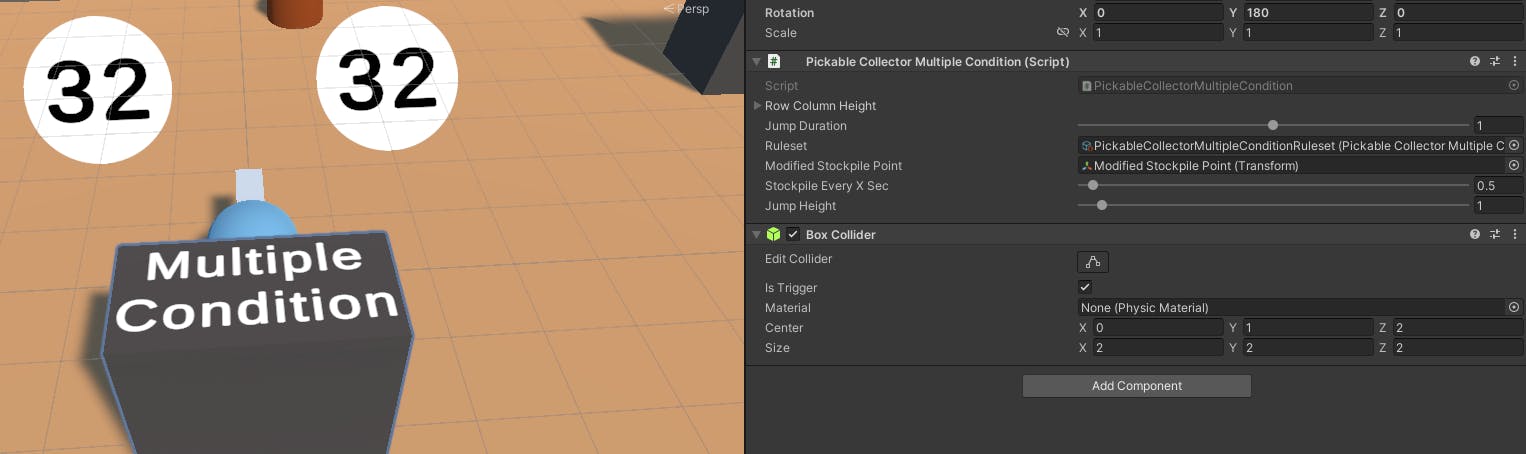
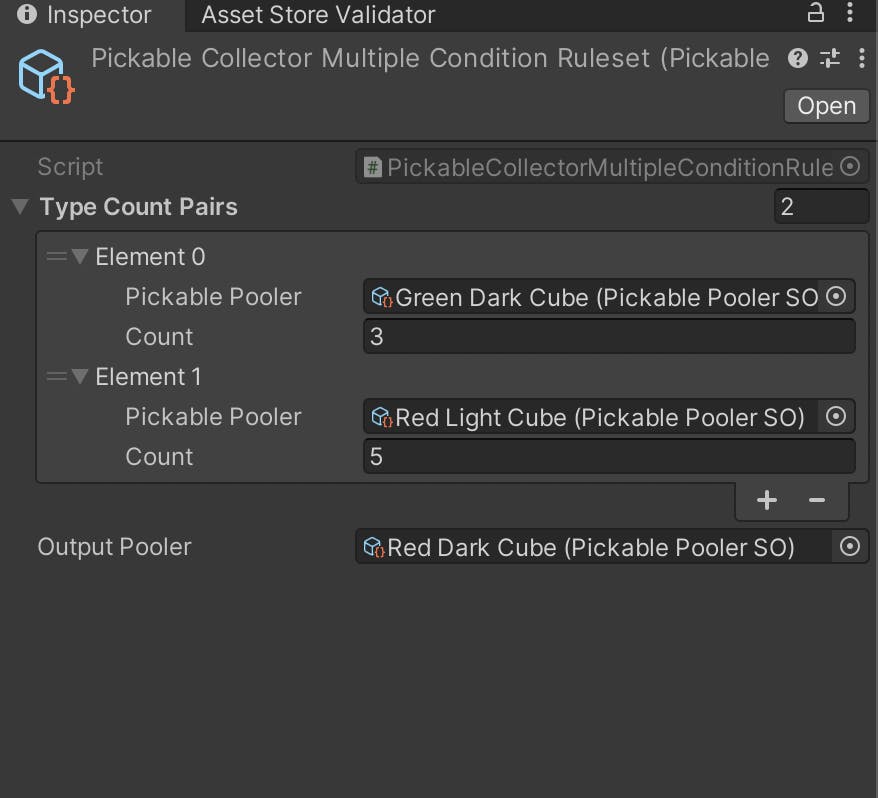
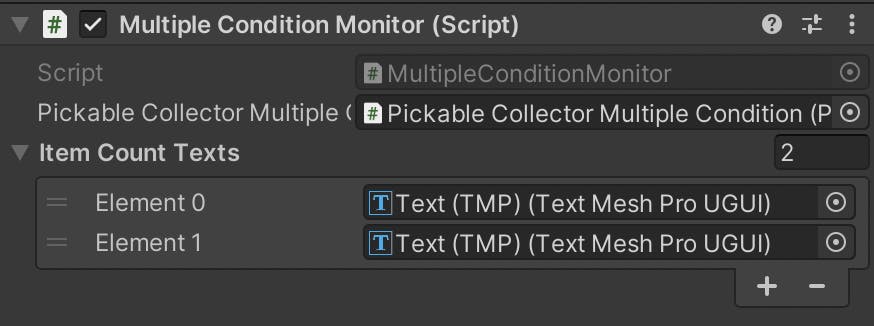
Multiple Condition
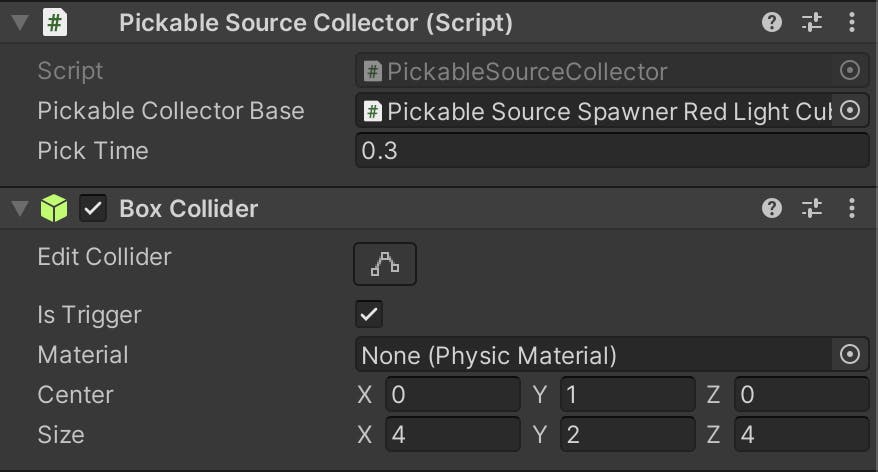
Pickable Source Collector
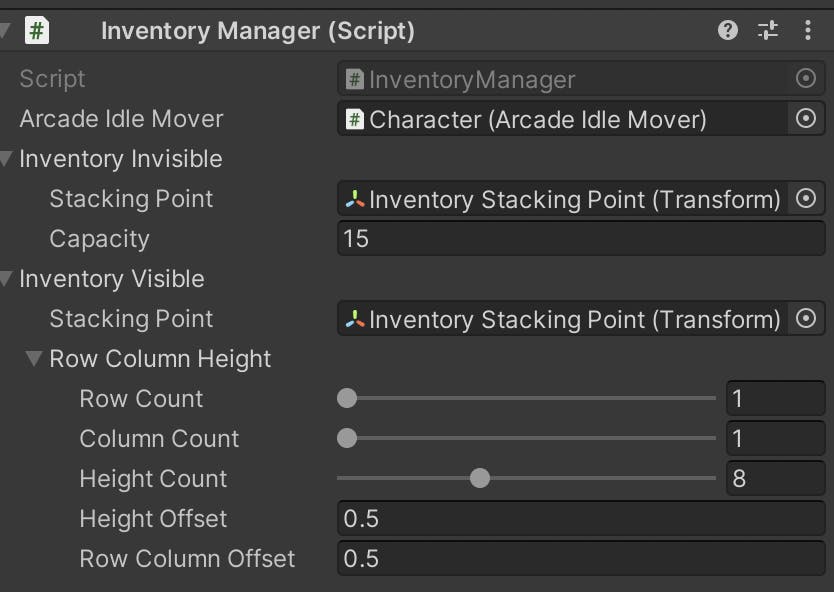
Inventory
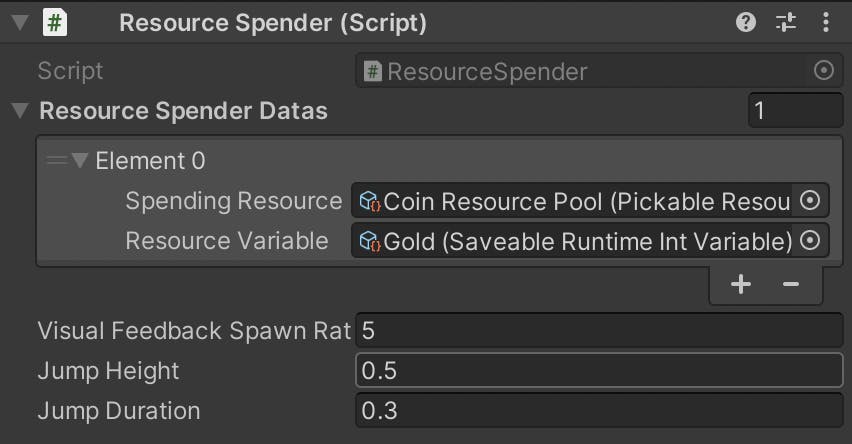
Resource Spender
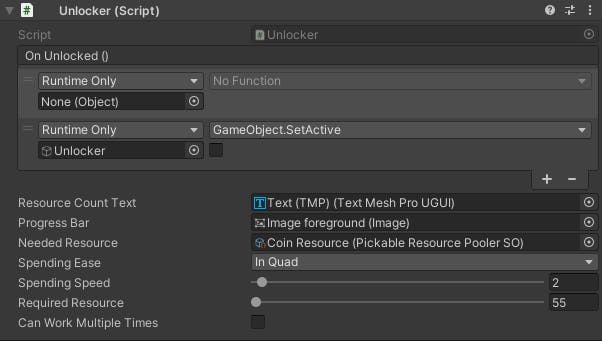
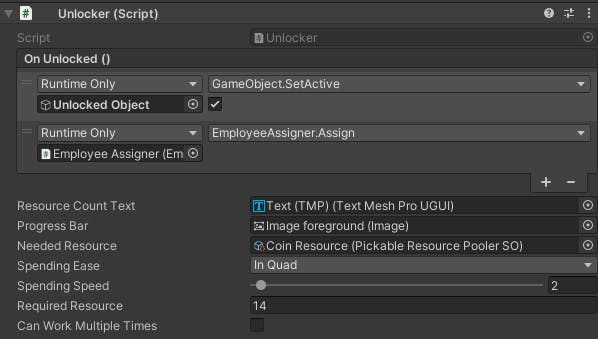
Unlocker
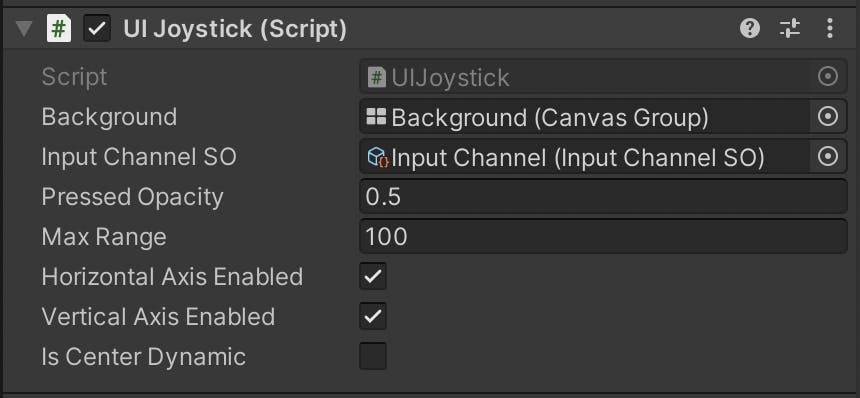
UI Joystick
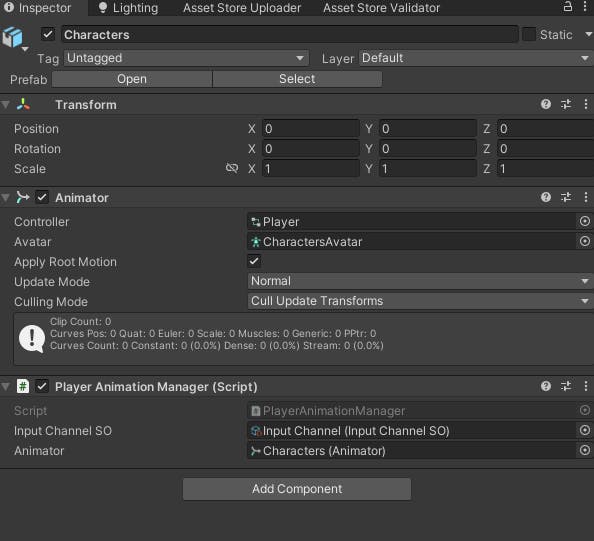
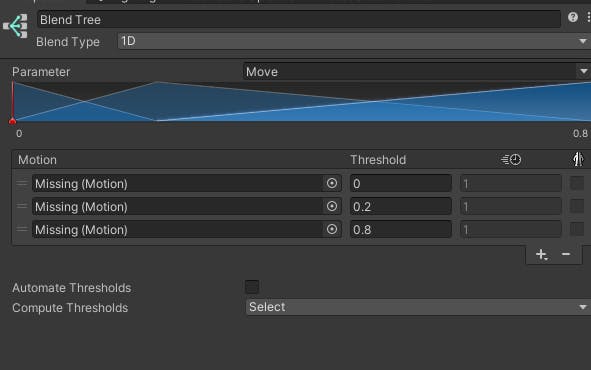
Player Animation Manager
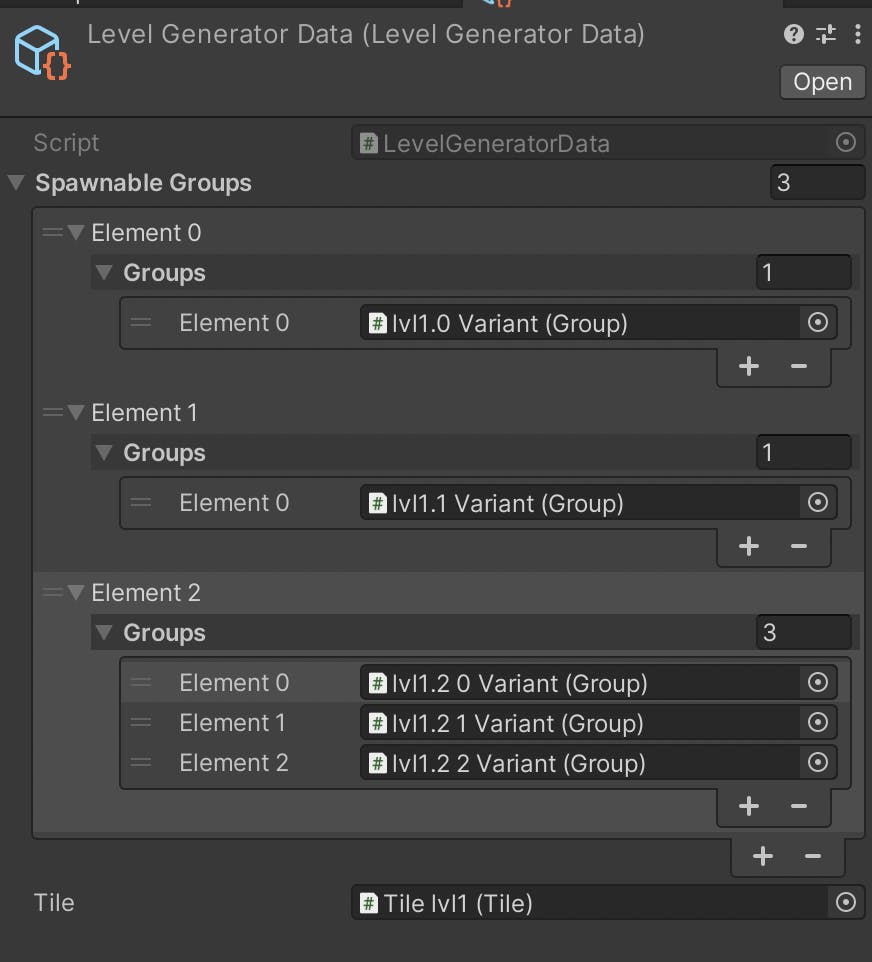
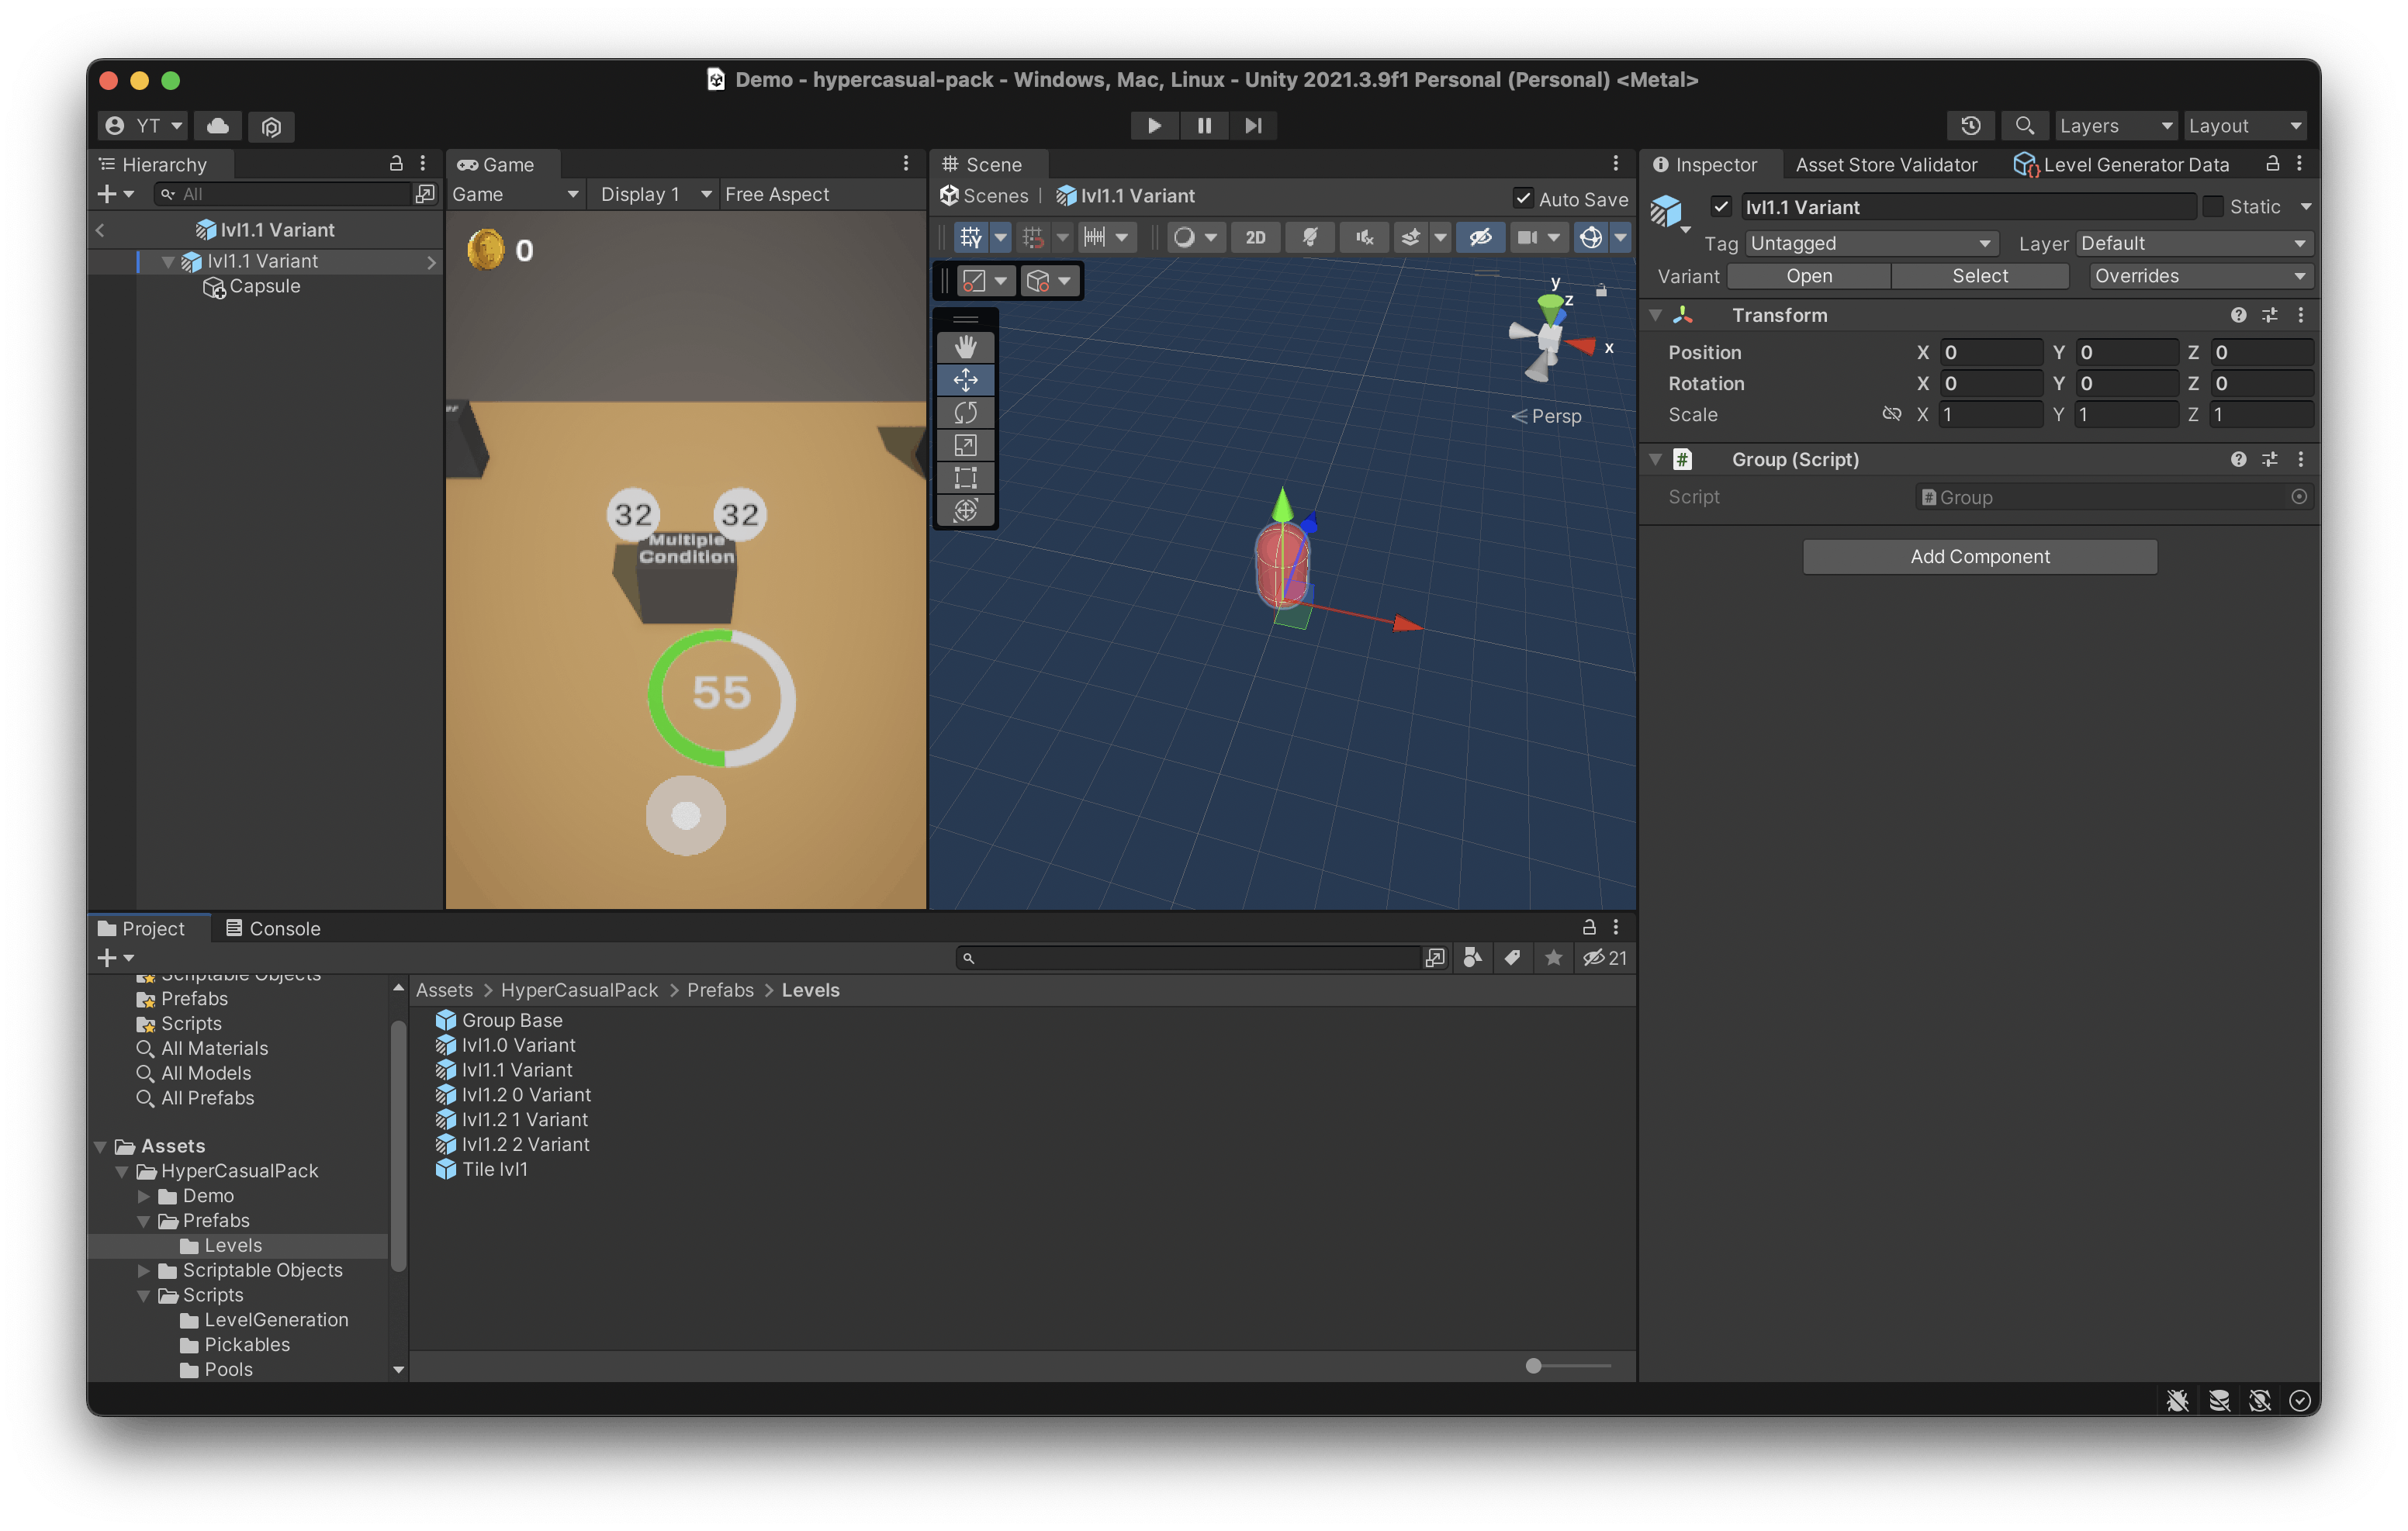
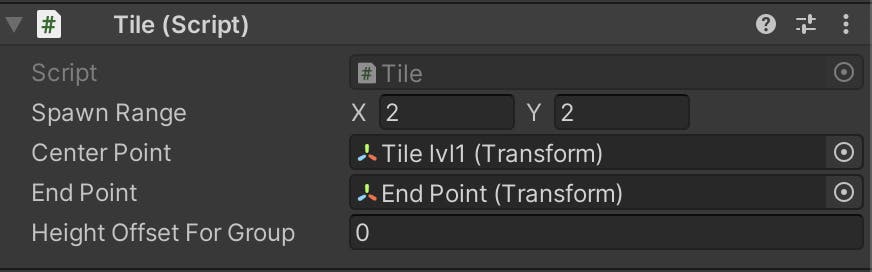
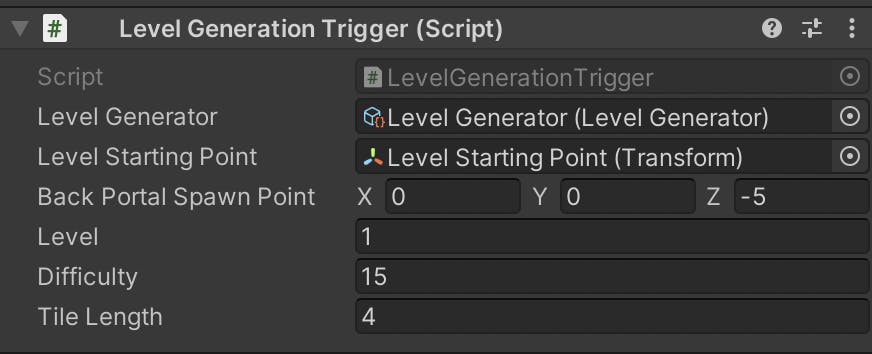
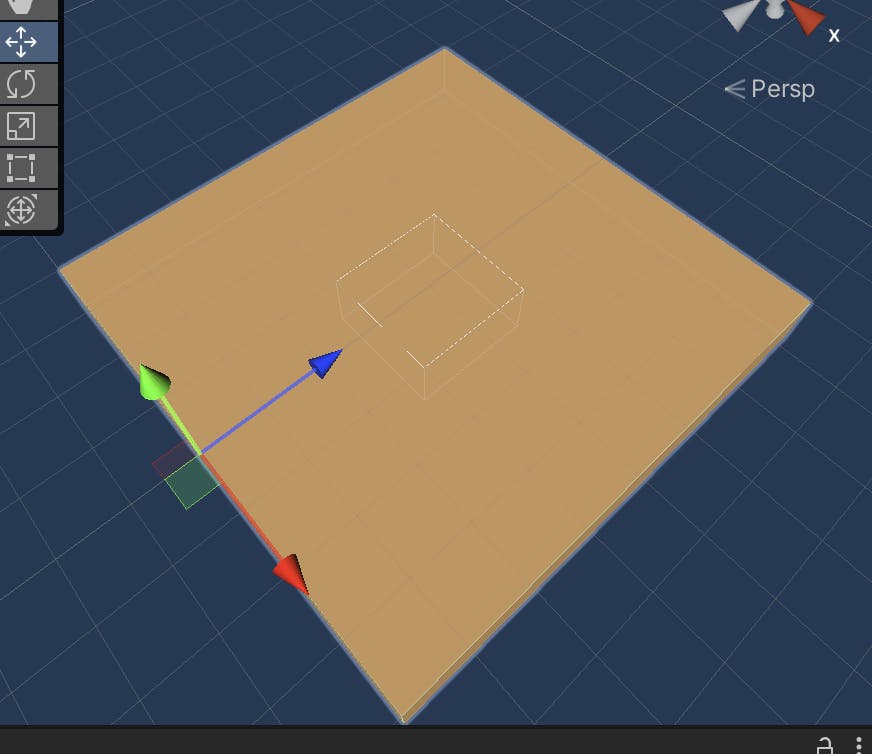
Level Generator

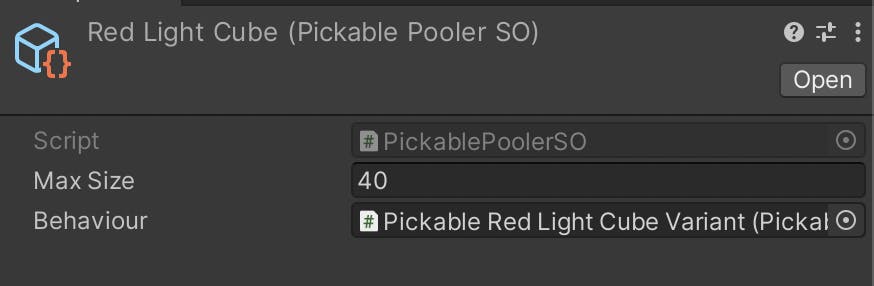
Pools
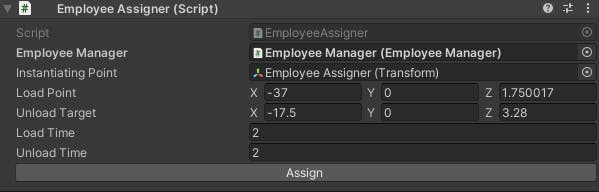
Employee
Want to print your doc?
This is not the way.
This is not the way.

Try clicking the ⋯ next to your doc name or using a keyboard shortcut (
CtrlP
) instead.