Skip to content
3 Simple Steps for Preparing Fiber for Spinning
When it comes to purchasing fiber from your favorite local (or online) shop, there’s usually lots of choose from! Commercially prepared and dyed fiber is great fun to spin, and accessible to most new and experienced spinners. Well-prepared fibers can definitely be spun straight from the bag or braid if you’re comfortable with it, but even the prettiest fiber can be a bit compressed from dyeing and handling. Here are three simple steps for preparing fiber for spinning that will make your time at the spinning wheel smoother and easier.
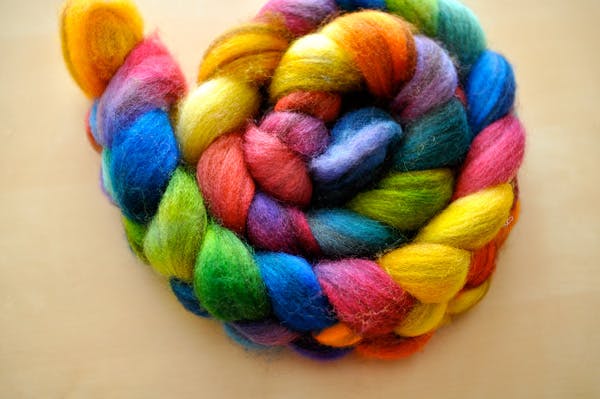

Learn to spin both space-dyed and hand-painted fibers to confidently command color and create brilliantly-hued skeins every time in the Craftsy class , taught by SweetGeorgia founder Felicia Lo. She demonstrates useful techniques such as Andean and Navajo plying, spinning from the fold, the method of fractal spinning and more.
1. Dividing
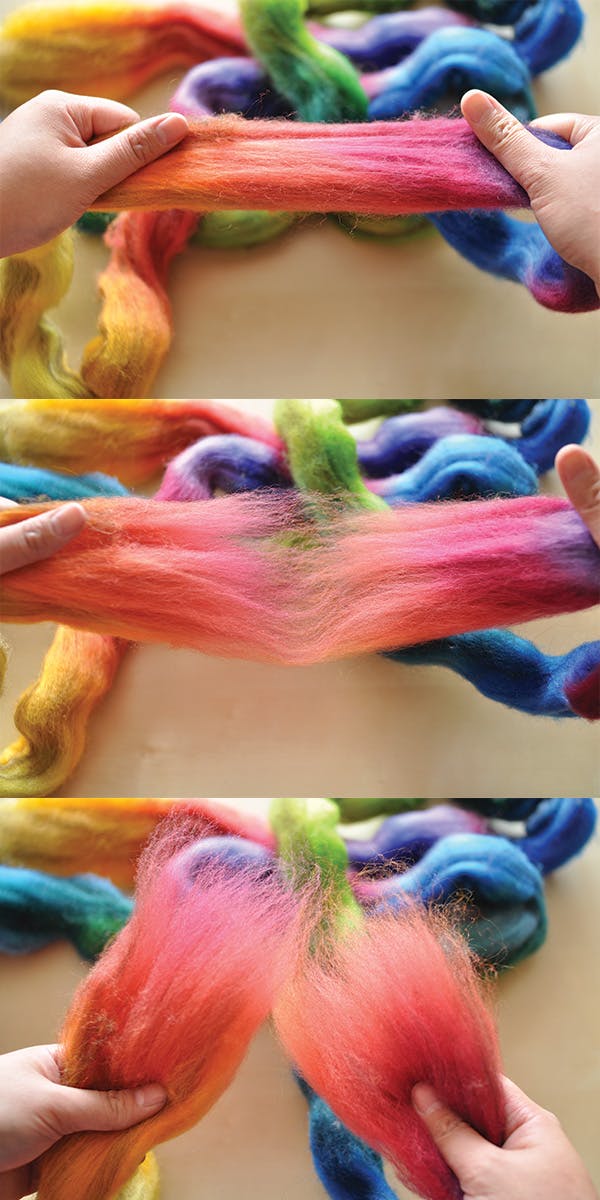

There are a few reasons why you might want to divide your fiber into smaller sections before spinning. Shorter sections of top or roving are easier to handle at the wheel, and won’t get caught on the flyer or your clothes as much! If you’re planning to ply, you can divide the fiber into two or three equal portions to help your singles come out to a similar length. You can also separate out different colors in hand-dyed fiber to produce .
There are a couple of ways to divide your top or roving. The easiest method is with a simple kitchen scale: just weigh the total amount of fiber, then divide into a few equal portions. If your fiber is in a braid, you can also divide by folding the length of the fiber into two or three sections, then pulling the roving apart to separate them (see photos).
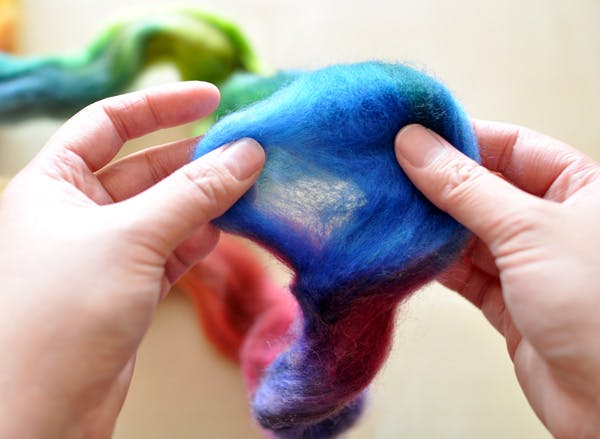

If your fiber is a bit matted and stuck together, try opening and fluffing up the fiber widthwise before pulling it apart lengthwise. If you’re still having trouble and the fibers won’t separate, try moving your hands further apart and put a little oomph into it!
2. Making strips
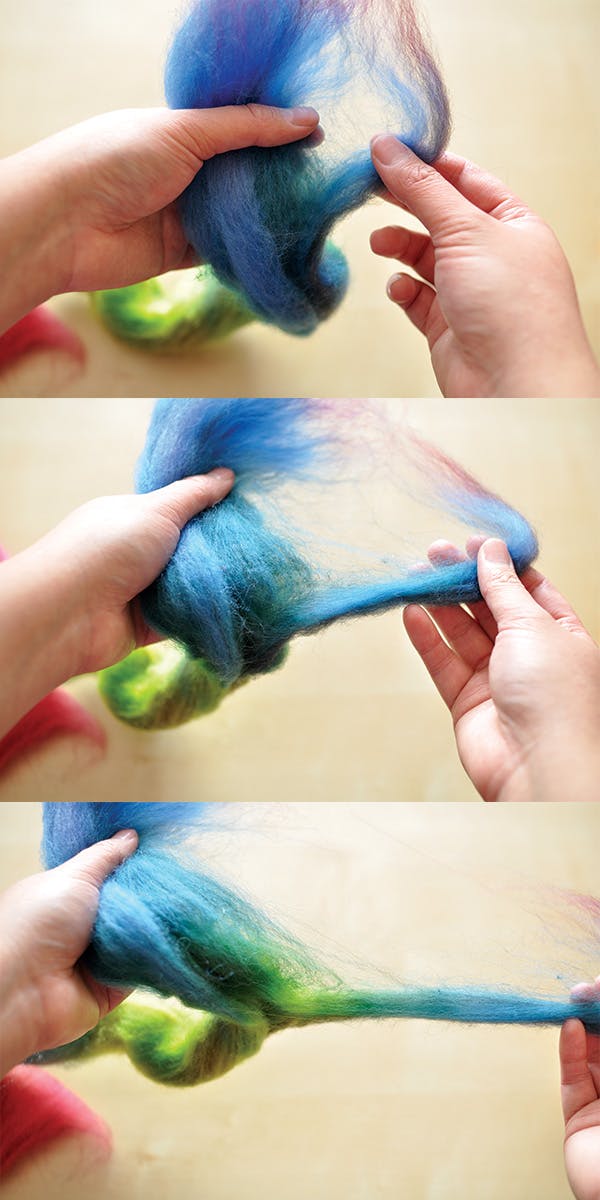

Once you’ve divided your fiber lengthwise into smaller sections, it’s time to divide the sections into strips. Grab a small piece of the top at one end, and pull the strip down the length of the section. You’ll find that top or roving will naturally want to separate into smaller strips. The width of the strips is up to you! If you want to spin a fat and fluffy yarn, leave the strips on the wide side, up to an inch. Thinner strips are great for spinning finer yarn, as you have less fiber to deal with while drafting a little bit at a time. Try to keep your strips a consistent width, but don’t worry if some are thicker, thinner or shorter than others.
3. Pre-drafting
Once you have a pile of strips, it’s time to pre-draft. Whether you’re a new or experienced spinner, pre-drafting is a great way to get to know a new fiber. Pre-drafting employs the same type of pulling and fiber handling that you do while you’re spinning, just without adding twist.
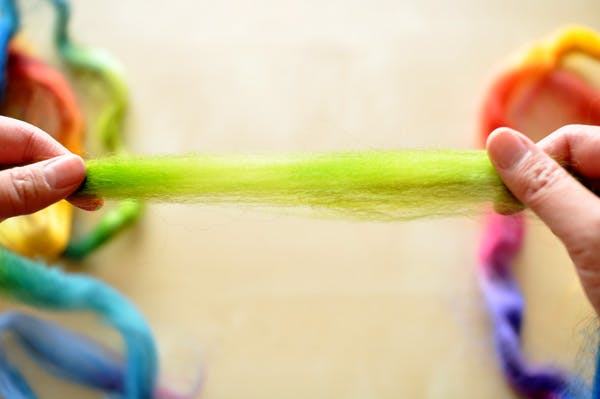

Pull the roving gently lengthwise to open and fluff up the fibers.
Take a strip, holding the end in your non-dominant hand (or whichever way is most comfortable). With your other hand, grab the strip of fiber at least 4-6 inches from the end and slowly pull. You should feel the fibers sliding against each other, opening the spaces between the fibers and fluffing it up. If you’re having trouble getting the fiber to slide, try moving your hands further apart. Fibers with a longer will require you to have your hands even further apart before it can slide and draft properly. Move your way down the strip, pulling gently to open the fiber – your strip will also grow in length as you go.
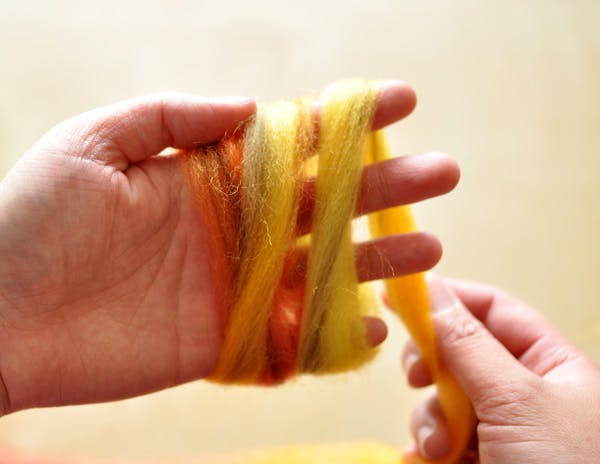

Wind pre-drafted fiber into a nest.
Once you’ve reached the end, wind the long strip around your hand to make a little nest that won’t drift apart. Try to make your strips consistent with each other, and don’t worry if the strip breaks – you can still spin it!
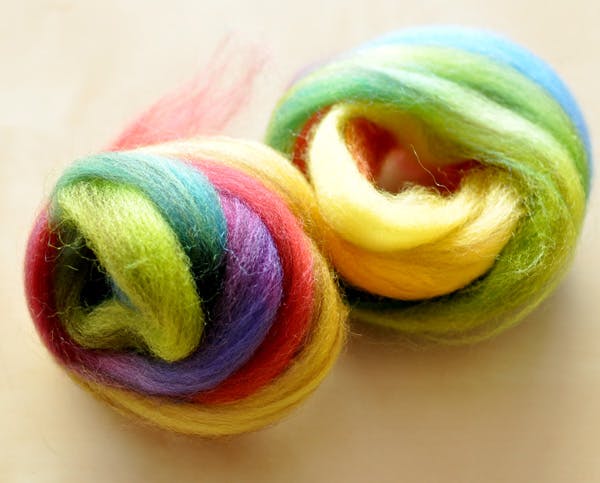

A basket of pre-drafted fiber is a beautiful thing, and preparing your fiber in advance means you can get right to the wheel when you’re ready.
Want to print your doc?
This is not the way.
This is not the way.

Try clicking the ··· in the right corner or using a keyboard shortcut (
CtrlP
) instead.